Adding conditional formatting in CRMRight prior to version 17.10
1. Right-click in the column heading to apply the conditional format.
A shortcut menu opens.
2. Select Conditional Format.
The Add Condition/Appearance Mappings window opens.
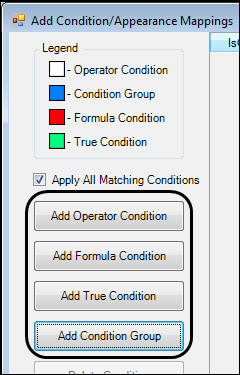
3. In the left panel, beneath the Legend, select the Add button that corresponds to the type of condition you want.
Show me
• Add Operator Condition
Click this button to add one or more "OR" conditions based on an arithmetic operator (such as equal to, greater than, or less than) or on a true condition.
The system adds a blank row for the condition in the center of the window.
Show me
• Add Formula Condition
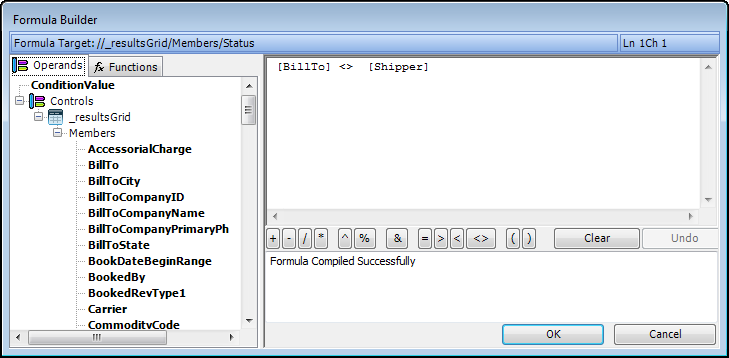
Click this button to format one column based on a condition in another column.
The Formula Builder window opens. Add the formulas you want, and then click OK.
Show me
• Add True Condition
Click this button to format all items in the column, regardless of the contents.
The system adds a blank row for the true condition in the center of the window. It is shaded in green as the Legend indicates. You can add other types of condition rows to this column.
Show me
• Add Condition Group
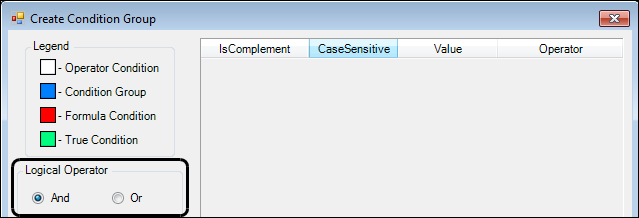
Click this button to add two or more "AND" or "OR" conditions. They can be operator, true, or formula type.
The Create Condition Group window opens. It is similar to the Add Condition/Appearance Mappings, with the addition of a Logical Operator section, where you can select "AND" or "OR."
Add the conditions you want, and then click OK.
Show me
4. Add the appropriate appearances, according to the condition type.
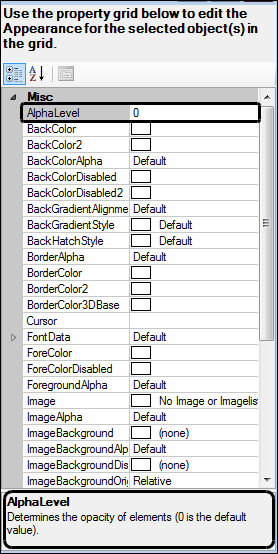
a. In the right-hand panel, or format pane, scroll through and select the feature that you want to apply when the conditions are met.
b. Click a feature in the list. A description of the feature appears at the bottom of the list.
Show me
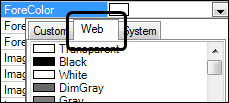
Note: When selecting colors, it might be important to maintain consistency from one computer to the next. If this is the case, it is recommended that you select colors from the Web palette, rather than the System palette.
5. Click OK.
