Adding conditional formatting in CRMRight version 17.10 and later
To apply conditional formatting to a column of data, follow these steps.
1. Right-click in the column heading to apply the conditional format.
A shortcut menu opens.
2. Select Conditional Format.
The Add Condition/Appearance Mappings window opens. A single condition row appears in the grid by default.
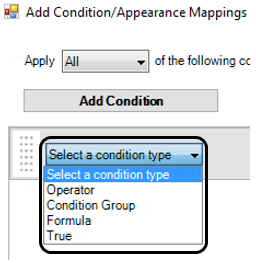
3. In the Select a condition type field for the condition row, select the condition type you want.
Show me
• Operator
Select Operator to add a condition based on an arithmetic operator (such as equal to, greater than, or less than) or on a true condition.
Show me
• Formula
Select
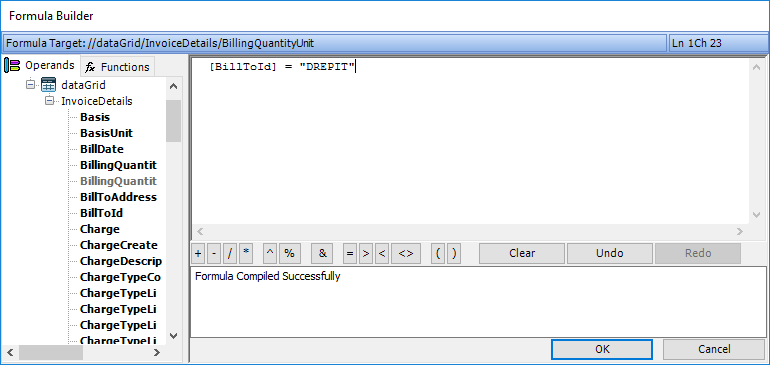
Formula to format one column based on a condition in another column. You can enter the formula in the field provided, or you can click
 Formula Builder
 to open the Formula Builder window and build your formula there.
Show me
• True
Select True to format all items in the column, regardless of the contents.
Show me
• Condition Group
Select Condition Group to add two or more conditions for a particular style change. Each condition in a group can be Operator, Formula, True, or Condition Group type.
To create an "AND" condition group in which all of the conditions in the group must be met, select All in the Apply field.
To create an "OR" condition group in which any of the conditions in the group can be met, select Any in the Apply field.
Show me
4. Click
 Styles
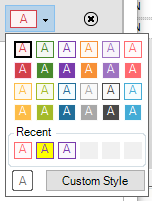
 to display a list of styles.
Show me
5. Select the style that will determine how column information will appear in the grid when your condition or conditions are met. Do one of the following:
• To select an existing style, click on the style icon.
• To select a style used recently, click on a style icon in the Recent section.
• To create a new style, follow these steps:
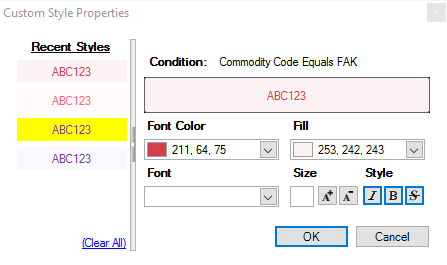
1. Click Custom Style. The Custom Style Properties window opens.
Show me
2. Recently-created styles appear in the Recent Styles section. To work with one of these styles, select it in the list.
3. Enter style properties in the fields provided.
Field definitions
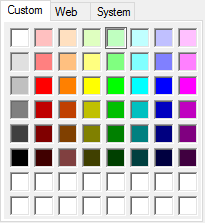
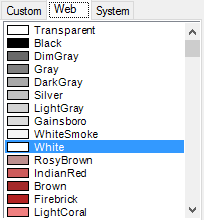
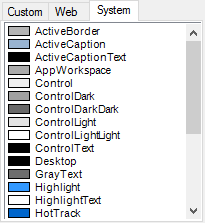
Font Color Fill | RGB values corresponding to the color of the font text or fill area. You can enter values in the fields or select from these color palettes: Custom Web System Note: When selecting colors, it might be important to maintain consistency from one computer to the next. If this is the case, it is recommended that you select colors from the Web color palette, rather than the System palette. |
Font | Text font. You can choose from any of the fonts installed on your computer. |
Size | Font size. You can choose from any of the font sizes installed on your computer. |
Style | Font style. Options are:  Italic Italic Bold Bold Strikethrough Strikethrough |
6. Click OK.
The Styles button changes to reflect the edits made.
7. To add another condition, click Add Condition and repeat Steps 3-6.
8. Once you have added all your conditions, decide how the system will apply them to the column by selecting a value in the Apply field.
• If you want all conditions applied ("AND"), select All.
• If you want any of the conditions applied ("OR"), select Any.
Show me
9. Click OK.

 Formula Builder to open the Formula Builder window and build your formula there.


 Styles to display a list of styles.
 Italic
 Bold
Bold Strikethrough