Adjusting multiple rate schedules at one time
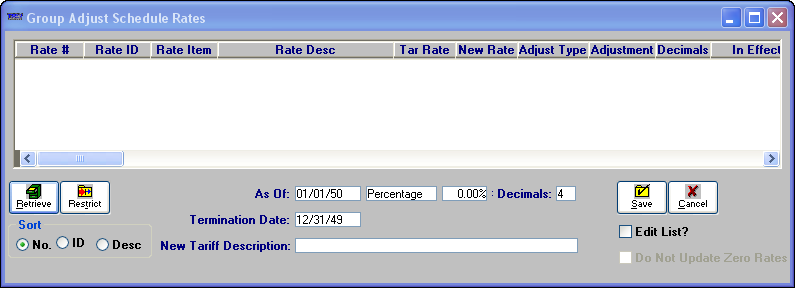
The Group Adjust Schedule Rates window allows you to increase or decrease amounts for a group of pay rates. In this window, you can specify whether the rates will be adjusted by a percentage or by a flat amount. The Group Adjust Schedule Rates window also allows you to adjust individual rates before processing the rate change.

For example, if you retrieved a list of rates, and you wanted to increase most of them by ten percent, but you wanted to increase two of them by twenty percent. You could specify a mass update of all the rates by ten percent, and then edit the two rates individually before processing the change.
In addition to changing the amount of an individual rate, this functionality allows you to make changes to these other aspects of a rate:
The date when the adjusted rate is to become effective.
Type of adjustment: either flat or percentage.
The amount by which the rate is to be adjusted.
The number of decimal places used when rounding new amounts.
The date when the adjusted rate will expire.
The rate’s description.
Notes:
1. When you elect to adjust amounts, the system creates a copy of the existing rate to which it applies the adjustments. The original rate is not deleted and its amount is not changed.
2. When you adjust a primary rate that is linked to secondary and/or linked line item rates, those accessorial rates will also be linked to the new copy.
Follow these steps to adjust multiple rates.
1. Open the Edit Settlement Rate Schedule Folder.
2. Select Edit > Adjust Rates by Factor > Group of Tables. The Group Adjust Schedule Rates window is displayed.
3. Limit the retrieval of rates as needed, by clicking Restrict and using the Restrict Rate Schedules window. Then click OK.
The Group Adjust Schedule Rates window now displays a list of rates that match the restrictions you set.
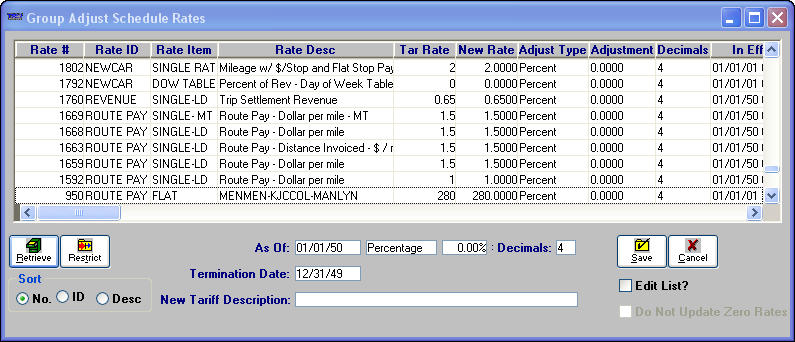
4. If needed, you can sort the rates displayed in the list. The sorting sequence is determined by the Sort options listed in the lower portion of the window. Select the button that precedes the desired option.
Button | Definition |
|---|---|
No. | Sort the rates according to their system-assigned numeric IDs. These IDs are shown in the Rate # column (default). |
ID | Sort the rates alphanumerically, according to the first user-defined ID. These IDs are listed in the Rate ID column. |
Desc | Sort the rates alphanumerically, according to user-defined rate description. These descriptions are listed in the Rate Desc column. |
5. Make entries in these fields:
Field | Definition |
|---|---|
As Of | Enter the date when the adjusted rates are to become effective. This field corresponds to the In Effect field in the window’s grid. |
Type of adjustment | Select one of the following: Percentage Flat Amount. Note: This field corresponds to the Adjust Type field in the window’s grid. |
Adjustment amount | Enter the amount by which the rates are to be adjusted. A percentage must be entered as a decimal. For example, if you are adjusting by five percent, enter .05. If you are decreasing the rate by a negative amount, precede the amount with a minus sign (-). For example, a reduction of one percent would be entered as -.01. Note: This field corresponds to the Adjustment field in the window’s grid. |
Decimals | Enter the number of decimal places the system is to use when rounding new amounts. For example, if you want to limit new amounts to two decimal places, enter 2. Note: This field corresponds to the Decimals field in the window’s grid. |
Termination Date | Enter the date when the adjusted rates will expire. Note: This field corresponds to the Expires field in the window’s grid. |
New Tariff Description | The free-form comments entered in this field will be written to the Description field of the new rate. Note: This field corresponds to the Rate Desc field in the window’s grid. |
Note that the system updated the information displayed in the grid based on your entries.
Note: If the adjustment causes the new rate’s amount to be less than the existing rate, the amount shown in the New Rate field will display in red text.
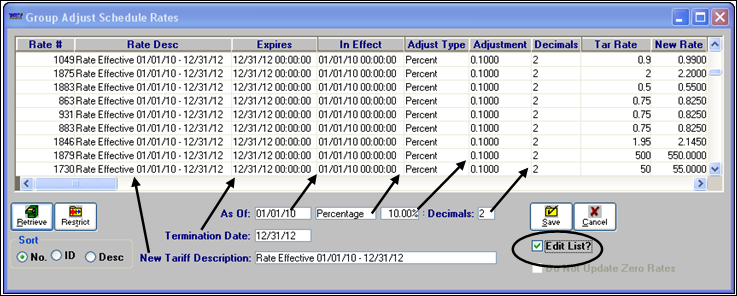
6. If you want to edit individual rates, select the Edit List? check box. Then make the needed changes. These fields can be edited in the window’s retrieved rates grid:
Field | Definition |
|---|---|
In Effect | Enter the date when the adjusted rate is to become effective. This field corresponds to the As Of field located at the bottom of the Group Adjust Schedule Rates window. |
Adjust Type | Select one of the following: Percentage Flat Amount. Note: This field corresponds to the type of adjustment field located at the bottom of the Group Adjust Schedule Rates window. |
Adjustment | Enter the amount by which the rate is to be adjusted. A percentage must be entered as a decimal. For example, if you are adjusting by five percent, enter .05. If you are decreasing the rate by a negative amount, precede the amount with a minus sign (-). For example, a reduction of one percent would be entered as -.01. Note: This field corresponds to the adjustment amount field located at the bottom of the Group Adjust Schedule Rates window. |
Decimals | Enter the number of decimal places the system is to use when rounding new amounts. For example, if you want to limit new amounts to two decimal places, enter 2. Note: This field corresponds to the Decimals field located at the bottom of the Group Adjust Schedule Rates window. |
Expires | Enter the date when the adjusted rate will expire. Note: This field corresponds to the Termination Date field located at the bottom of the Group Adjust Schedule Rates window. |
Rate Desc | The free-form comments entered in this field will be written to the Description field of the new rate. Note: This field corresponds to the New Tariff Description field located at the bottom of the Group Adjust Schedule Rates window. |
New Rate | Manually enter a new rate amount. Note: The New Rate field cannot be edited on rates that have a table associated with it. |
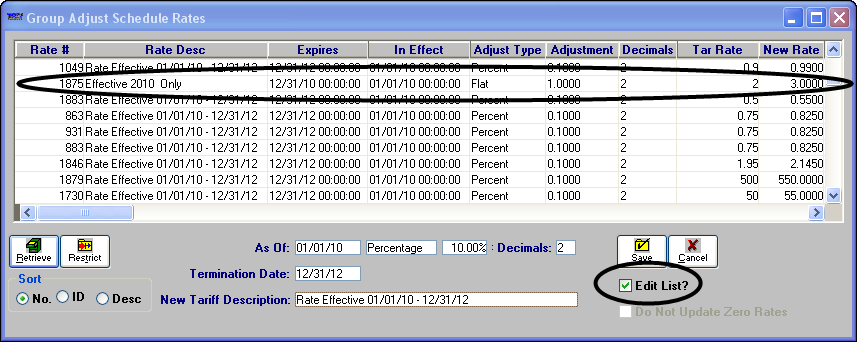
This illustration shows that the information in one row has been manually changed.
7. If you do not want to adjust all the listed rates, select the ones you want to adjust.
To select a single rate, click it.
To select a group of rates in adjacent rows, click the first rate in the group. Then hold down the SHIFT key as you click the last rate in the group.
To select a group of rates in non-adjacent rows, click the first rate. Then hold down the CTRL key as you click each of the remaining rates you want to select.
8. Click the Save button. One of the following occurs:
If you did not select any rates in Step 6, this message is shown:
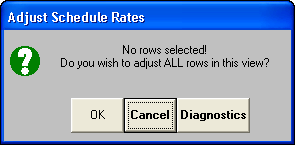
If all rates listed are to be adjusted, click OK. Otherwise, click Cancel to return to the rate list.
If you selected rates in Step 6, this message is shown:
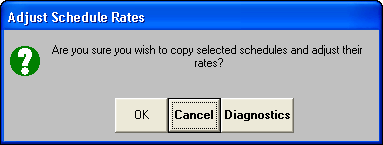
To continue with the adjustment of the selected rates, click OK.
If you decide not to continue, click Cancel.
To make the adjustments, the system will:
Display the rate being processed in the background.
Copy the original rate.
Assign a new numeric ID to the copy
Adjust the amounts on the new rate.
Repeat the process for each additional rate in the list.
When the copy process is complete, the system displays the last new rate created.
Note: If you are adjusting secondary rate(s), the Attach New Accessorial Rates to Primary Rate dialog box displays the IDs of the primary rates linked to the original secondary rate(s). You can clear the check box for all primary rates that should not have the adjusted rate attached. For details see Specifying which primary rates stay linked to an adjusted secondary rate.
9. If desired, you can look up the new rates and verify that the adjustments were made properly. If necessary, make changes to the new, adjusted rate(s). Remember to save each rate as you make changes.