Bulk process multiple routes with QuickBatch
QuickBatch enhances our Web Services Spreadsheets add-in by offering the ability to upload spreadsheet files to PC*Miler Web containing route origins and destinations for fast, bulk route processing. QuickBatch reduces bulk processing time compared with our current spreadsheets applications, and nearly eliminates the need to interact with each individual route to calculate distances, travel times, and toll costs. Some key features of QuickBatch are:
-
Large volume processing - Up to 10,000 rows of route origin/destination pairs can be processed in a single file upload. Additional files can also be uploaded and queued for processing at the same time.
-
Reduced processing time - QuickBatch can process 10,000 rows of route origin/destination pairs in approximately 30 minutes. A significant improvement in time when compared to our on prem spreadsheets (3.5 hours) and standard Web Services Spreadsheets (1 hour).
-
Customizable results - When uploading a file, you are given full control over how you want your data to be processed. Options include Vehicle Routing Profile selection, PC*Miler Data version, and route calculations including distance, estimated driving time, and toll costs.
-
Special character support - QuickBatch supports special characters in addresses, providing versatility for North American and European users.
-
Versatile address formats - Origins and destinations can be uploaded in multiple different formats, even within the same file. QuickBatch accepts Latitude/Longitude, cities, streets and ZIP/Postal codes.
-
File format support - QuickBatch supports multiple file formats including .CSV, .XLSX and .XLS.
|
QuickBatch requires a license for both PC*Miler Web and PC*Miler Web Services Spreadsheets. If you are a current user of PC*Miler Web and would like more information about signing up for PC*Miler Web Services Spreadsheets, contact your company’s account manager or reach out to our support team. |
Prepare a file for upload
When preparing a spreadsheet file for upload to QuickBatch, there are a few things you need to do to ensure successful data processing.
-
File format - The file intended for upload must be in .CSV, .XLSX, or .XLS format.
-
File size - The file can not contain more than 10,000 rows of origin and destination pairs.
-
Mandatory column headings - The columns containing your route origin and destination pairs must contain headings labeled Origin and Destination. Your file may contain additional columns relating to your route data, but they will be ignored by QuickBatch. If you have multiple columns with the same origin/destination headings, QuickBatch will ask you to select which columns should be used for processing.
-
Location format - Origins and destinations must be entered as a valid location format. The table below lists recommended location formats with examples for each.
Location format Example City, State/Province
Chicago, IL
City, Country
Toronto, Canada
Latitude/Longitude
40.7128,-74.0060
Street Address, Latitude/Longitude
123 Main St, 40.7128,-74.0060
Street Address, City, State/Province
123 Main St, Dallas, TX
Street Address, City, Country
10 Downing St, London, UK
ZIP/Postal Code
60601
ZIP/Postal Code, Country
SW1A 1AA, UK
|
A .CSV format template file is available for download from the QuickBatch tab in PC*Miler Web. Select Download CSV Template to download the file. The template includes the mandatory headings for origin/destination columns, and some examples for reference. 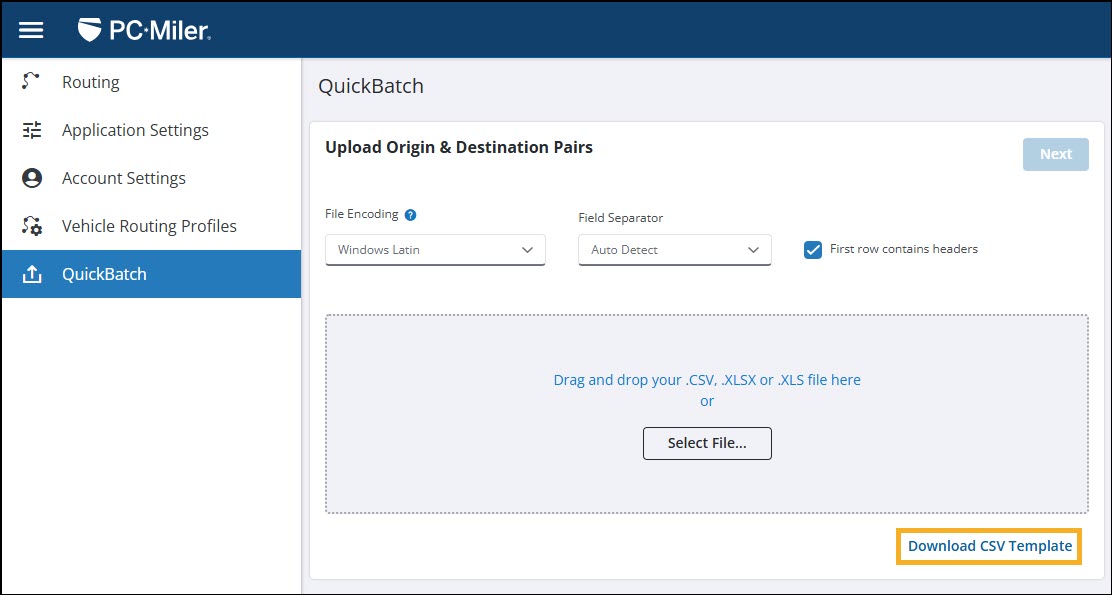
|
Upload a file to QuickBatch
-
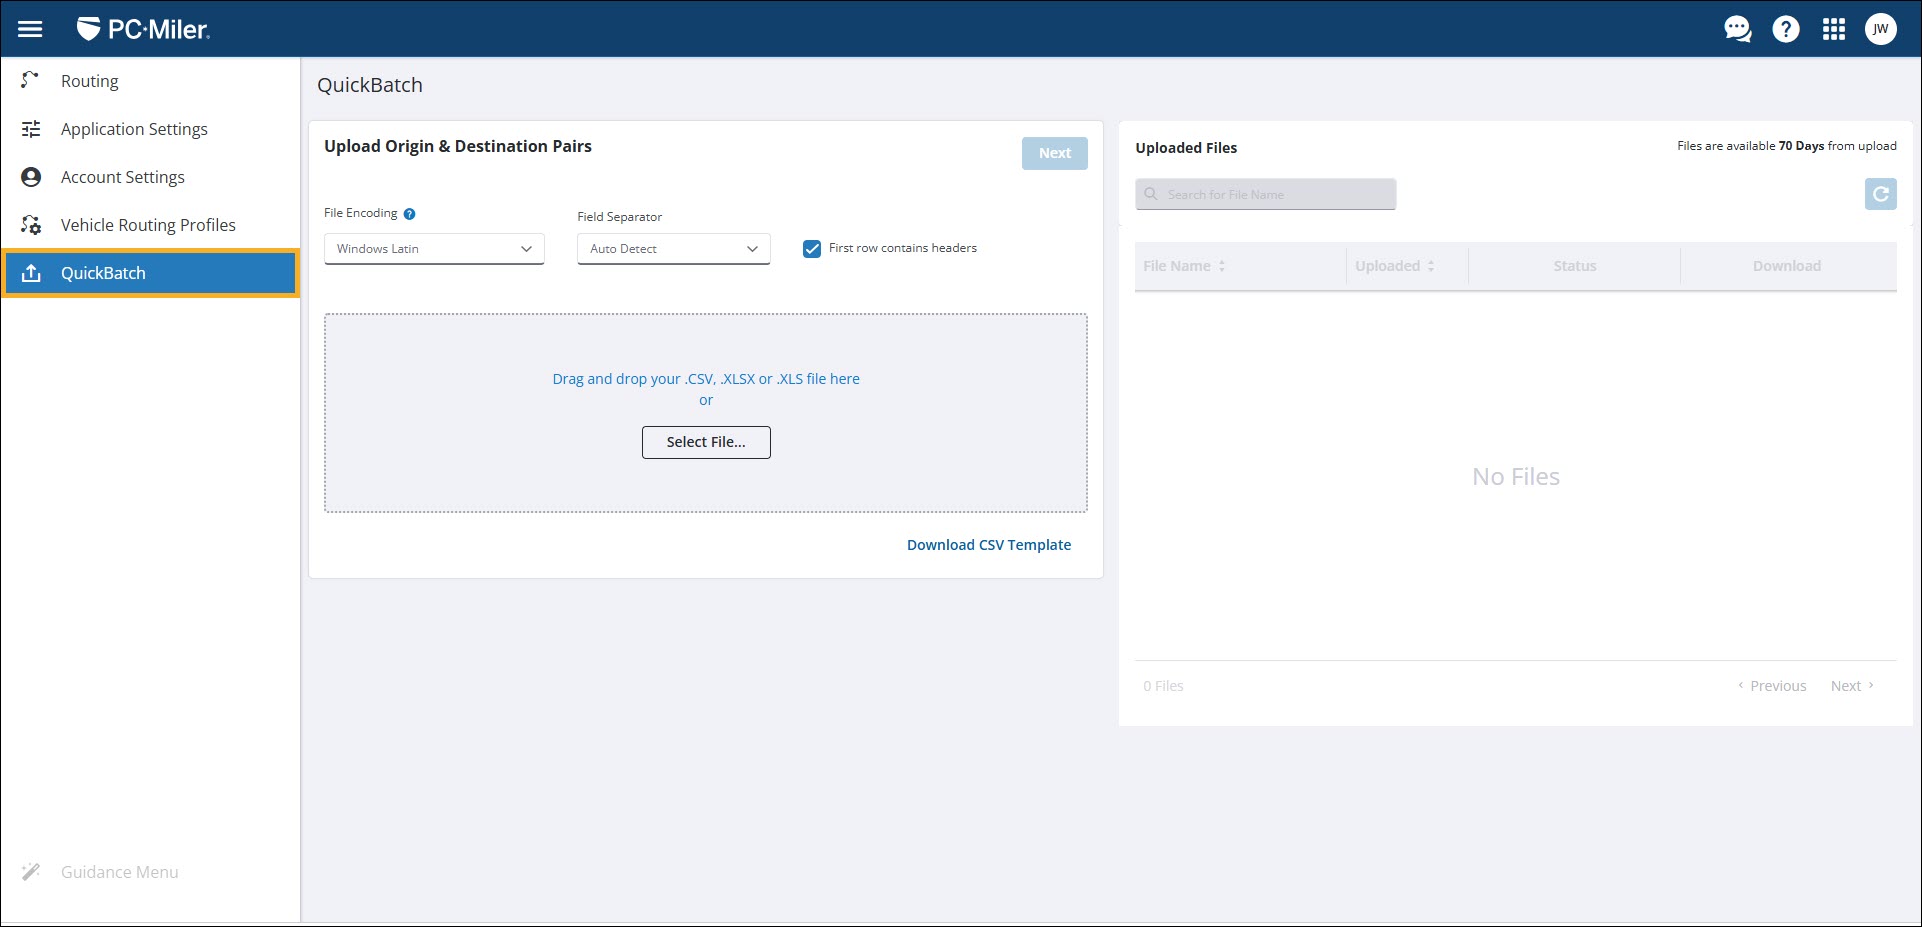
With a file prepared for upload, log in to PC*Miler Web and navigate to QuickBatch.
-
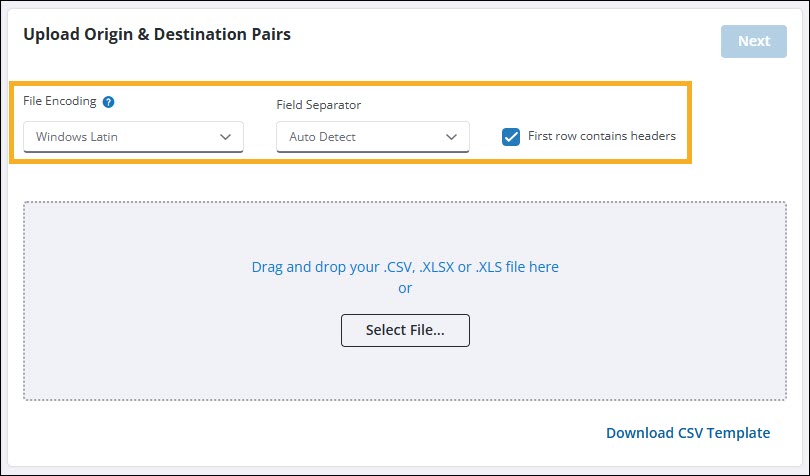
Choose your file upload settings by editing the following fields:
-
File Encoding - By default, Windows Latin is selected and covers most use cases. If your file contains special characters that are not appearing correctly during upload, select UTF-8.
-
Field Separator - By default, Auto Detect is selected and covers most use cases. If your file is not uploading correctly, determine the field separator value that is used in your upload file and select Comma, Tab, or Pipe.
-
First row contains headers - By default, this option is checked. Only uncheck this box if your Origin and Destination headings are not included in the first row of your upload file.
-
-
To upload your file, drag and drop it, or select Select File… to open the file browser and select your file.

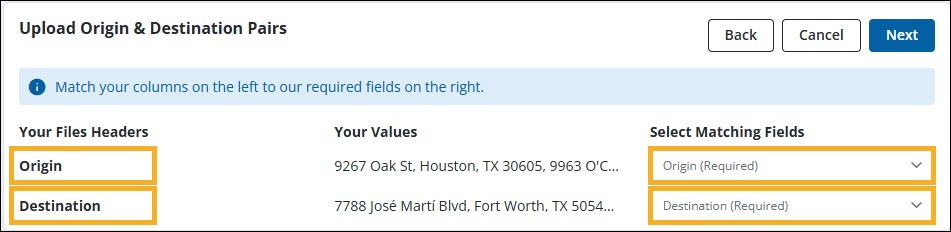
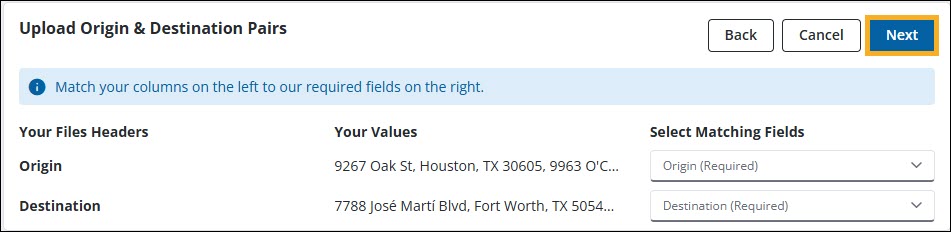
The file uploads and you are prompted to confirm which columns contain your origin and destination data.
-
For each file header listed, choose the correct option from the Select Matching Fields dropdown list. Your origin data should be matched to Origin (Required) and your destination data matched to Destination (Required). All other file headers in your data file should be set to Skip.
-
Select Next.
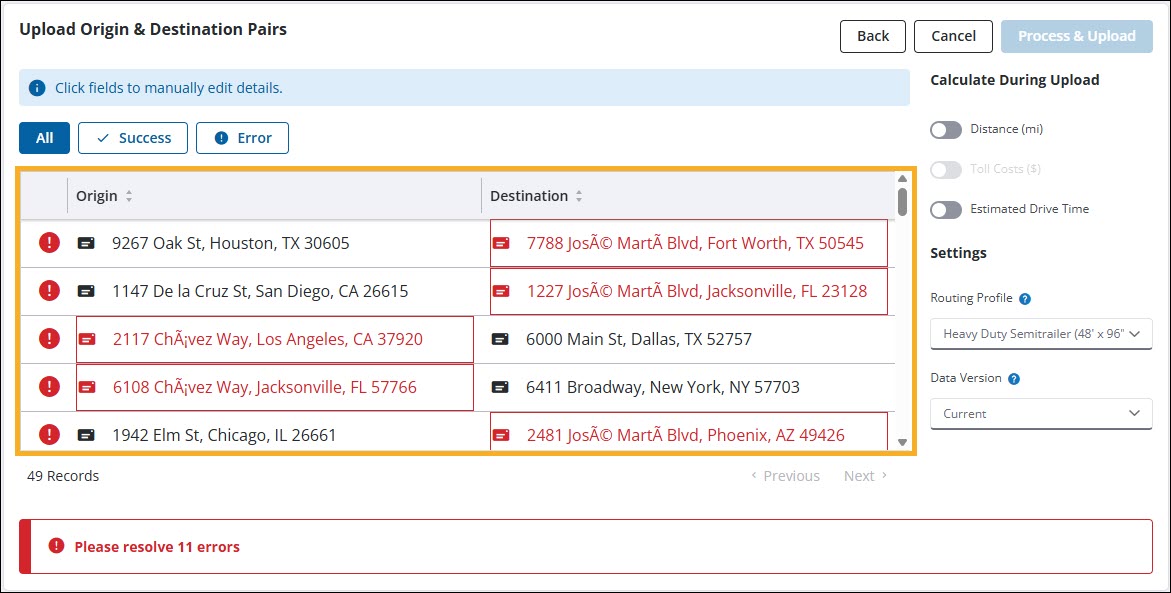
QuickBatch checks your origin/destination pairs for valid location formatting. Any errors are highlighted in red.
-
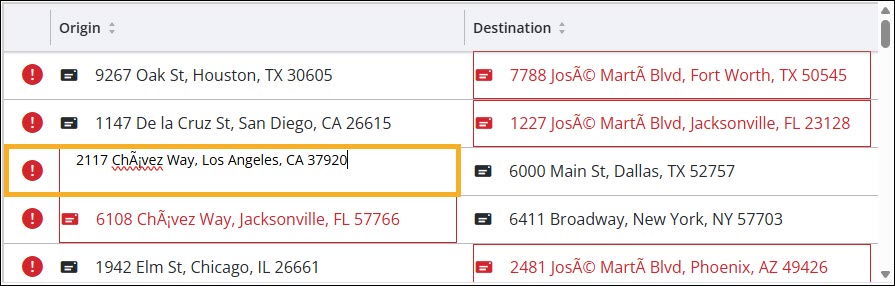
Correct your data file errors by doing one of the following:
-
For minor errors, you can select a field and edit it manually.
-
For major errors, we recommend reviewing and editing spreadsheet data file directly, or adjusting your file upload settings and trying again.
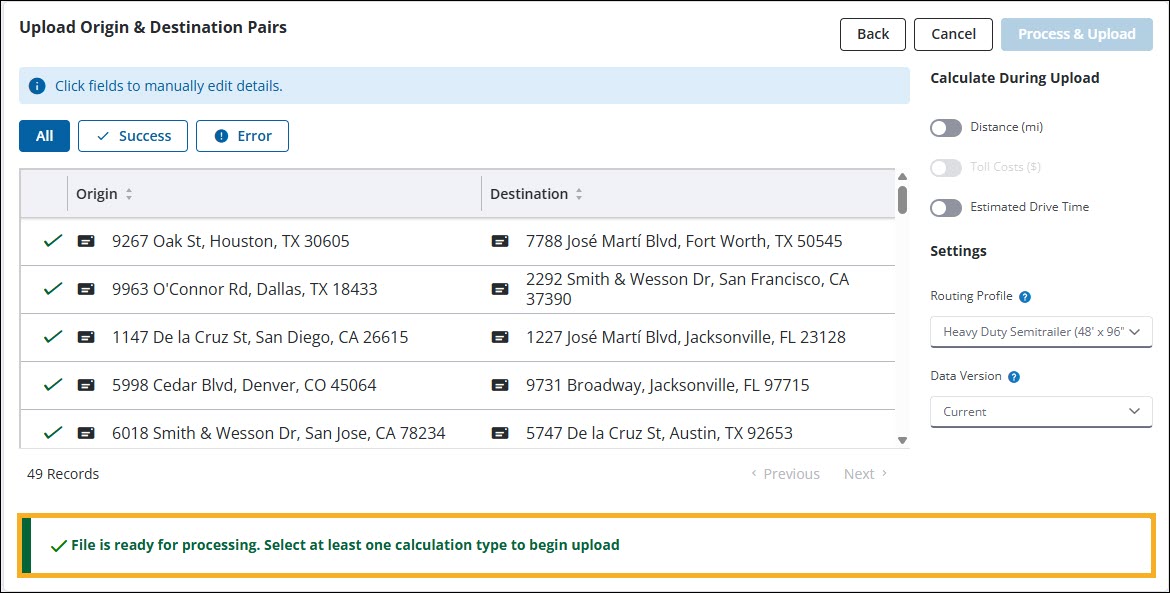
Once there are no errors in your upload file, a notification states that your file is ready for processing.
-
-
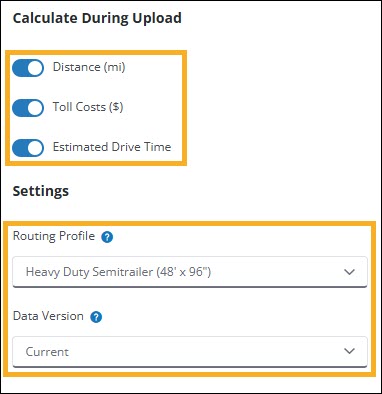
Configure how you want QuickBatch to process your data and what results will be listed in the output file by choosing your settings under Calculate During Upload.
-
Distance - Select the toggle to include route distances in your output file.
-
Toll Costs - Select the toggle to include toll costs for each route in your output file.
Show Toll Costs must be checked in the Application Settings tab before the Toll Cost toggle can be enabled in QuickBatch. -
Estimated Drive Time - Select the toggle to include estimated drive time for each route in your output file.
-
Routing Profile - Select the Routing Profile dropdown to choose which Vehicle Routing Profile you want QuickBatch to use when calculating route data.
-
Data Version (NA users only) - Select the Data Version dropdown to choose which PC*Miler data version you want QuickBatch to use when calculating route data.
-
-
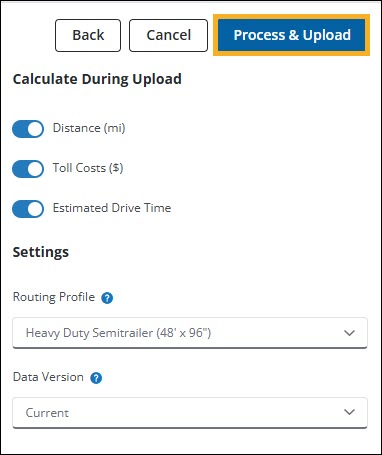
Select Process & Upload.
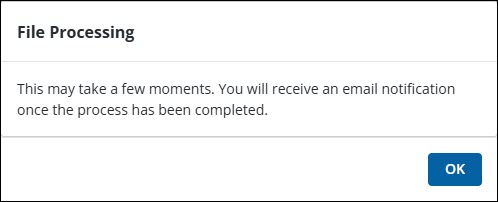
Your upload file is queued for processing by QuickBatch and a notification appears stating you will receive an email once processing is complete.
-
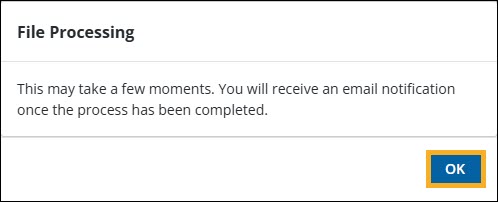
Select OK to return to the QuickBatch tab of PC*Miler.
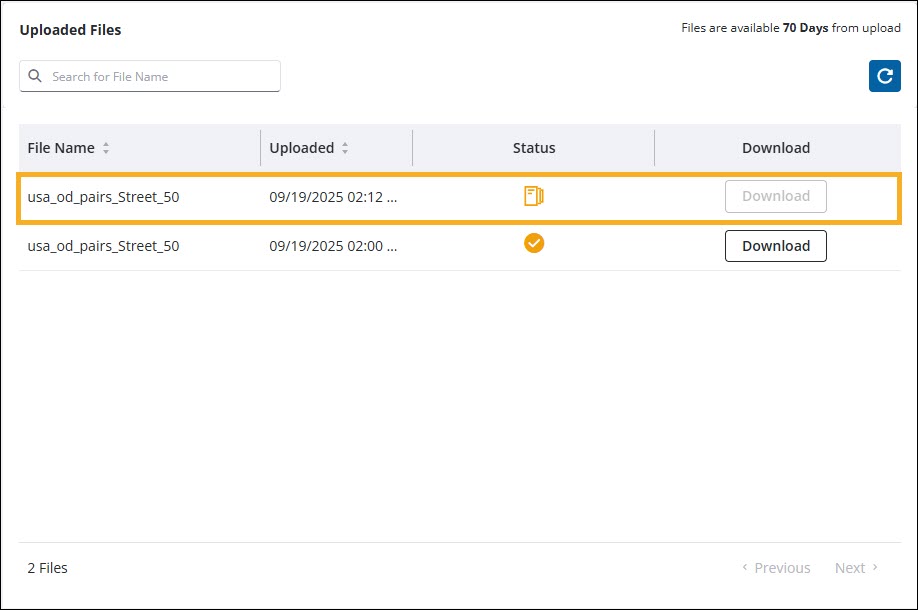
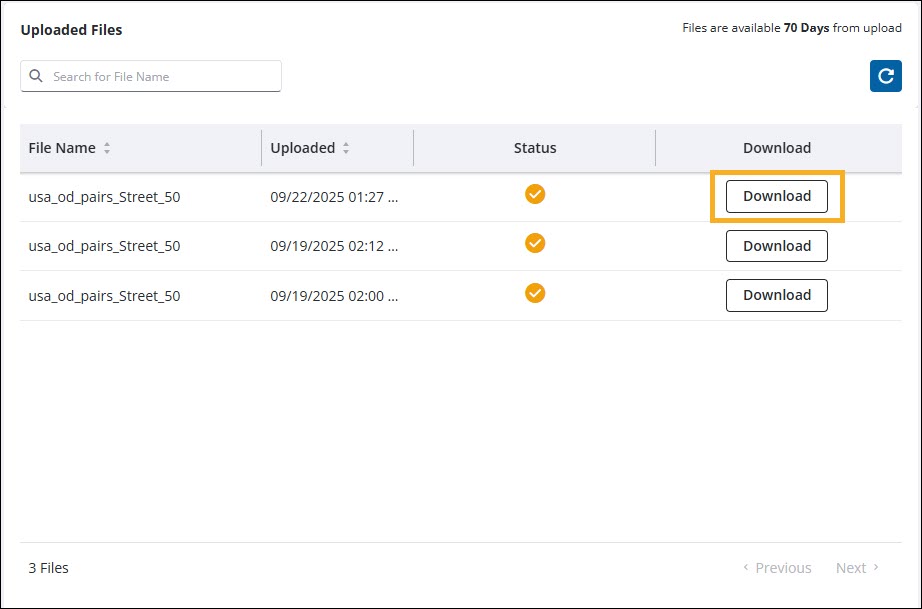
Your file is listed in the Uploaded Files pane and displays the current processing status.
Download a QuickBatch processed file
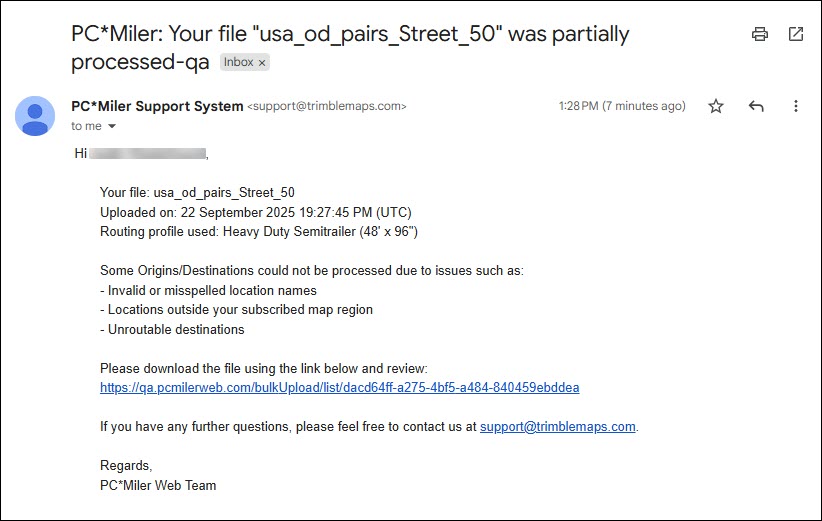
Once your uploaded file has been processed by QuickBatch, you receive an email notification providing details about the processed file and a link to download the completed file. The email states if the file was successfully processed (no data errors), partially processed (some data errors), or could not be processed.
-
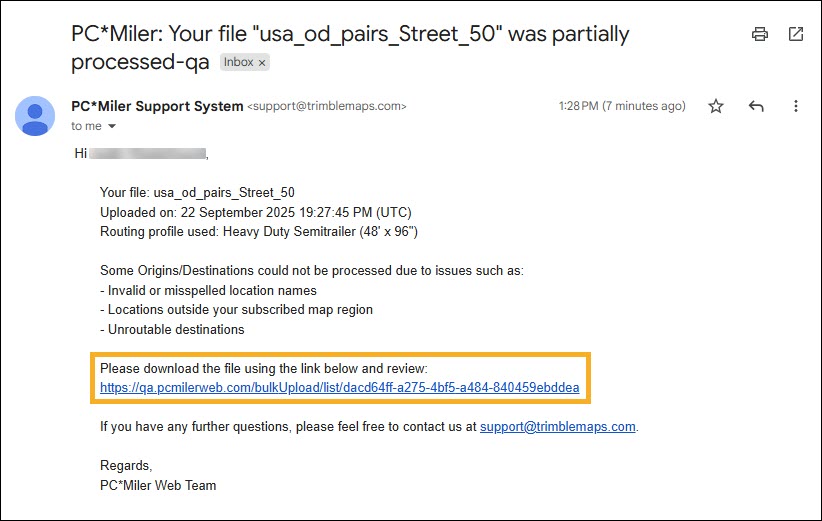
Select the download link to open PC*Miler Web.
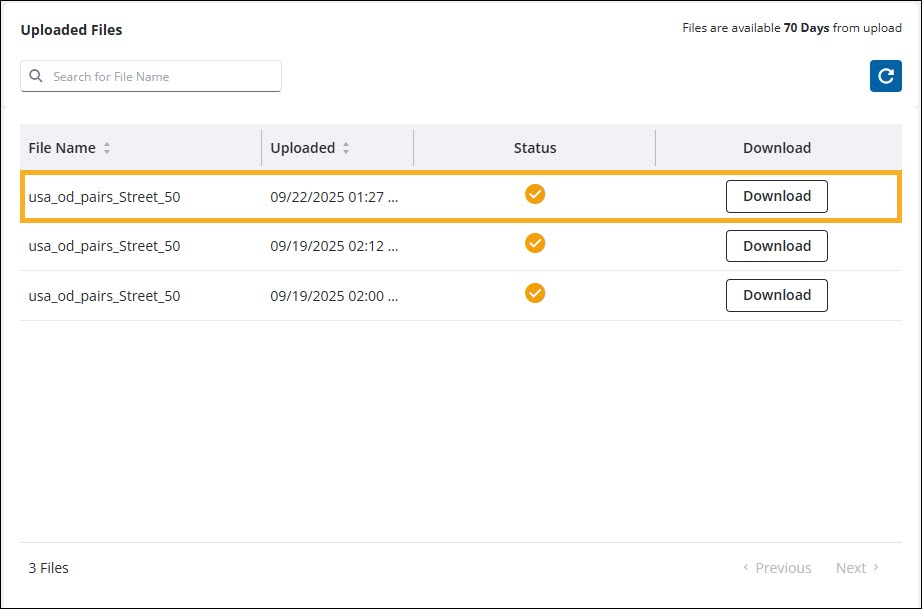
PC*Miler opens in a new browser tab and prompts you to log in if there is no active session. After you log in, the QuickBatch tab loads and your file is listed in the Uploaded Files pane. Note the Status icon also indicates if the file was successfully processed (green checkmark), partially processed (yellow checkmark), or could not be processed (red X).
-
Select Download to download your processed file.
Understanding your QuickBatch output file
Your QuickBatch output file is customized based on the route data options (distance, toll costs, drive time) you selected during upload and can be opened in any spreadsheet software that supports .CSV format. If you included three route data options when uploading your file, it will look similar to one of the following examples, depending on your region.
|
If you are using Microsoft Excel to open your output file and are experiencing issues with the formatting of special characters, you may need to import the file using Excel’s Get & Transform Data feature. To open a QuickBatch output file in the correct UTF-8 format:
|
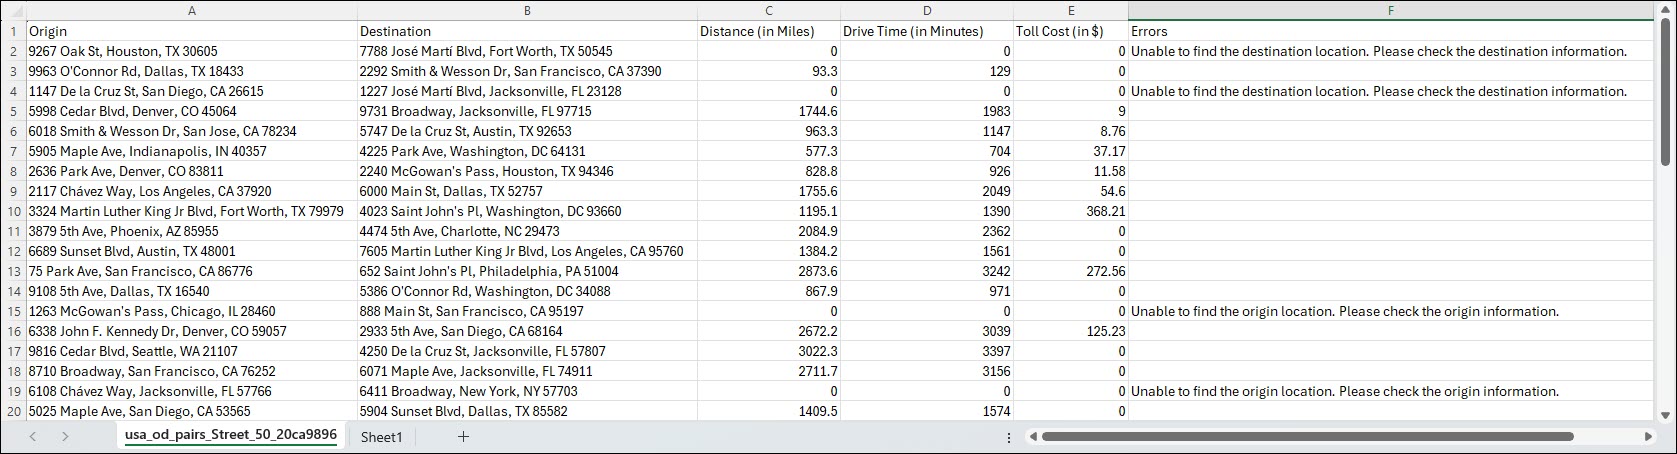
Output file for North American users
(Select image to enlarge)
-
Origin - The Origin column lists all origin locations included in your original upload file.
-
Destination - The Destination column lists all Destination locations included in your original upload file.
-
Distance - The Distance column lists the calculated distance for the specific route origin/destination pair. Unit of measure is determined by your Currency & Units preferences under Application Settings.
-
Drive Time - The Drive Time column lists the estimated drive time for the specific route origin/destination pair in minutes.
-
Toll Cost - The Toll Cost column lists the calculated toll cost for the specific route origin/destination pair. Unit of measure is determined by your Currency & Units preferences under Application Settings.
-
Errors - The Errors column states any reasons for why QuickBatch was unable to successfully calculate data for your route origin/destination pair (if applicable). If your file contains errors, review the comments and make any necessary corrections to your upload file before attempting to process the file again.
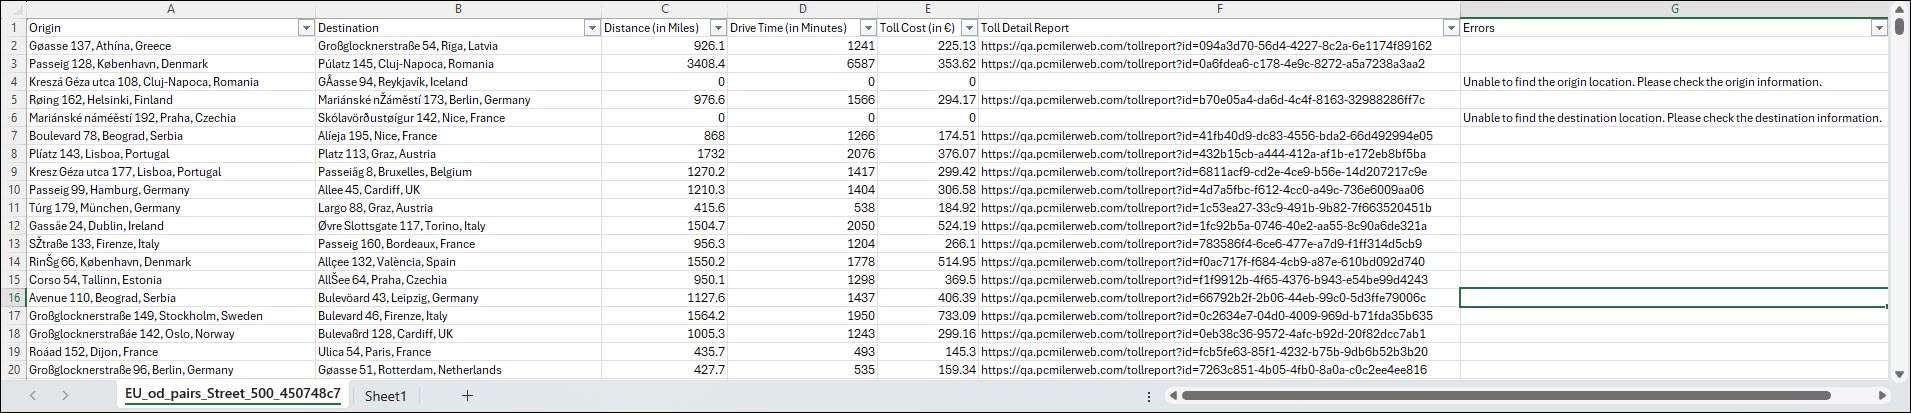
Output file for European users
(Select image to enlarge)
-
Origin - The Origin column lists all origin locations included in your original upload file.
-
Destination - The Destination column lists all Destination locations included in your original upload file.
-
Distance - The Distance column lists the calculated distance for the specific route origin/destination pair. Unit of measure is determined by your Currency & Units preferences under Application Settings.
-
Drive Time - The Drive Time column lists the estimated drive time for the specific route origin/destination pair in minutes.
-
Toll Cost - The Toll Cost column lists the calculated toll cost for the specific route origin/destination pair. Unit of measure is determined by your Currency & Units preferences under Application Settings.
-
Toll Detail Report (EU users only) - The Toll Detail Report column provides a URL link that you can use to view a Toll Detail Report for the specific route origin/destination pair. This is the same Toll Detail report that European users are familiar with when generating a route and viewing reports within PC*Miler Web.
To view the report, copy and paste the provided URL into your web browser. PC*Miler opens in a new browser tab and prompts you to log in if there is no active session. After you log in, the Toll Details Report opens in a new window.
If you are experiencing issues with opening the Toll Detail Report, check that you have enabled popups for PC*Miler Web in your current browser.
-
Errors - The Errors column states any reasons for why QuickBatch was unable to successfully calculate data for the specific route origin/destination pair (if applicable). If your file contains errors, review the comments and make any necessary corrections to your upload file before attempting to process the file again.