Add Assets and Assign Licenses
| If you are using CoPilot through an ELD provider, your assets may automatically be pulled into Account Manager from your ELD solution. Account Manager APIs are also available to add assets programmatically. |
Account Manager makes it easy to assign licenses for CoPilot Truck with ActiveTraffic to new assets. An "asset" could be:
-
Equipment mounted in a vehicle
-
A mobile device that may be used by different people at different times
-
A driver with a company assigned device or a personal device
That asset type—vehicle, mobile device, or driver—is selected at the time you purchase CoPilot. Otherwise, it is set automatically by the way you already identify your assets within the ELD solution to which you are adding CoPilot.
Add Individual Assets
-
In the Assets screen, click on the Add Asset button.
-
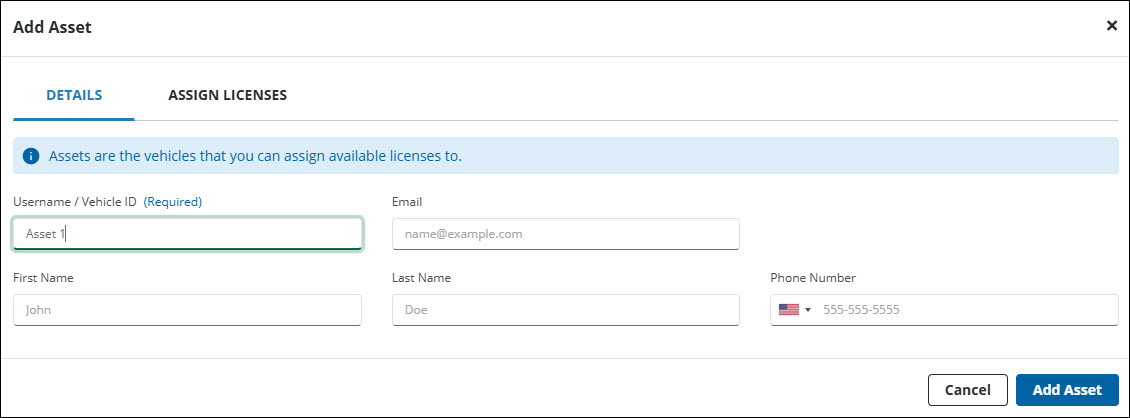
A dialog pops up where you can enter information about the new asset.
-
Each asset must have a Username—this is the unique Asset ID used to identify the asset. It is the only required field. This ID allows you to install and keep track of the apps that you assign. Depending on how you are assigning the apps (to vehicles, mobile devices, or drivers), the ID field in the UI may also be titled Email, Device ID, Vehicle ID, Inventory ID, Phone, or Driver ID/Employee ID.
-
The rest of the asset’s information is optional, and will most frequently be used when assigning apps directly to drivers. NOTE: If you are assigning apps to drivers, you must include an email address or phone number if you want them to receive instructions via email or SMS text message on how to download and install an app. If necessary, instructions on how to reset a lost password can also be sent to the driver using this email address.
-
Under the Assign Licenses tab, check a box to choose the license type while viewing your remaining number of available licenses.
-
Click on Add Asset after you have entered all of the information.
-
The asset will appear in your Assets list.
Import Multiple Assets
Instead of entering assets one at a time in Account Manager, you can import a list of assets via a .csv file.
Step 1: Create a .csv file of assets
-
The file should contain the following columns: Asset ID, Email, First Name, Last Name and Phone Number. Only Asset ID (Email, Device ID, Vehicle ID, etc.) is required; the other fields are optional. (A sample .csv file is available for download in the Import Assets dialog.)
Step 2: Import assets
-
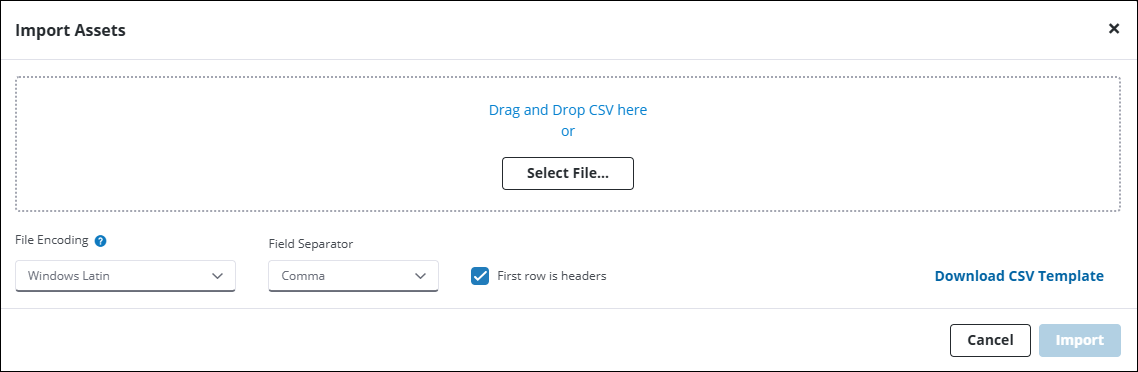
On the Assets panel, click on the Import button to open the Import Assets dialog.
-
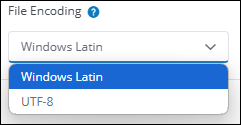
The File Encoding drop-down is only necessary if you are importing a file with characters encoded in UTF-8 format. This format is sometimes used to properly display special characters in names. (See Step 7 below.) If you aren’t sure whether the file uses UTF-8, leave the drop-down set at Windows Latin.
-
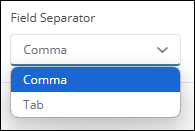
Click the Field Separator drop-down to select how data in your file is separated.
-
By default, First row is headers box is checked. This tells the importer that the first row of your .csv file is a header row for each column. You can uncheck it if there are no headers in your file.
-
Drag and drop your .csv file into the dialog or choose Select File to locate it on your computer.
-
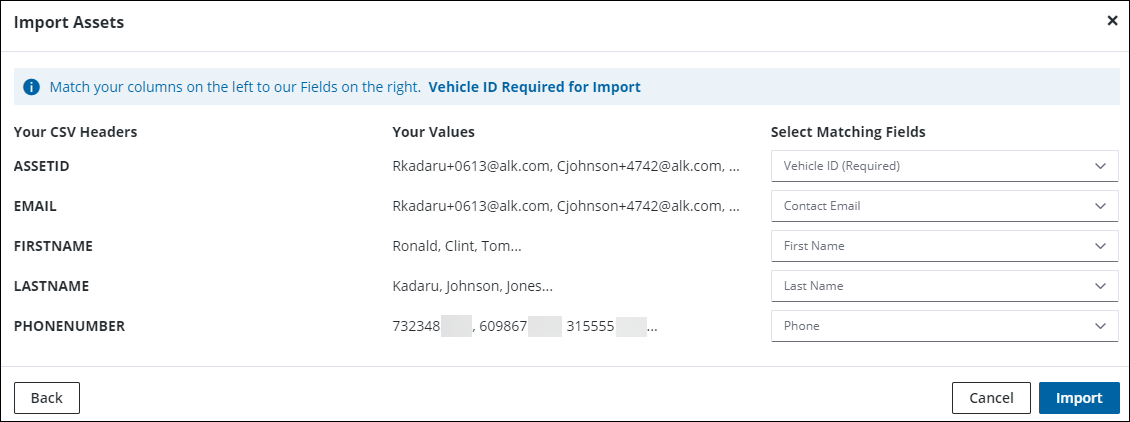
A dialog opens where you need to map the input from your .csv to the matching columns in Account Manager’s Assets screen. Vehicle ID is the only required field you must map to your data for the importer to execute.
-
After you Select Matching Fields, click on Import to continue. If the importer detects any errors in your data, a dialog will open where you can fix them before the import is completed. (If you notice that special characters in names, such as the German umlauts, are not displaying properly, click on Back to return to the initial import screen. Select UTF-8 under File Encoding and resume your import.)
-
Once imported, the new assets appear in your Assets list.
Step 3: Assign licenses to the assets
-
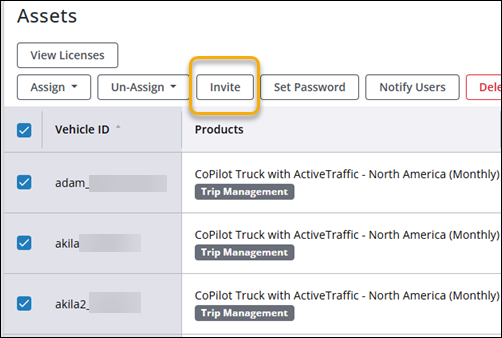
Once the assets have been imported, select the assets to whom you’d like to assign licenses by checking the box next to their names/IDs.

-
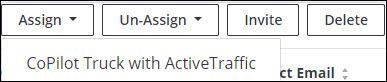
After checking more than one asset, buttons that allow you to Assign, Un-Assign, Invite or Delete multiple users at the same time appear at the top of the Assets panel.
-
Click Assign and choose the application you would like to assign to those assets on your company account.
-
The Assign Assets dialog confirms these assignments. Click Assign to continue.
-
Repeat if you would like to assign more than one application.
Invite Assets to Join Your Company
| This step can be skipped if you are installing the apps on company devices using only Vehicle or Device IDs. |
Individual Assets
-
In the Assets panel, click on the Invite button in the row with the asset’s information. The asset must have an email address entered into the account to send an invitation.

-
The asset will receive an e-mail notification with instructions on how to download the app and activate the license in a two-step process.
Multiple Assets
-
Check the boxes next to the names of the assets you’d like to invite to install the apps you assigned to them.
-
Click the Invite button.
-
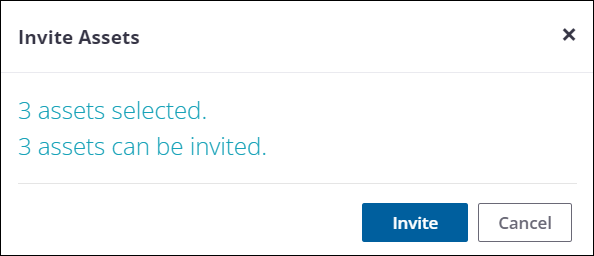
On the Invite Assets screen, click Invite to continue.
-
The assets receive an e-mail notification with instructions on how to download the app and activate the license in a two-step process.
Contact Your Drivers Directly
If you don’t include an email address or phone number when adding and saving an asset, you will see a screen similar to the one below after clicking on Add Asset.
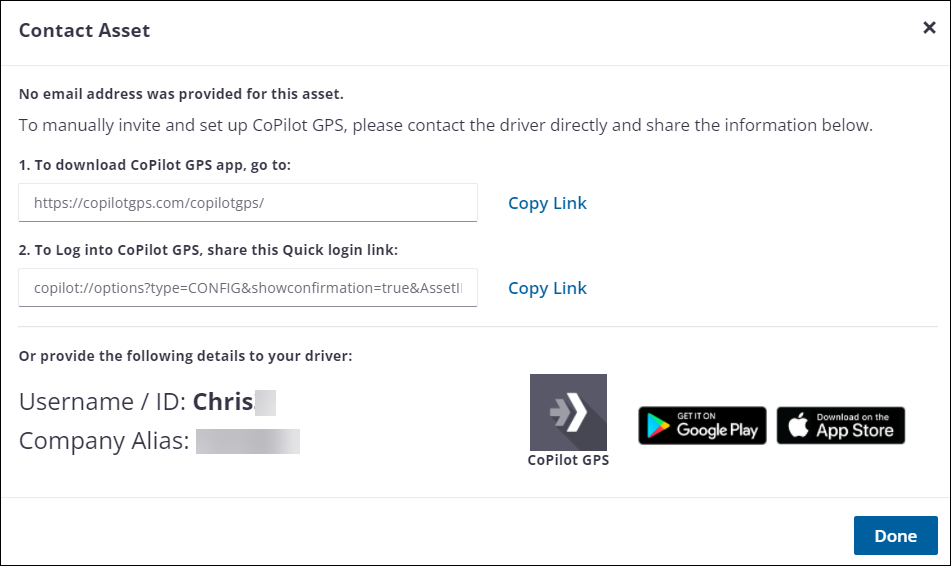
It includes URL links you can provide for drivers to:
-
Download the CoPilot app onto a personal device or a company device.
-
Log in to CoPilot with their username and Trimble company alias. (After that initial login, CoPilot logs in automatically each time it is launched.)
Alternatively, you or your drivers can use the details at the bottom of the screen (username and company alias) to download, install, and launch CoPilot on a device.
You can view the Contact Asset screen at any time by clicking on the red Contact button in the row with the asset’s information. (The Contact button appears or disappears depending on whether an asset has an email address where they can be contacted.)

Invite Via SMS Message
(New accounts only in the U.S. and Canada. Must be set up at the time the account is created.)
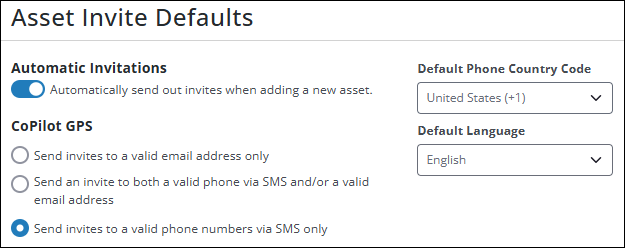
Drivers can also be contacted via SMS text message if a phone number is included when adding the asset. To enable this feature, go to Manage Account > Account Settings. Under Asset Invite Defaults:
-
Select either Send an invite to both a valid phone number via SMS and/or a valid email address or Send invites to a valid phone number via SMS only.
-
Select a Default Phone Country Code for phone numbers. Currently, only U.S. and Canada are supported.
SMS invitations can then be sent when adding an individual asset or when inviting multiple assets.
Individual Asset SMS Invite
-
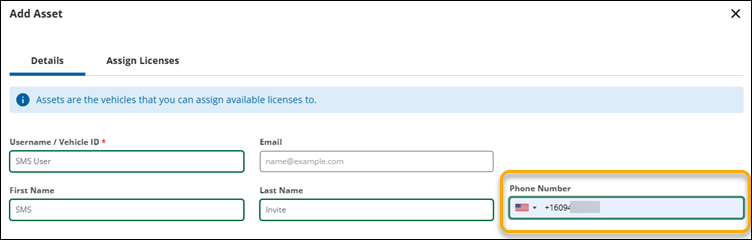
When creating the Asset, include a phone number in the Phone Number field.
-
Assign a license and select Add Asset.
-
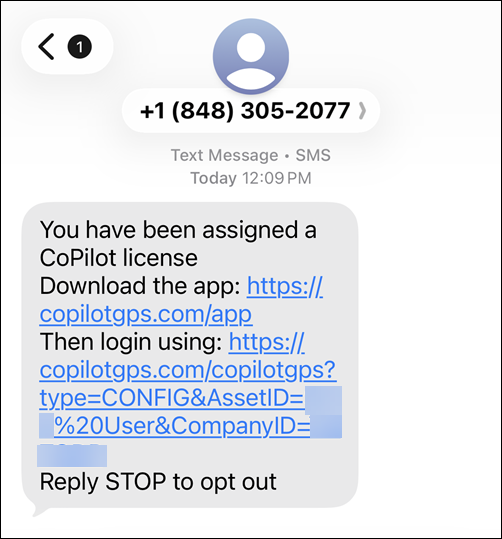
After selecting Add Asset, an SMS message is sent to the phone number provided with two links: One to download and install the CoPilot app; and one to automatically launch and log in to CoPilot using the asset’s ID and company ID.
Multiple Asset SMS Invites
-
On the Assets table, select multiple assets by checking the boxes next to their names/IDs. Ensure that each asset has a valid phone number, and has not already been assigned or activated a CoPilot license.
-
Select Invite. Assets that have phone numbers will receive an SMS message.
SMS Invite Notes
Messages cannot be resent within 60 seconds to avoid spamming the same phone number. If you attempt to resend an SMS invitation within that time frame, a notification appears in Account Manager indicating that the message was not sent.
An asset with a phone number and an email address will receive both a text message and an email. If the SMS invitation is rejected because it is within the 60-second freeze time, the email is still sent.
Checking an Asset’s License Status
Once a license has been assigned to an asset, that asset will have one of three values in its Status column: Unassigned, Assigned and Activated.
-
Unassigned - the asset has been entered into Account Manager but was not assigned an app license.
-
Assigned - the asset has been assigned an app license, but hasn’t activated it yet. (See instructions below for how to install and activate an app.)
-
Activated - the asset has installed and activated the app.