Adding or hiding a column using the Field Chooser
Use this procedure to choose which fields display as columns in the grid and which are hidden.
1. Click the
 Field Chooser
 icon.
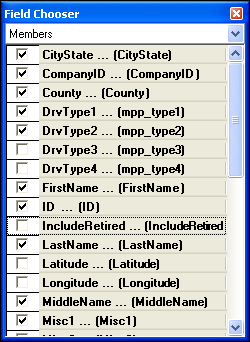
The Field Chooser window is shown.
Show me
Note: All available fields are listed in alphabetical order with the default column name, followed by the database field name.
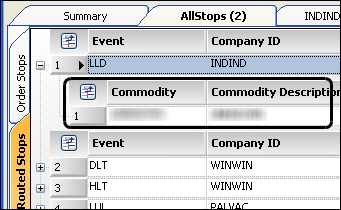
2. If the grid contains nested data rows, do one of the following.
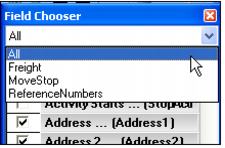
The available fields are listed as members of a group of fields.
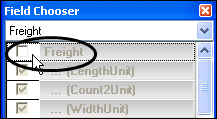
Example of nested data rows. | Field Chooser groups represented in the grid. |
• To limit the list of fields, select the group from the drop-down member list.
• To hide the entire nested row, clear the check box next to its name.
3. Do one of the following:
• Click-and-drag method
1) To display the field, click and drag a field from the Field Chooser window:
to a location in the grid:
The red arrows indicate where the column will be located.
2) To hide a field, click and drag the column heading from the grid to anywhere outside the grid.
• Check box method
1) Select the check boxes next to the fields to display as columns in the grid.
2) Clear the check boxes next to the fields to hide from display.
4. When finished, close the Field Chooser window.
 Field Chooser icon.


