Changing the border colors for the priorities
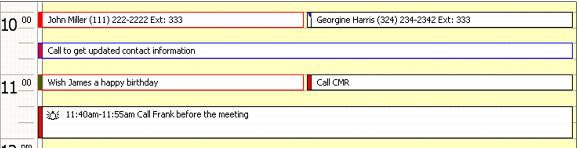
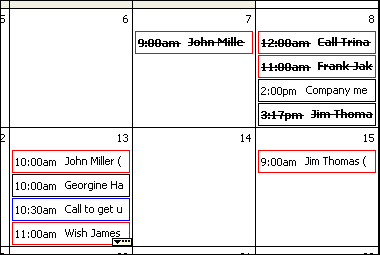
Each activity is displayed with a border line around it. The color of the border is determined by the priority of the activity. You can change these settings on the CRM Configuration window. These color borders also display on the Week and Month views.
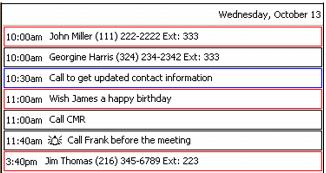
Day view
Week view
Month view
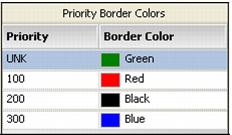
The default colors are:
In this example, the first activity is a Call with a High priority. The other activity is an Event with a Low Priority.
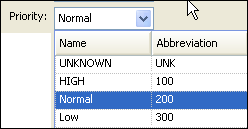
The numbers associated with each priority are defined in the Abbr column in the TaskPriority label file, accessed in the TMWSuite System Administration application. These numbers are also seen in the drop-down Priority field on the Activity Detail window.
Use this procedure to select or change a border color.
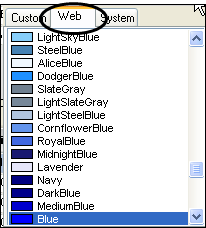
1. In the Bar Color column of the Priority Border Colors section, click on the drop-down arrow next to the color name.
The color list opens to show the current color. This sample shows that Blue was selected from the Web color palette.
Show me
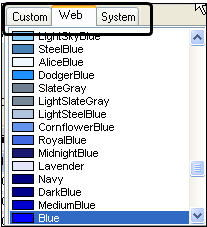
2. If you want, select a different color palette by clicking on one of the tabs.
Show me
3. Scroll to and select a color.
4. When finished, click OK.
If you decide not to make the changes, click Cancel instead.