Save, share, and manage routes
After you have generated a route, there are several actions you can take, including saving the route for future use, sharing the route with other users within your company, and exporting the route to a .JSON file for sharing independently. Most of these actions can be performed by selecting the route you want to work with from the Routes pane and choosing the appropriate function.
-
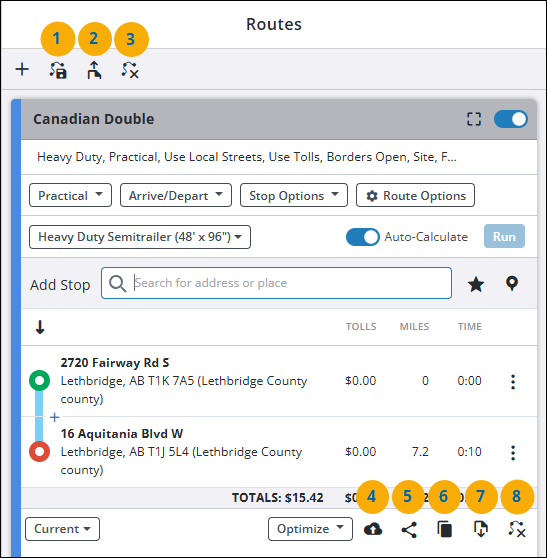
Open Saved Route - Open a saved or shared route.
-
Import Route - Import route from a .json file.
-
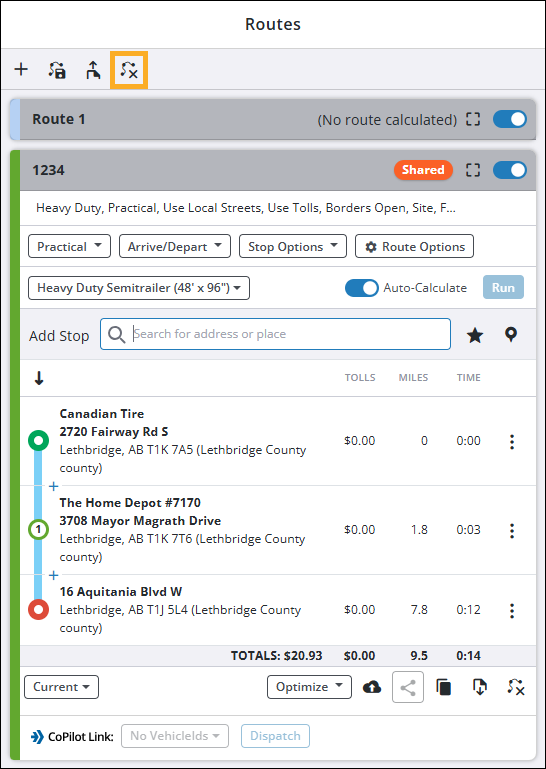
Close All Routes - Close all currently open routes.
-
Save Route - Save the selected route. (A maximum total of 3,000 routes can be saved in your account.)
-
Share Route - Share the selected route. (This function is disabled for routes that have already been shared.)
-
Duplicate Route - Duplicate the selected route.
-
Export Route - Export the selected route to a .json file.
-
Close Route - Close the selected route.
Save a route
-
To save a newly created route, select the Save Route icon. The Save Route popup window appears.

Enter a unique name or ID in the Route Name field and select Save.
-
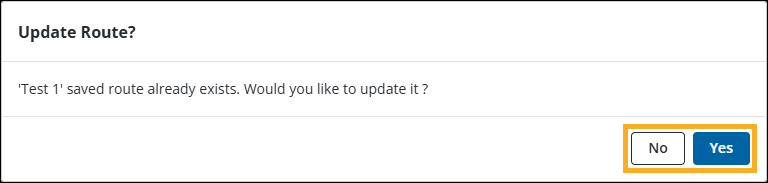
To save changes to an existing saved route, select the Save Route icon. The Update Route? popup window appears.
-
Select Yes to update the current saved route with your changes.
-
Select No to create a new saved route with your changes.
-
Open a saved or shared route
-
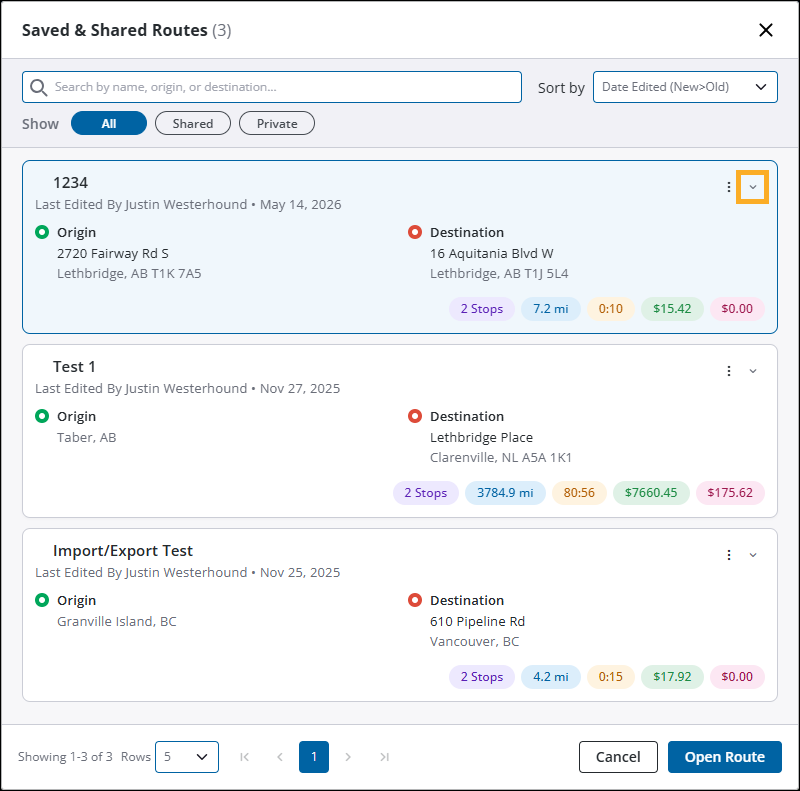
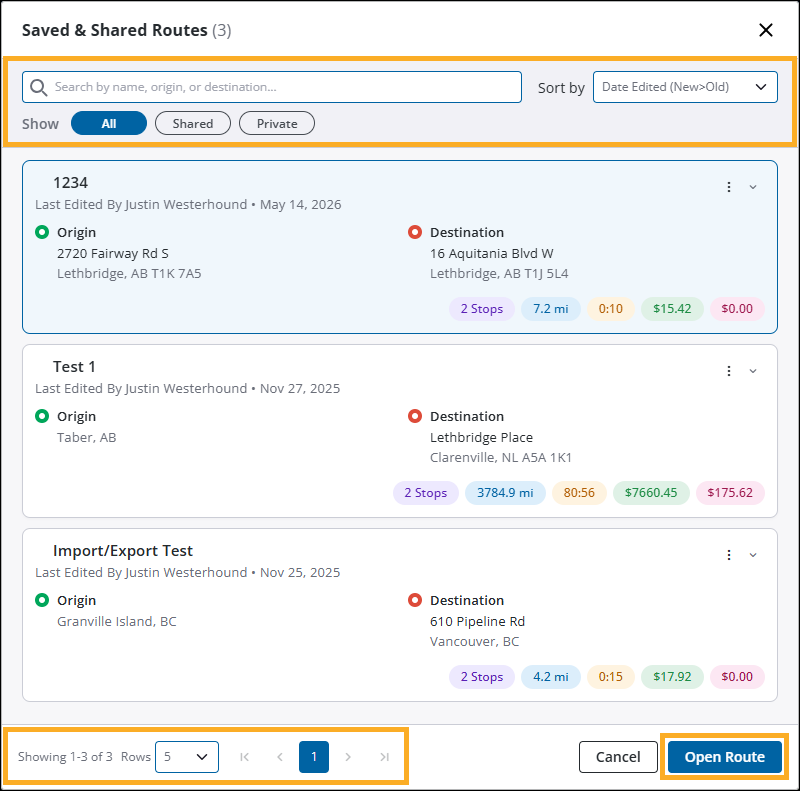
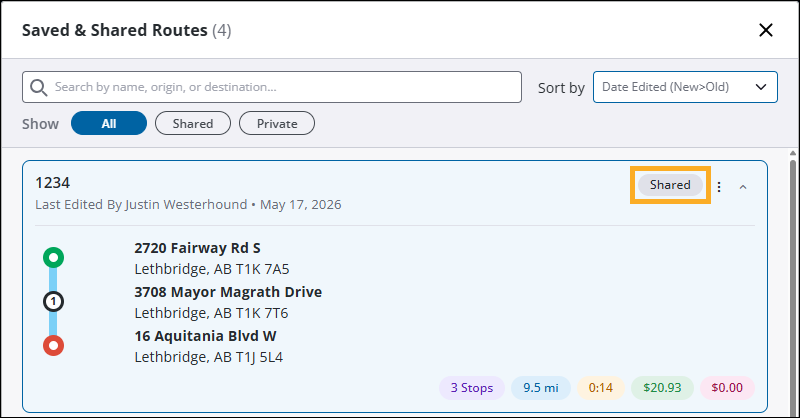
To open a saved or shared route, select the Open Saved Route icon. The Saved & Shared Routes popup window appears.
-
General route details are displayed for each route by default. To view all stops for a specific route, select the Expand icon in the upper-right corner of the route. The route details expand and display the stops for the selected route.
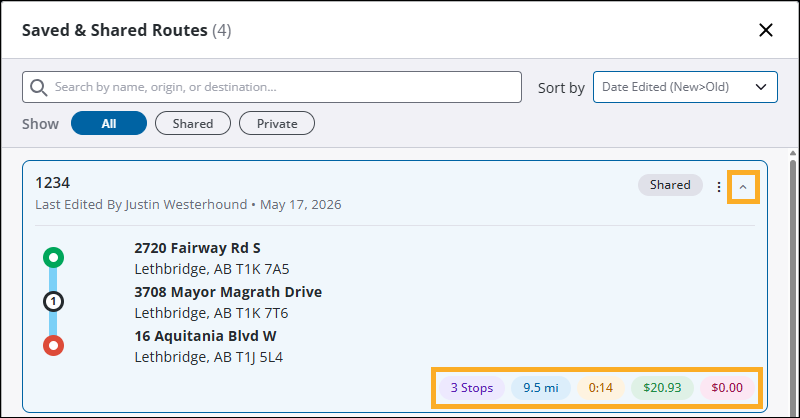
The bottom-left corner of the route card displays additional details about the route, including:
-
Number of Stops (Purple)
-
Total Distance (Blue)
-
Travel Time (Yellow)
-
Total Trip Cost (Green)
-
Toll Costs (Red)
-
-
You can find a specific route by using the search and filter options:
-
Use the search field if you know the name of the route you want to load.
-
Use the Sort By dropdown to sort routes alphabetically, or by date edited.
-
Use the Show filters to display routes based on their status.
-
All - Displays all routes.
-
Shared - Displays routes that you have shared, and all routes shared by other users within your company.
-
Private - Displays routes that you have saved but are not shared with other users.
-
-
Use the page navigation controls in the bottom-left corner to navigate through multiple pages of routes. Use the Rows dropdown to adjust how many routes are displayed per page.
-
-
Once you have found the route you want to open, select the route from the list and then select Open Route. The route appears in the Routes pane.
Using the Shared Routes feature
One of the newest features in PC*Miler Web is the ability to share saved routes directly from within the application. This allows you to quickly share routes with other users in your company without having to go through the process of exporting and sharing route files outside of the application. When you share a route, it becomes visible to all users within your company in their Saved & Shared Routes list.
A shared route contains all route information, including stops, vehicle profile settings, and route options. This allows other users to open the shared route and view all the same details that you see when you open the route.
Sharing a route
There are two options available to you when choosing to share routes within PC*Miler Web:
-
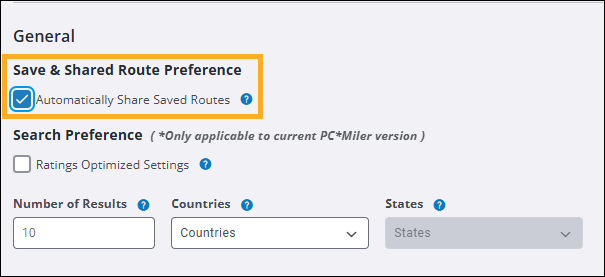
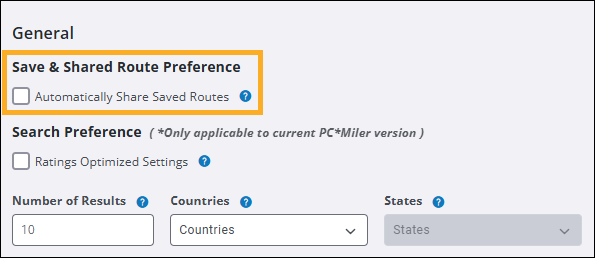
You can automatically share saved routes by checking the Automatically Share Saved Routes checkbox under Application Settings > General > Save & Share Preference. When this setting is enabled, all routes that you save are automatically shared without needing to manually select the Share Route icon for each route.
-
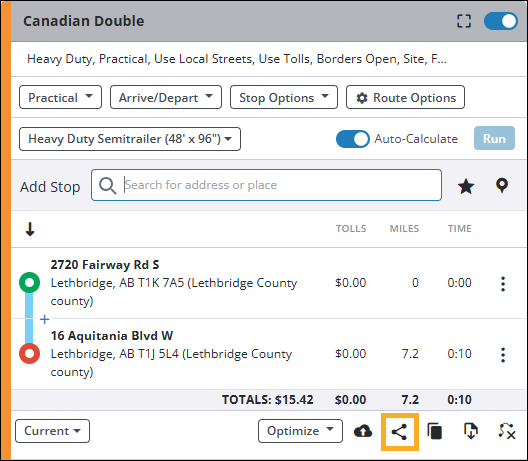
If you want to control which of your saved routes are shared, leave the Automatically Share Saved Routes setting unchecked and manually select the Share Route icon each time you want to share a route.
Once a route is shared, it is visible to all users within your company in their Saved & Shared Routes list. Shared routes are denoted by a Shared label that appears in both the Saved & Shared Routes window, and your route list when the route is opened.
| In either case, once a route is shared, the Share Route icon becomes disabled. This means a shared route cannot be made private again after it has been shared. |
View the edit history of a shared route
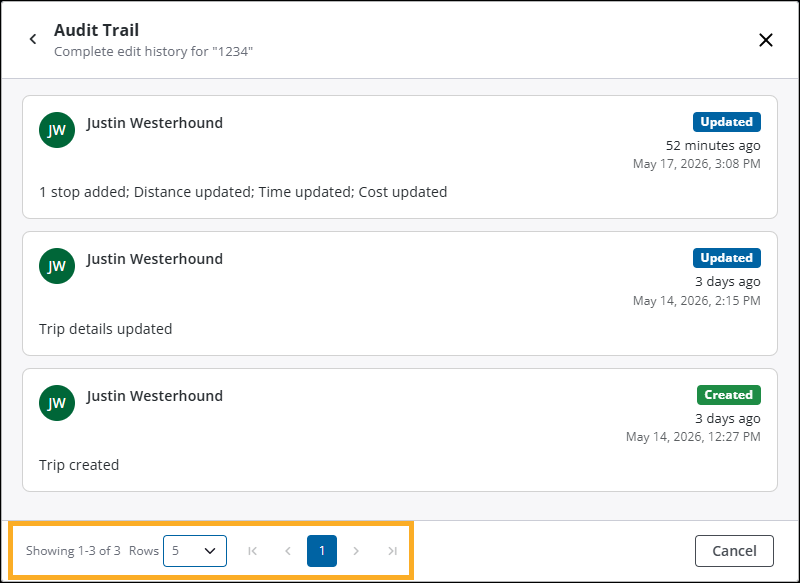
It is important to understand that shared routes can be edited or deleted by other users. When changes are made to a shared route, or the route is deleted, the changes are reflected for all users. You can review changes made to a route by viewing the route’s Audit Trail which displays a history of all changes made to the route, including who made the change and when.
-
From the Saved & Shared Routes window, select the Options icon in the upper-right corner of the route you want to review, then select Audit Trail.

-
The Audit Trail window appears and displays a history of all changes made to the route. Use the page navigation controls, and the Rows dropdown to navigate through the audit trail history.
Duplicate a shared route
While you cannot make a shared route private after it has been shared, you can duplicate a shared route and save it as a new private route.
-
Before duplicating a route, ensure that Automatically Share Saved Routes is unchecked under Application Settings > General > Save & Share Preference.
-
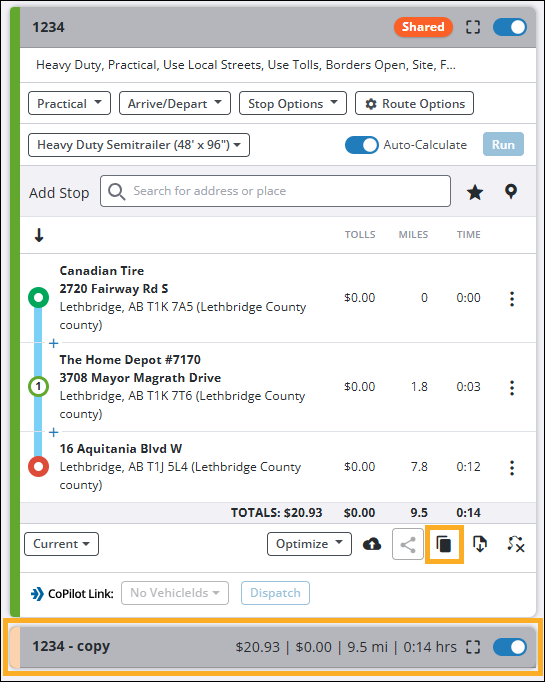
Select the shared route you want to make a copy of and then select the Duplicate Route icon. The duplicated route appears in the Routes pane with "Copy" added to the end of the original route name.
-
Select the Save Route icon and enter a new name for the duplicated route. This creates a new private route that is identical to the original shared route.
| Additional details on duplicating and comparing routes can be found in the Duplicate and compare routes help topic. |
Using the Import/Export routes feature
You can also share routes between PC*Miler Web users via the import and export route functions. An exported route file contains all the same route information that you would expect from a saved or shared route.
Export a route
-
To begin, create a new route, or open an existing saved route, and confirm all your vehicle profile settings and route options are set correctly.
-
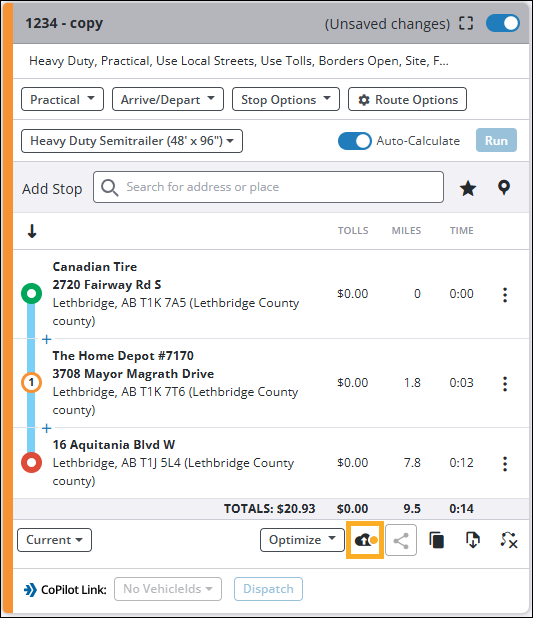
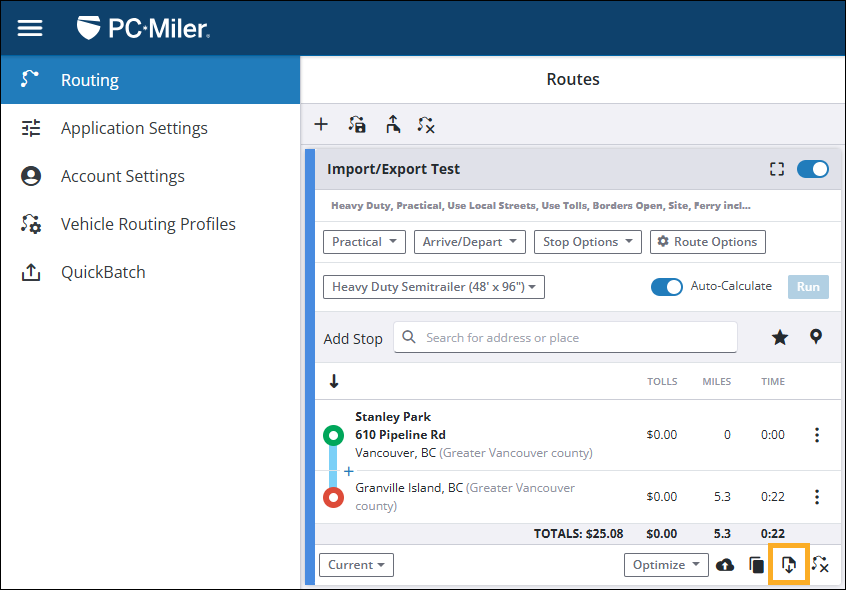
With your route selected in the Routing window, select the Export Route icon.
-
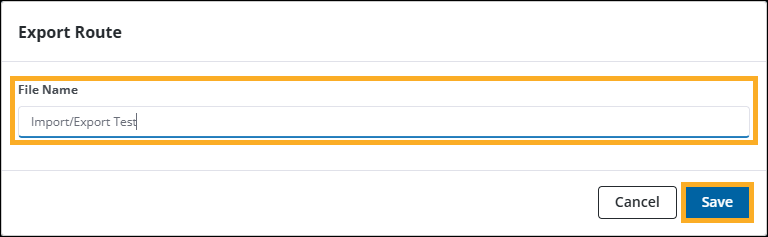
The Export Route popup window opens and displays the name of your route in the File Name field. You can keep this file name or enter a new one. However, ensure that your export file has a unique name or ID as this will help avoid confusion in the event you are exporting multiple routes at a time.
-
Once you have chosen a file name, select Save. Your route is exported in .json format to your web browser’s download file location (typically your computer’s "Downloads" folder). Your export file can be shared using any standard practice (email, direct message, shared folder, etc.).
Import a route
-
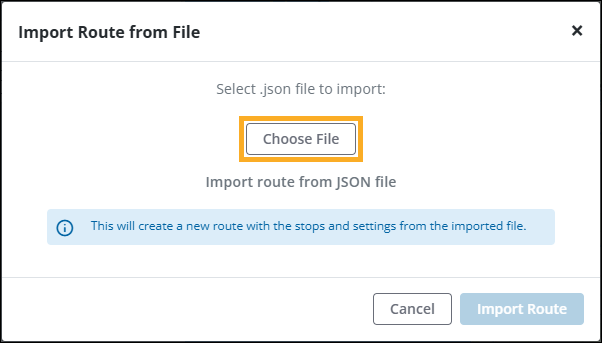
To import a route, navigate to the Routing window and select the Import Route icon.
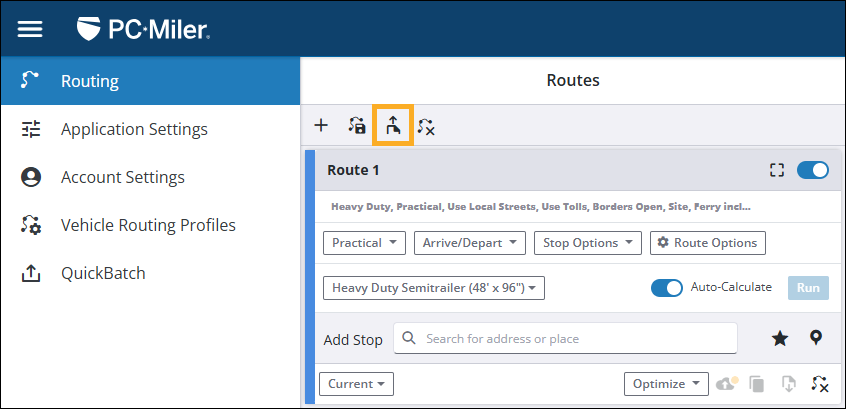
The Import Route from File popup window appears.
-
Select Choose File and select the .json route file you want to import.
-
With a valid file chosen, select Import Route.
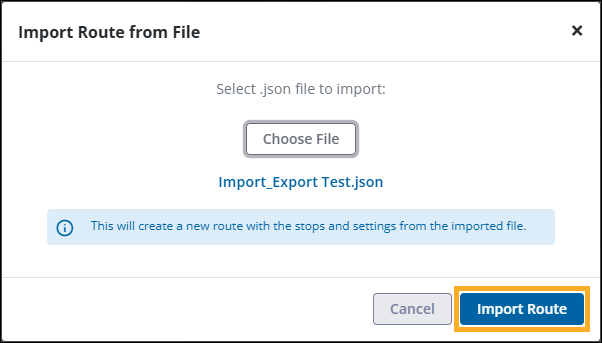
Your route file is processed and the imported route appears in the Routing window.

The imported route can be treated just like any other route. This means you can make edits, save the route, and view route reports as you normally would.
Remove or delete routes
There are multiple ways to remove or delete routes in PC*Miler Web. Which option you should use depends on whether you want to remove routes from your Routes pane, or delete them from your Saved & Shared Routes list.
Closing routes from your open routes list
| Closing a route from your open routes list does not permanently delete the route from your Saved & Shared Routes. |
You can remove routes from your routes list by doing one of the following:
-
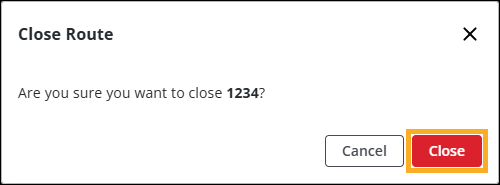
To close a single route, select the route you want to delete in your Routes pane and then select the Close Route icon displayed within the selected route.
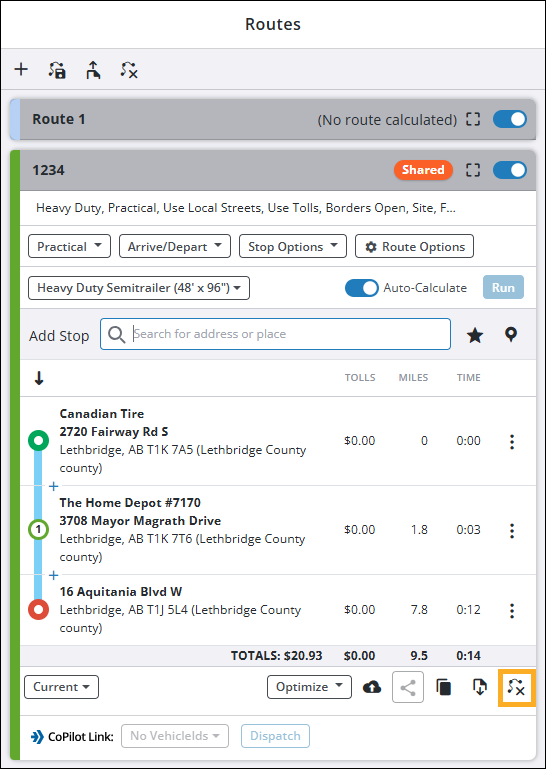
A popup notification appears, asking you to confirm the removal. Select Close to remove the route.
-
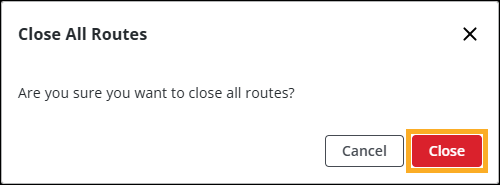
If you want to close all open routes at once, select the Close All Routes icon at the top of the Routes pane.
A popup notification appears, asking you to confirm the removal. Select Close to close all open routes.
Deleting routes from your Saved & Shared Routes
| Deleted routes cannot be recovered. Deleting a route from your Saved & Shared Routes permanently removes it from your PC*Miler account. If you choose to delete a route that is shared, the route is deleted for all users within your company. Before deleting a shared route, we recommend that you check with your team to ensure that the route is not being used by others. |
To delete a route from your Saved & Shared Routes:
-
Select the Open Saved Route icon to open the Saved & Shared Routes window.
-
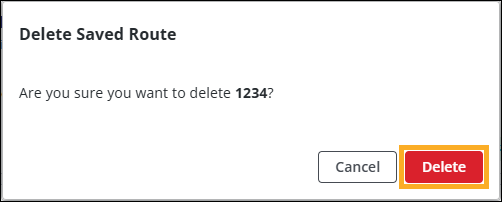
Find the route you want to delete and select the Options icon in the upper-right corner of the route, then select Delete.
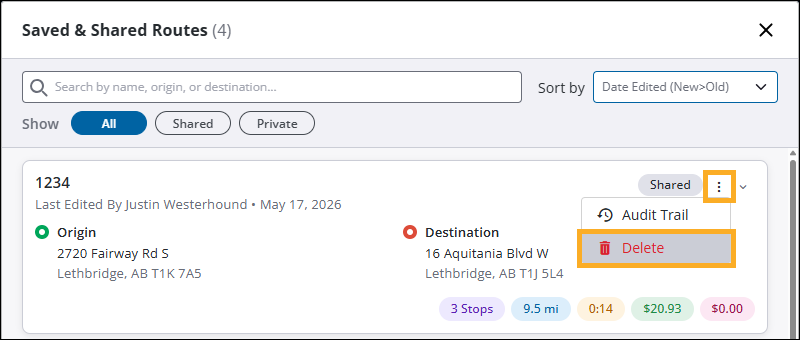
A popup notification appears, asking you to confirm the deletion. Select Delete to remove the route.