Creating board views
A SQL view is a stored query that joins one or more tables, resulting in a virtual table. The data retrieved by a view is not stored in the database. Instead, it is the SELECT statement that is stored. The virtual table is made up of the result set retrieved by the SELECT statement. By default, TMW Operations is provided with one view for each SQL view used in the boards.
The default dispatch views are: Trips Scroll View, Inbound Scroll View, Shift Planner Scroll, and Appointment Scheduler Scroll. They serve as templates for customized views. From these templates, you can create multiple board views to meet the different needs of dispatchers or other users. Each view can contain its own restrictions, column displays, and specific views for resource sub tabs.
| If TMW Operations was opened before you created a new custom SQL view, you must close and reopen it to access the new view in the Board Setup window. |
Follow this procedure to create a new board view by copying an existing view, which allows users to access a SQL view from within a board.
-
Go to File > Board Setup.
The Board Setup window opens. -
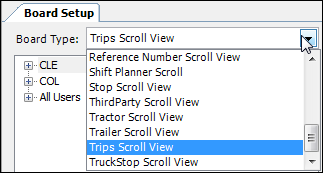
From the Board Type drop-down list, select the type of view for which you created the new SQL view.
-
For outbound views, select Trips Scroll View.
-
For inbound views, select Inbound Scroll View.
-
For shift views, select Shift Planner Scroll.
-
For Appointment Scheduler views, select Appointment Scheduler Scroll.
Show meIn this example, Trips Scroll View is selected. It is used for outbound planning board views.
-
-
From the User Tree, select the user or user group that should have access to this view.
A list of existing board views for the selected Board Type is shown.Show me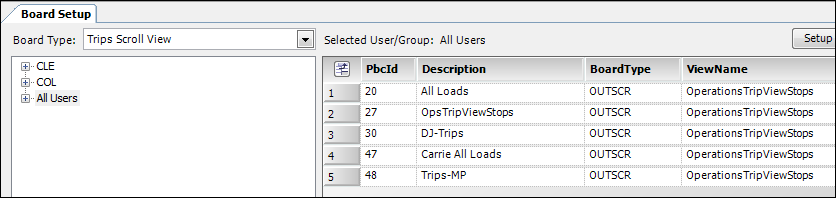
-
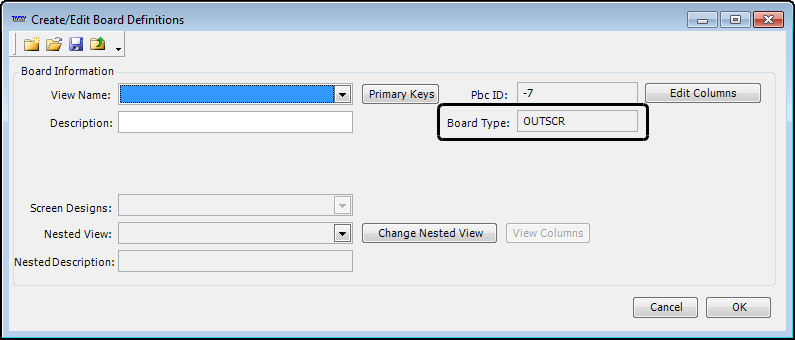
Click New.
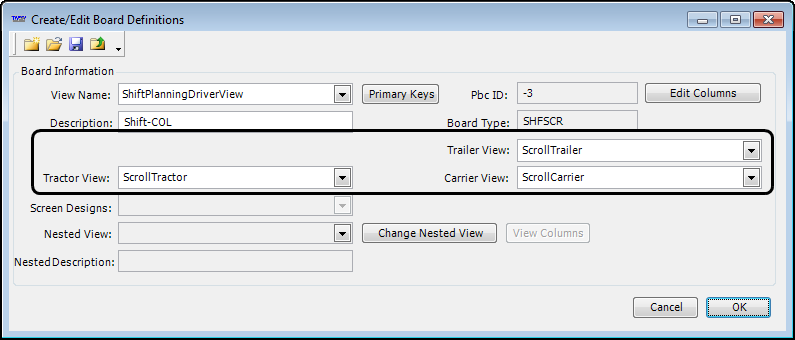
The Create/Edit Board Definitions window opens.Outbound viewNotice that the Board Type is OUTSCR, which is the board type for all outbound views.
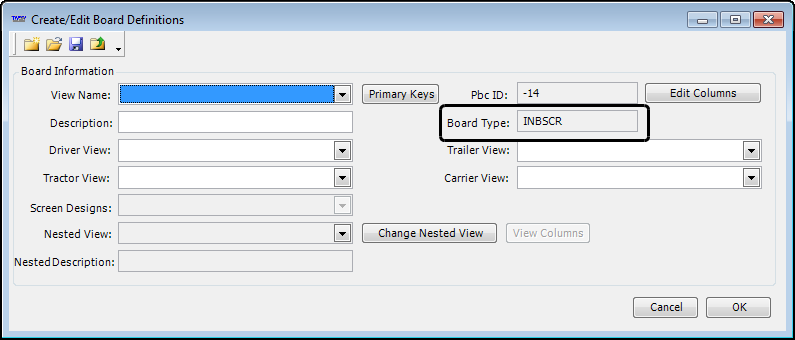
 Inbound view
Notice that the Board Type is INBSCR, which is the board type for all inbound views.
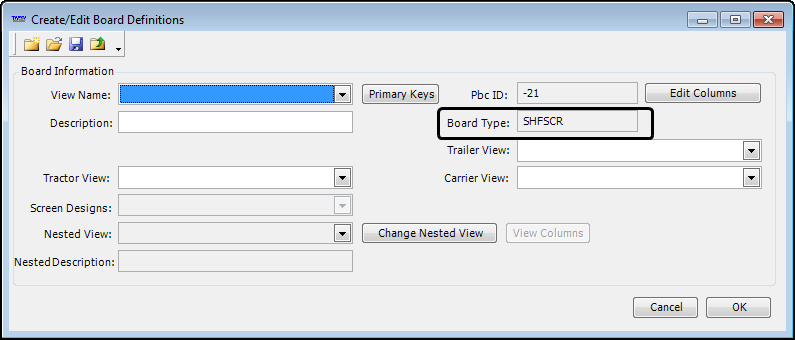
 Shift view
Notice that the Board Type is SHFSCR, which is the board type for all shift views.
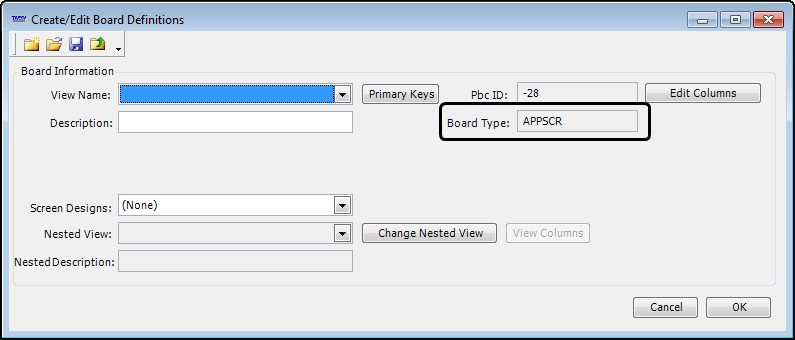
 Appointment Scheduler view
Notice that the Board Type is APPSCR, which is the board type for all Appointment Scheduler views.
-
In the View Name field, select the SQL view you want to use as a basis for this board view.
-
In the Description field, enter a name for this view.
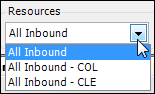
It is the name that will show in the drop-down list on the board.Show meThis example shows the inbound views available to the user.
-
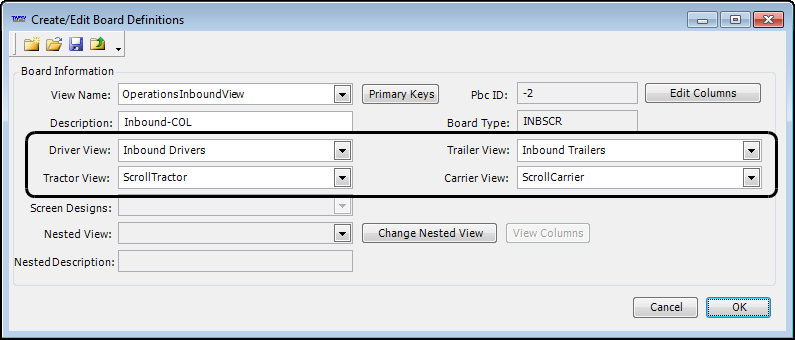
If you are defining an inbound view or a shift view, select the resource view for each of the sub tabs on the Planning Worksheet or Trip Planner.
Note: You must select a view for each of the resources. In this documentation, these are also referred to as child views.
Inbound viewsThis example shows the default scroll views for resources. If you created a different SQL view for any of the sub tabs on the Planning Worksheet, select it.
 Shift views
This example shows the default scroll views for resources. If you created a different SQL view for any of the sub tabs (child views) on the Trip Planner, select it.
-
On the Create/Edit Board Definitions window, click OK.
The window closes and a new data row is added to the Board Setup window.Show me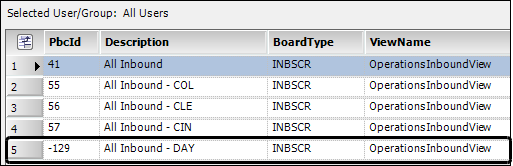
-
Click Save.
After a short period of time, the system-assigned view ID is shown in the PbcId column.Show me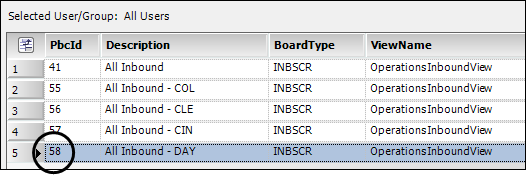
-
Click OK to close the Board Setup window.
Once the dispatch view is saved, you can continue with any of the following:
-
If you want to make changes to the data grid columns of an inbound view, see Editing the columns for board views.
-
If you want to identify restrictions criteria for this view, see:
-
If you want this view to be available to other users or user groups, see Restricting access to views.
-
If you want to identify this view as a default, see Setting up a default board view.