Viewing, adding, or deleting photos in a trailer profile
You can include photos in Trailer File Maintenance using these methods:
-
You can attach one photo directly to a trailer profile. This photo is visible automatically when you open the profile.
-
You can attach and view multiple photos to a trailer profile using the View Attached Object window.
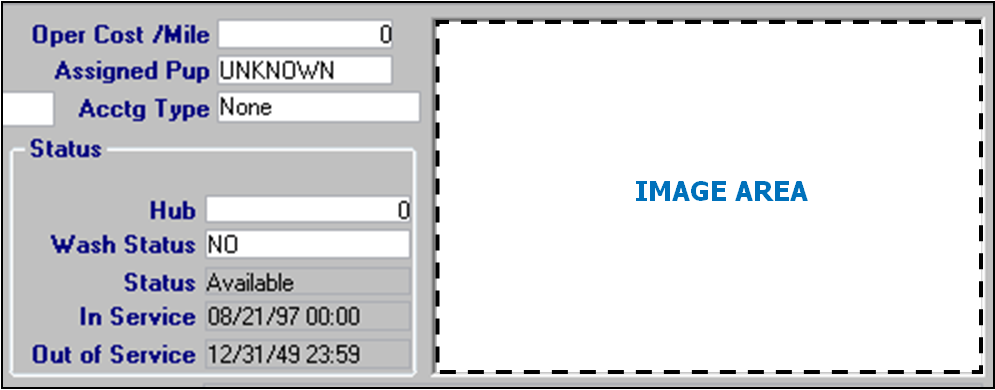
Inserting a photo in the Trailer File Maintenance window
The trailer profile window contains an image area that can store and display one image. The image will be visible when you access the trailer profile.
To add or change a trailer profile image, follow these steps.
| If the area already contains an image, the image will be replaced when you assign another. |
-
Click within the image area.
-
In the Select File window, select the format of the image file that you want to add in the Files of Type drop-down list.
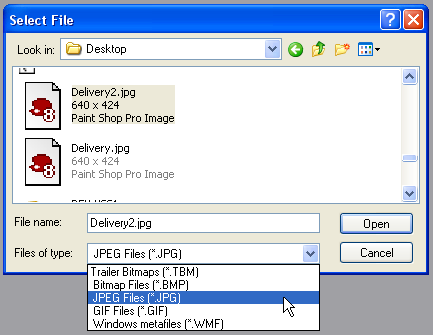
Note: You can add a .BMP, .JPEG (.JPG), .GIF, or .WMF image file.
-
In the upper part of the window, browse to the image file you want to add, and click the file name. The file name appears in the File name field.
-
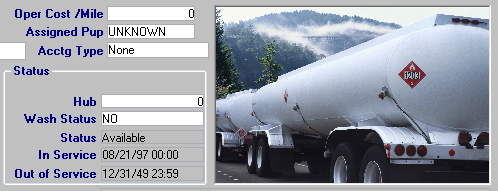
Click Open. The image appears in the Image Area.
-
Save the profile.
Deleting a photo from the Trailer File Maintenance window
The trailer profile image area does not include a button to delete an attached photo. However, you can restore a blank image area to the trailer profile using these steps:
| This technique works only for trailer profiles. |
-
On your desktop, right-click and select New > Text Document from the shortcut menu.
-
Change the new text document’s file name to something descriptive, such as "NO_IMAGE.JPG."
Note: The filename extension must be ".JPG".
-
Using the steps listed for Inserting a photo in the Trailer File Maintenance window, attach the file you just created to the profile. The image area becomes blank.
-
Save the profile.
Viewing and attaching photos in the View Attached Object window
You can include multiple photos or other types of images in a trailer profile using the View Attached Object window. This window is also available in Driver, Company, and non-driver employee profiles.
If this is your first time attaching photos to a profile, see Setting up the File Maintenance photo feature to confirm your system is set up properly.
| Your TTS50 file must be set up to enable accessing profile photos, and the computer must have Microsoft Office 2003 or later installed. |
-
Select View > Photo, or click
 Photo in the sheet toolbar.
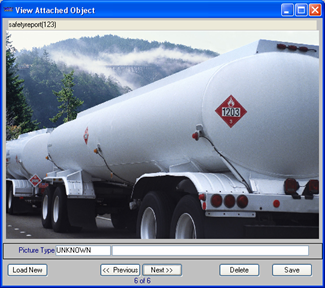
The View Attached Object window opens. Here, the window displays an image.
-
In the View Attached Object window:
-
To scroll through all photos attached to the profile, click the Previous or Next button.
-
To add a photo or edit fields, continue with Step 3.
-
If you are finished with the View Attached Object window, click
 to close the window.
-
-
To add a photo, click Load New.
-
Browse to and select the photo you want to add.
-
In the Picture Type drop-down list, select a picture type.
Notes:
-
The options in this field are defined by your company, using the PictureType label.
-
If you want to add or modify this field for an existing photo attachment, select an option from the drop-down list and re-save the attachment.
-
This step is optional unless you have
[Misc]RequireTypeOnPicture=Yin your TTS50.
-
-
If you want, you can enter a comment in the field to the right of the Picture Type field.
Note: In you want to add or modify information for an existing photo attachment, edit the field and re-save the attachment.
-
Click Save to store the photo.
-
Click
in the upper right corner of the View Attached Object window to close it.
Deleting a photo in the View Attached Object window
To delete a photo from the View Attached Object window, follow these steps:
-
In the View Attached Object window, click Previous or Next to select the photo you want to delete.
-
Click the Delete button. The system asks for confirmation.
-
Click Yes. The system deletes the photo.
-
Click Save.
-
Click
in the upper right corner of the View Attached Object window to close it.