Working with vendor parts
You use the Definition tab on the Vendor Parts page to load, edit, or remove vendor-supplied parts from your system.
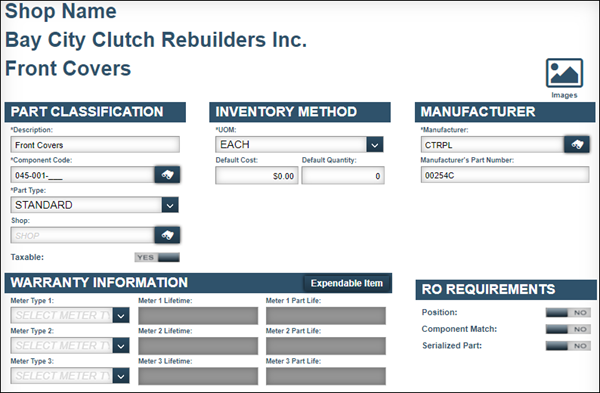
Loading a vendor part
To load a vendor part:
-
Go to Menu > Masters > Vendor Parts.
The Vendor Parts page opens.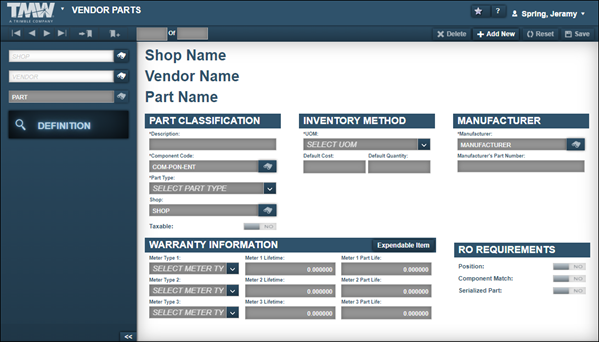
-
If needed, enter the shop’s ID in the Shop field and press ENTER.
-
In the Vendor field, enter the vendor’s ID and press ENTER.
The system displays information about the first vendor part record from that vendor.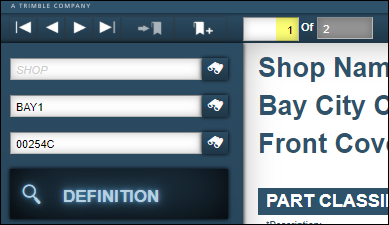
-
Do one of the following:
-
Use the data navigator to find the vendor part that you want to edit.
-
In the Part field, enter the vendor part number and press ENTER.
The vendor part record is displayed.
-
Adding warranty information to a vendor part
To add warranty information to a vendor part:
-
-
In the Warranty Information section, select a meter type in the Meter Type 1 field.
The Meter 1 Lifetime and Meter 1 Part Life fields are enabled.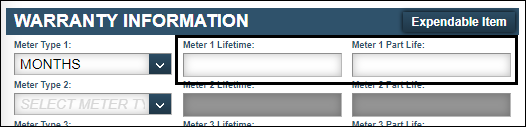
-
Make entries as needed.
For details about individual fields, see Warranty Information. -
Repeat Steps 1-3 as need for the other two meter types.
-
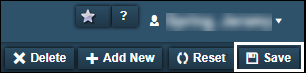
Click Save.