Printing procedures
Several screens within TMWSuite allow you to print reports or lists of data. All reporting options in TMWSuite are designed to print on laser printers. Although the printing process varies somewhat from screen to screen, general instructions are provided in the following subsections.
Printing to a printer
To print a hardcopy (i.e., paper copy) of a report, follow these steps:
-
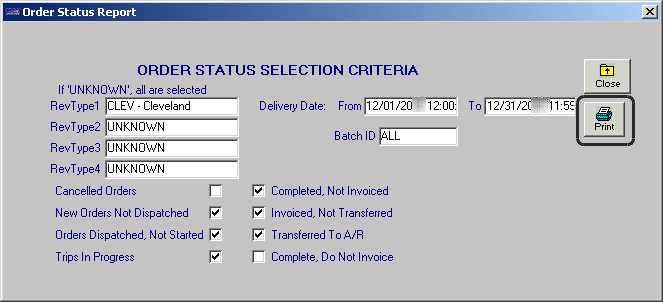
Specify the data you want to print. Depending on the screen, this may involve entering a data range, setting restrictions, and retrieving data. Select Print when ready.
-
TMWSuite then displays the Send Information to Printer window:

This window allows you to indicate whether you want the report or data list to appear on your screen (Preview) or print a hardcopy from a specific printer (Print).
-
Do one of the following:
-
To print to your default printer, click Print.
-
To modify printer settings, or to choose a printer other than your default, click Setup and then click Select.
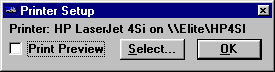
A window similar to the following displays:

Highlight the desired printer and click OK. Click Print.
-
Printing to the screen
To view report data on your screen, follow these steps:
-
Specify the data you want to print. Depending on the screen, this may involve entering a data range and setting restrictions.
-
When you have established all necessary parameters, TMWSuite displays the Send Information to Printer window:
This window allows you to indicate whether you want the report or data list to appear on your screen (Preview) or print to a specific printer (Print).
-
To print data to the screen, click the Preview button. After a few moments, TMWSuite will display the information in a window on your screen. This window is called the print viewer.
The Print viewer is shown here with sample data:
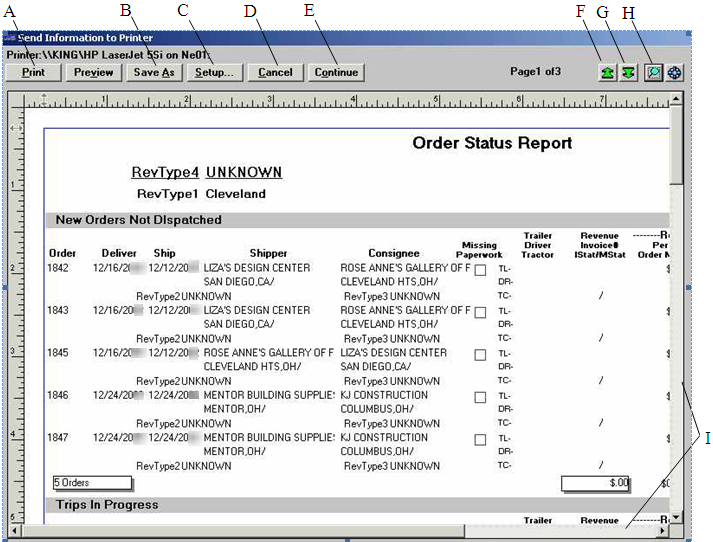
A |
Print allows you to print the entire report to your default printer. |
B |
Save As allows you to save the report to a file so that it can be accessed with other software. For example, you can save reports as an Excel spreadsheet, as a text file or as a Windows metafile. |
C |
If you plan to print the report to a printer, the Setup button allows you to access the Printer Setup window so that you can select the printer and/or modify printer options. |
D |
Cancel allows you to exit the print viewer. |
E |
If multiple reports exist for the print option you chose, the Continue button allows you to progress to the next report. If no other reports exist, clicking here causes you to exit the print viewer. |
F |
If multiple pages exist in the report, this button allows you to move to the previous page. |
G |
If multiple pages exist in the report, this button allows you to move to the next page. |
H |
Allows you to zoom in or out on the report. You can view the report at a magnification of 70%, 85%, 100% (default), 115% or 130%, or at a user-defined percentage. |
I |
Use these scrollbars to see additional information on the page currently displayed. |