Active trips section
The active trips section of Multi Mode Dispatch sorts trips into six tabs:
You can assign resources directly to trips on these tabs. To assign a resource, you can:
-
Right-click a trip to open the shortcut menu and then select Assign.
-
Drag and drop resources from the resources section onto a trip.
-
Drag and drop resources onto a trip in Trip Operation Planning.
Toolbar options
Each trip tab has its own toolbar. These are the options that are shared across the active trip toolbars:
| Toolbar option | Definition |
|---|---|
|
Refreshes the data on the tab. |
|
Clears any selected records. |
|
Toggles selection of the record. You can also hold the Ctrl key and left-click to select and unselect records. |
|
Selects all the records on the grid. |
|
Opens the Filter Trips window. In this window, you can create field-specific or SQL-based custom filters for the active trip grids. You can set a default filter for each of the active trip grids in Security Configuration. |
|
Clears any custom filters. |
|
Opens the Trip Item Details window. In this window you can view, add, and delete, barcode item information for the selected trip. |
Search |
Searches for specific records on the grid. |
Filter |
Filters records based on the currently selected grid column. To apply a filter:
|
Trip Type |
Filters the grid based on the trip type. This is only available on the Planning, Outbound and Inbound tabs. The trip types are:
|
Toolbar shortcut menu options
Right-click a toolbar to access its shortcut menu. These are the shared shortcut menu options for the active trip tab toolbars:
| Menu option | Definition |
|---|---|
Toggle Design Mode |
Activates the Screen Design mode to create and save different layouts. For more information, see Custom Screen Design Mode and Screen Design tab. |
Set Filter |
Opens the Filter Trips window. In this window, you can create field-specific or SQL-based custom filters for the active trip grids. |
Clear Filter |
Clears any custom filters. |
Exclude Trip |
Excludes the selected trip from the grid. |
Restore Excluded Trip |
Restores an excluded trip. |
Show/Hide Excluded Trips |
Shows or hides trips you have excluded. If set to Show, excluded trip records appear on the grid with gray text. If set to Hide, excluded trips do not appear on the grid. |
Load Quick Filters Layout |
Loads your saved Quick Filters layout. |
Save Quick Filters Layout |
Saves the currently applied Quick Filters as a layout. The saved layout loads when you select Load Quick Filters Layout. |
The shortcut menu also shows all your saved Quick Filters for the selected grid:

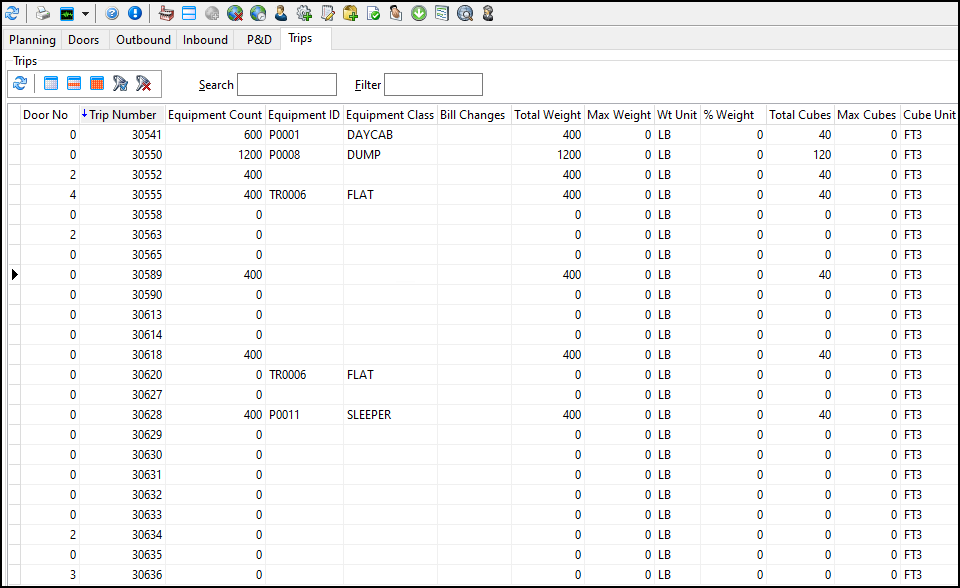
Special grid features
Some of the active trip grids have columns with special features.
Bill Changes
This column is available on the Planning, Doors, and Outbound trip grids. Double-click in this column to open the Freight Bill Changes for Trip window.
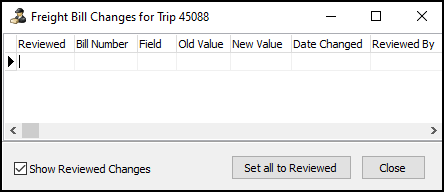
This window can be configured to show and audit changes to made to freight bills after they have been assigned to trips. You can then mark that the changes have been reviewed.
FB Late Status
This column is available on the Planning, Doors, and P&D trip grids.
If the status code of any freight bills assigned to a selected trip is Late, this field will be True. If there are no freight bills with the Late status code, this field will be False.
New Pickups
When the Freight > Pickups tab is refreshed, TruckMate will allocate any trips with a matching pickup location.
The New Pickups field for the allocated matching record will be set to True for trips with available locations that match unassigned freight bill pickups. The New Pickups column appears on the Planning, Doors, and Outbound tabs.
The trip number of the allocated trip will be displayed in the Existing Trip field on the Pickups tab. You can then assign the freight bill to the desired trip which has a matching pickup location.
| You can assign a pickup with no terminal return leg. When you do this, a window will appear to confirm if this is a direct delivery. For this process to work, the Multi Leg Trips application configuration option (app config) must be set to True. |
Grid shortcut menu options
Right-click a grid to access its shortcut menu. Most of these shortcut menu options are available on all the active trips tabs. Options that are only available on some of the tabs are marked with an asterisk.
| Menu option | Definition | ||
|---|---|---|---|
Toggle Design Mode |
Activates the Screen Design mode to create and save different layouts. |
||
New Trip |
Creates a new trip. Although the same New Trip option appears on each tab, the type of trip that is created depends on the tab. |
||
Cancel Trip |
Removes the trip from the grid. You usually cannot cancel active trips. This is because if the trip is active, it is out of the planning phase and the trip has started. The security setting Dispatch - Allow Cancellation of Active Trip must be enabled to cancel an active trip. |
||
Find Trips Near |
Opens the Find Near window to the Trip tab. |
||
Set Origin |
Opens the Select the Origin Zone window. Select a zone ID to change the start zone of the trip. |
||
Set Destination |
Opens the Select the Destination Zone window. Select a zone ID to change the end zone of the trip. |
||
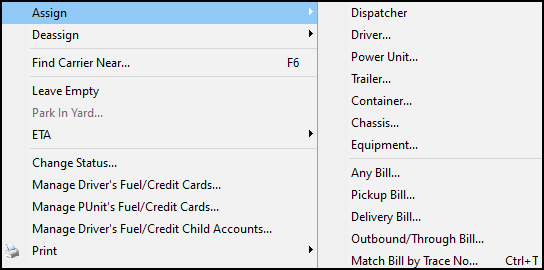
Assign |
Assigns a resource or a bill to a trip. Assign has sub-options for each resource or freight bill type you can assign to the trip. Select a resource to open a search window for that resource type.
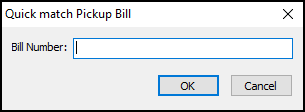
If you select Pickup Bill, Delivery Bill, or Outbound/Through Bill, a quick match window opens where you can enter freight bill numbers.
Select OK to keep the window open so you can enter multiple bills. Select Cancel to close the window. The freight bills are added to the selected trip in the order they were entered. Select Match Bill by Trace Number to enter a trace number type and a trace number. You can then match a freight bill based on the trace number. |
||
Deassign |
Removes an assigned resource from the trip. |
||
Find Carrier Near |
Opens the Find Near window to the Carriers tab. |
||
* Park in Yard |
(* Doors, Outbound, Inbound and P&D tabs only) Sets the trip’s status to Park in Yard. |
||
* Park at Door |
(* Planning, Inbound, and P&D tabs only) Marks the trip as being parked at the door. This moves the trip out of the planning phase and marks the vehicle as being physically at that door. |
||
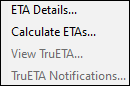
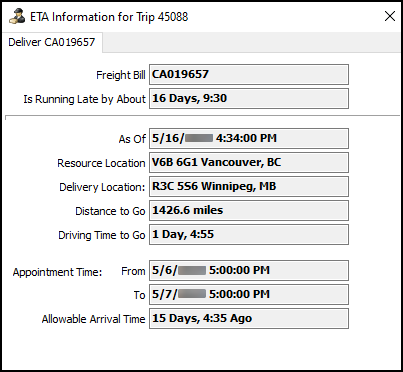
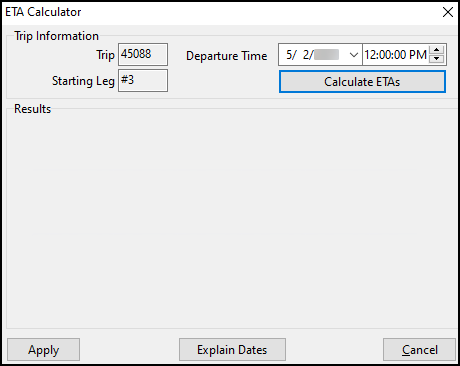
ETA |
There are four options under ETA:
|
||
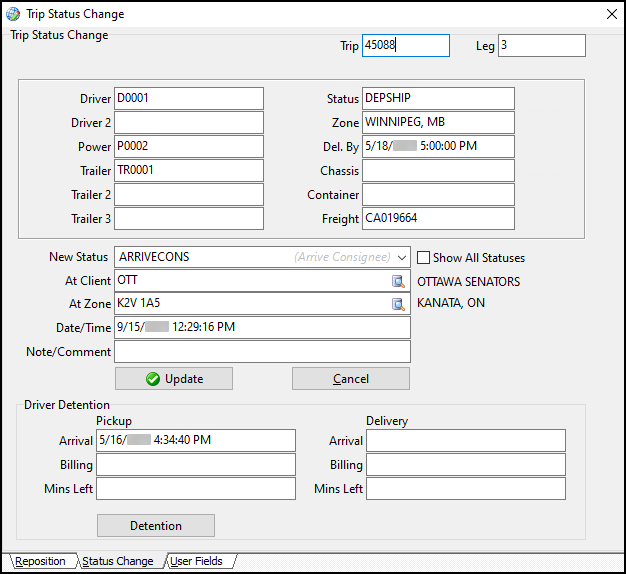
Change Status |
Opens the Trip Status Change window where you can update a trip’s status.
For most statuses, the At Client field populates using the destination client. However, for Docked and Arrive at Dock statuses, the terminal setup based on the To Zone field set for the leg is used instead.
|
||
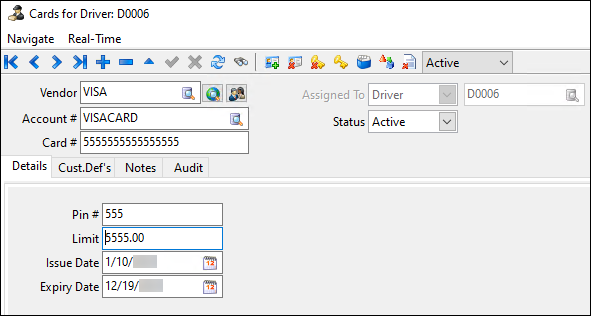
Manage Driver’s Fuel/Credit Cards |
Shows the fuel cards and credit cards for the driver assigned to the trip.
|
||
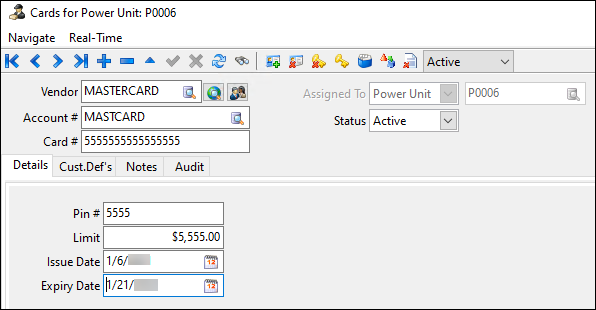
Manage PUnit’s Fuel/Credit Cards |
Shows the fuel cards and credit cards for the power unit assigned to the trip.
|
||
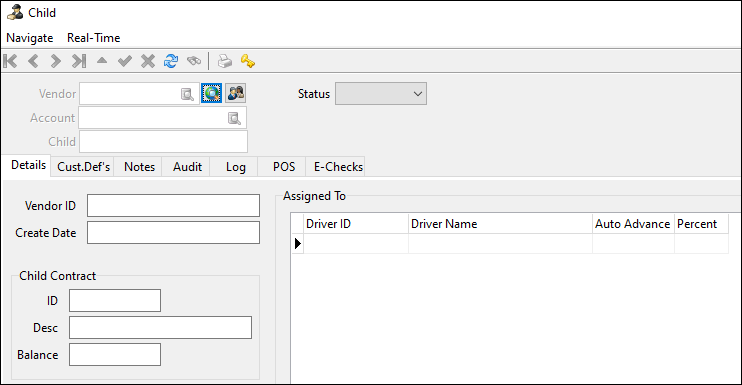
Manage Driver’s Fuel/Credit Child Accounts |
Shows the driver’s Child card accounts.
|
||
Includes two options: Print Manifest and Print Load Card. Select either option to open the Report Selection window. Print Manifest prints details of the trip’s manifest. Print Load Card prints the trip instructions and driver details. For more information on report functionality in TruckMate, see Crystal Reports. |
|||
Optimize |
Opens Load Optimizer. |
||
Mobile Messaging |
Contains mobile messaging options such as Load Offer. |
||
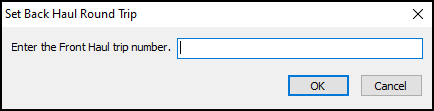
Round Trip |
Includes options to set a trip as head haul or back haul:
|
||
Trip Operation Planning |
Opens Trip Operation Planning. |
||
* Fuel Optimization |
(* Outbound, Inbound, and Trips tabs) Opens the Fuel Optimization Query window. |
||
Show Productivity |
Opens the Productivity Details window. This window shows an activity history for the selected trip in a grid. |
||
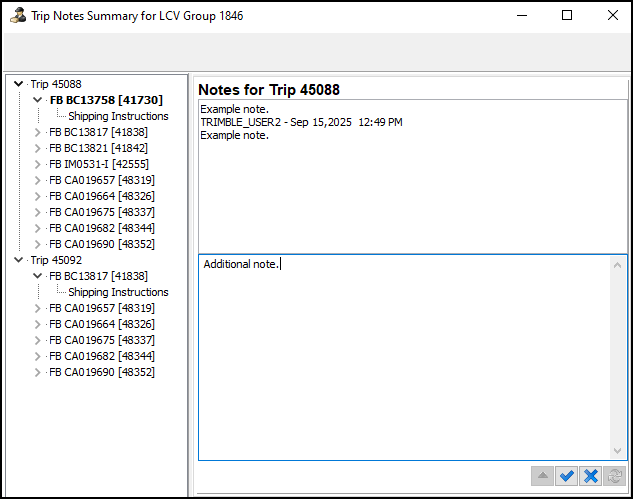
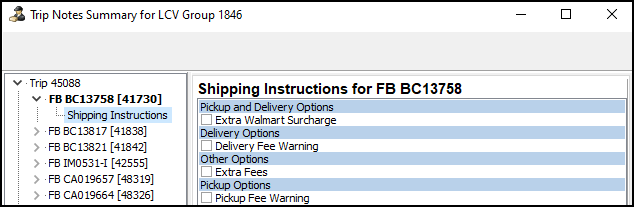
Trip Notes Summary |
Opens the Trip Notes Summary window. This window shows notes for the trip and freight bill. You can also enter new notes in this window.
You can also see shipping instructions for each freight bill.
|
||
View Custom Defined Fields |
Shows trip information entered into any custom defined fields. |
||
Intermodal |
Has options to create and adjust trips. |
||
Swap Delivery Legs |
Allows you to view trip legs and reorder them. This is only available for merged trips. |
||
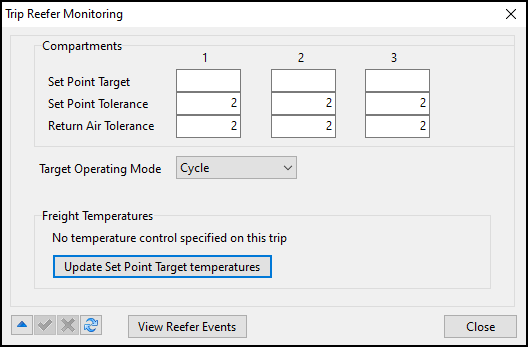
Trip Reefer Monitor Settings |
Opens the Trip Reefer Monitoring window.
In this window, you can set target temperatures and allowed tolerance for an assigned trailer or reefer. |
||
Override Deliver By |
Changes the appointment times for the freight bills on a trip. Select the |
Planning tab
On the Planning tab you can plan a trip and pre-assign equipment and freight. Since you can only have one vehicle at a door at a time, pre-planning lets you plan many trips for the same door without causing a conflict.
| When creating trips on the Planning tab, you may be prompted to enter a Destination Zone or a Door Number. For more information on these prompts, see Specify Destination for New OB Trips. |
The most important shortcut menu option on the Planning tab is New Trip. You can use this option to quickly create a trip within the tab.
New Trip has three options: Terminal, Direct, and Local P&D.
-
If you select Terminal, you are prompted to select a destination for the trip.
-
If you select Direct, you are prompted to select an origin for the trip. The trip is created with PENDING as the destination.
-
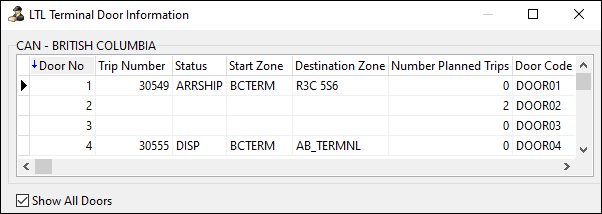
If you select Local P&D, you are prompted to enter a door for the trip. The trip you create follows the same process as a "standard" P&D trip. It is assigned the default route ID assigned to the terminal.
After you select a destination, the LTL Terminal Door Information window opens. This window has a list of doors and the status of any active and planned trips set for each door. This lets you track the activity at each door.
Doors tab
The Doors tab shows a terminal’s doors and any associated trip information.
While the Planning tab is used for trips that have not yet arrived or do not yet exist, the Doors tab shows the trips that are physically docked at the doors.
Doors tab shortcut menu
The Doors tab has some unique shortcut menu options. Many of these options are related to Dock Activity:
| Menu option | Definition |
|---|---|
New Trip |
This option lets you plan a new trip. When you select it, you are prompted to enter a door number for the trip. If you select this option while on the Doors tab, you can choose between Outbound or To Be Unloaded. Select Outbound if the trip is leaving the terminal. Select To Be Unloaded to create the trip directly at the door so it can be unloaded. |
Move Back to Planning |
Moves the trip back to the Planning tab and removes it from the Doors tab. |
Dock Activity |
Includes dock activity options to update the status of a shipment while it remains on the dock. |
Loaded To Go |
Sets the trip’s status to the Loaded to Go status code for the current working terminal. |
Leave Empty |
Select this option to set the trip’s status to Leave Empty. This means the freight can leave the terminal without being in a Start Loading or Finish Loading status. |
Park In Yard |
Sets the trip as being parked in the yard. |
Outbound tab
The Outbound tab shows all trips that have departed from doors. Trips in this grid are leaving the terminal on the way to their destination.
Inbound tab
The Inbound tab shows all the trips that are scheduled to come to the terminal but have not yet arrived.