Trimble Map View
You can use Trimble Map View to see:
Set up Trimble Map View
To use Trimble Map View, you must configure your Trimble MAPS API key. Enter your key as the Value for the MILESERV.EXE - Trimble Maps API Key application configuration option (app config).
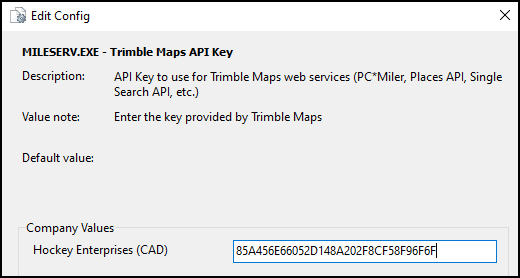
If you do not have a key, contact Trimble Transportation Support. If you do not have an account, you can create one by clicking Sign Up.
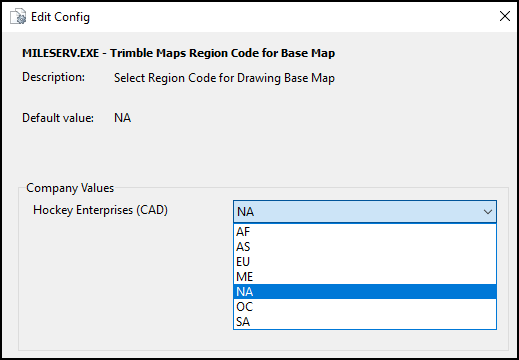
To make sure the map shows the correct region, check that the MILESERV.EXE - Trimble Maps Region Code for Base Map app config is set to your region.
Access Trimble Map View
There are many ways to open Trimble Map View in Multi Mode Dispatch:
-
Go to Tools > Trimble Map View.
-
On the Resources subtabs, right-click any resource and select View Location History. In the Location History window that opens, select Map.
-
In Load Optimizer, select
 Show Map. This opens Trimble Map View with the route of the trip you are optimizing.
 -
On the toolbar, select any of these options:
-
 Map Pickups
This opens Trimble Map View with all your scheduled pickup locations highlighted. -
 Map Deliveries
This opens Trimble Map View with all your scheduled delivery locations highlighted. -
 Map Trips
This opens Trimble Map View with the Routing checkbox selected and any resource checkboxes cleared. -
 Trimble Map View
-
Change the map style
-
Select the Base Map tab.
-
Select the Map Styles dropdown menu. A list of map styles opens.
-
Select a map style. There are four options:
-
Standard Map View
-
Satellite View
-
Light View
-
Dark View
-
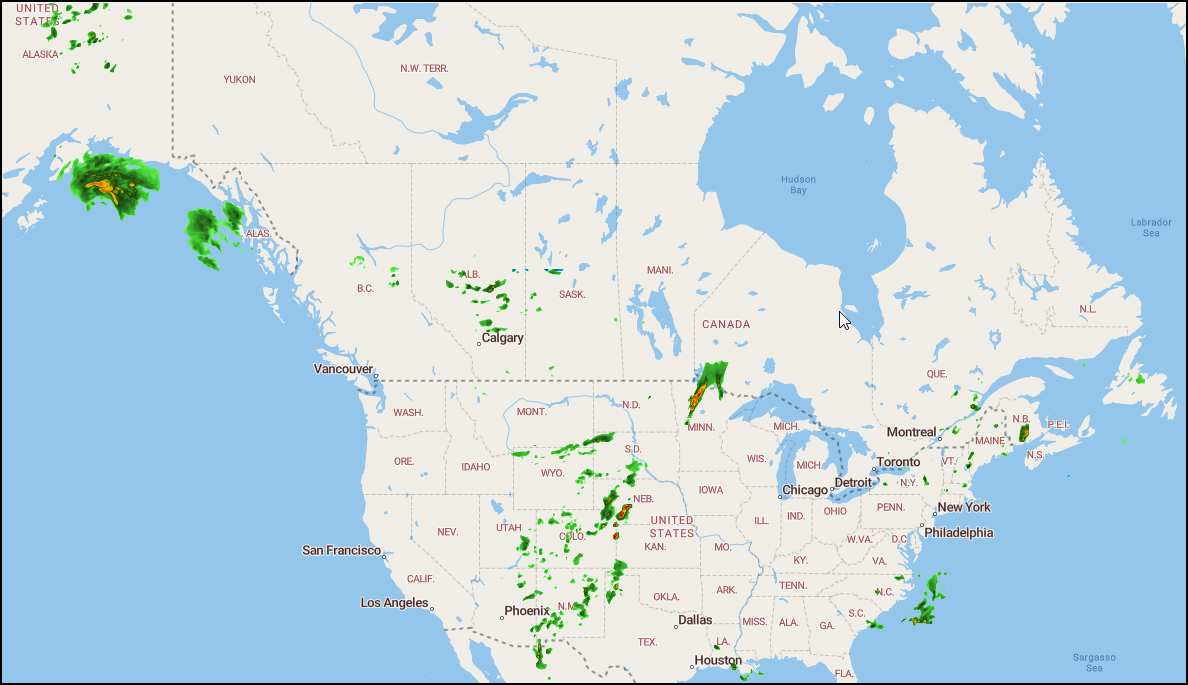
Enable the weather layer
This layer shows weather patterns on the map. You need a license to enable this layer. If you want to use this feature, and you do not have this license as a part of your API key, contact Support.
-
Select the Base Map tab.
-
Select the Weather checkbox.
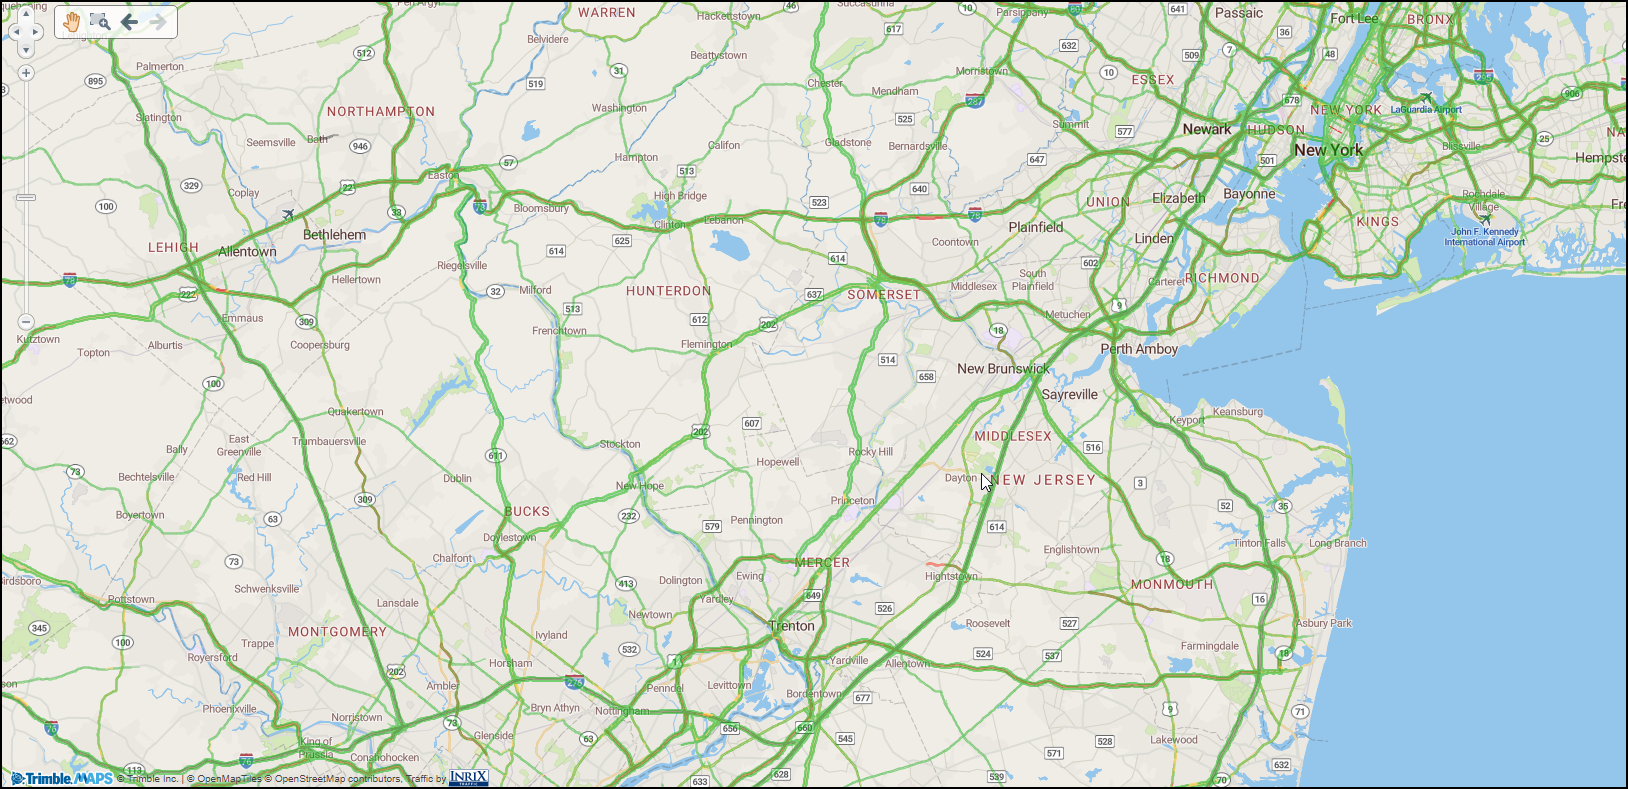
Enable the live traffic layer
This layer shows traffic density on the map. You need a license to enable this layer. If you want to use this feature, and you do not have this license as a part of your API key, contact Support.
-
Select the Base Map tab.
-
Select the Live Traffic checkbox.
-
Zoom in on an area of the map to see live traffic data for that area.
Enable clustering
The Enable Clustering option groups similar items together to reduce map clutter.
-
Select the Base Map tab.
-
Select the Enable Clustering checkbox. Resources near each other on the map are grouped together.
-
Select a cluster on the map to see the list of grouped items.
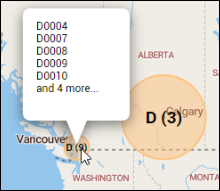
If you zoom in on the cluster, you will eventually be able to see each resource in the cluster individually.
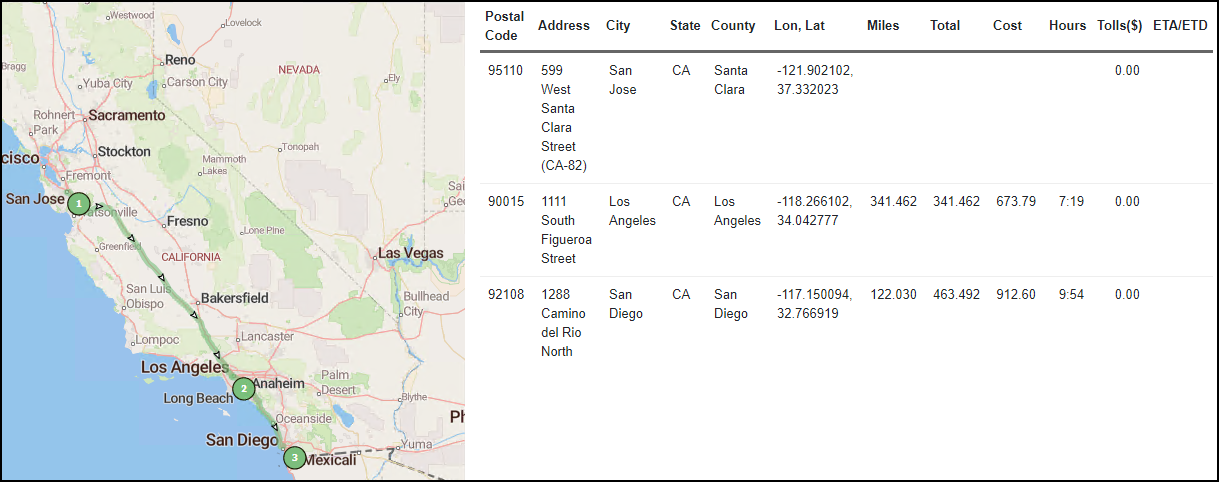
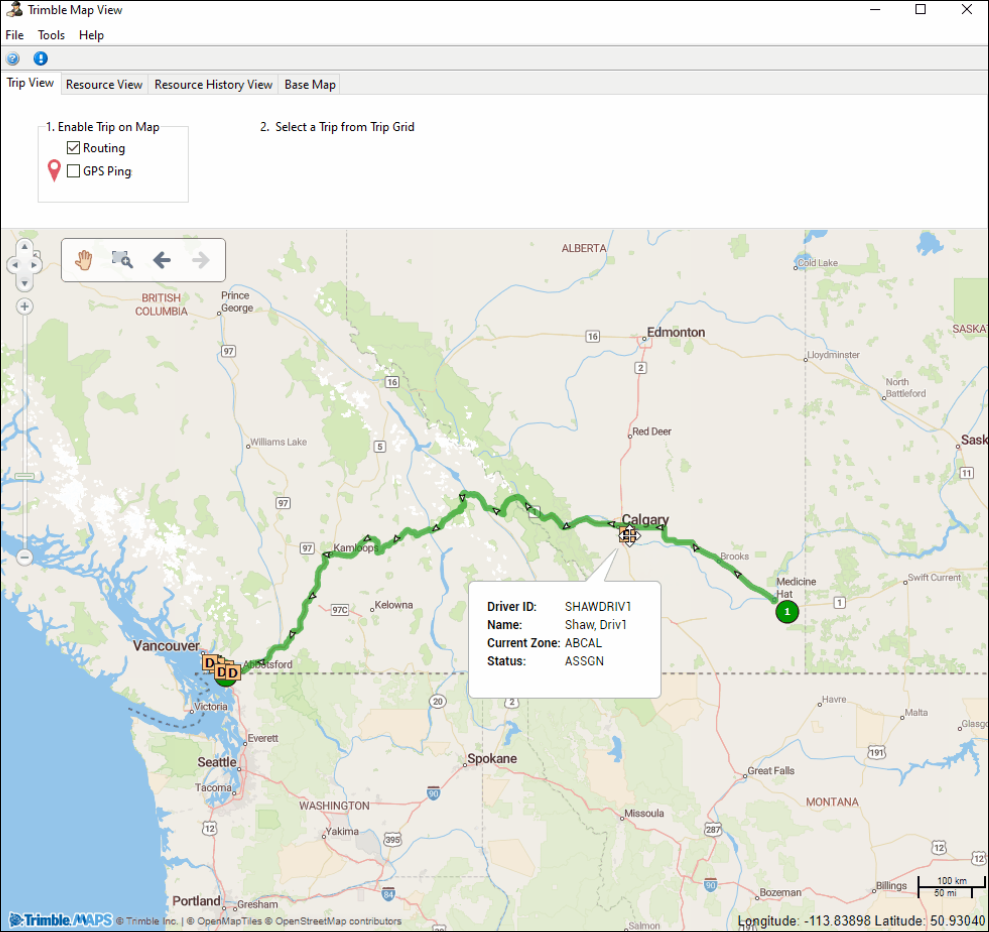
Show routes
-
Select a trip or multiple trips on any trip grid.
-
Select
Map Trips on the toolbar. Trimble Map View opens with the Routing checkbox selected and all the resource checkboxes cleared.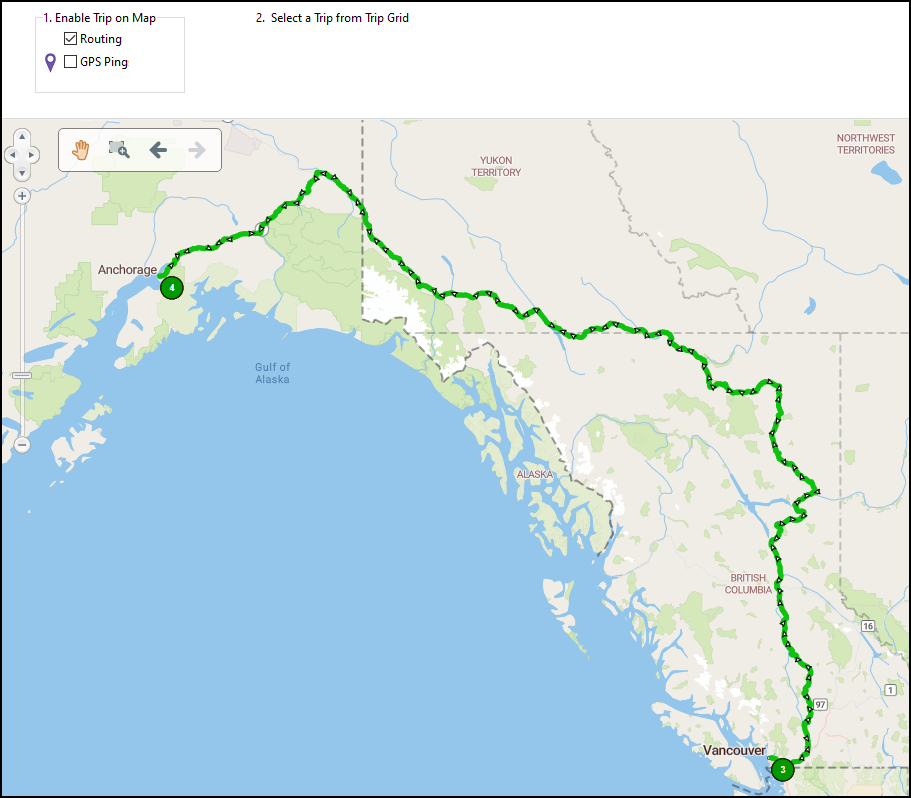
Select a stop on the route to see detailed trip information.
You can select a trip on a grid while you have Trimble Map View open to view a different trip.
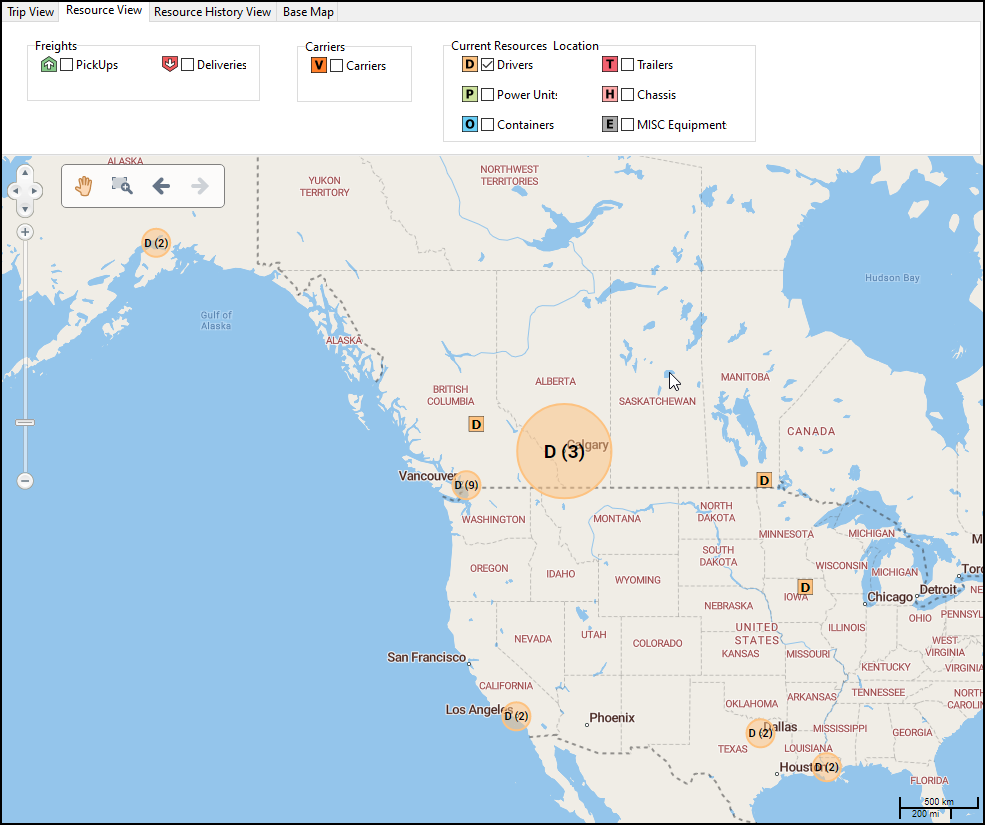
Show freight bill and resource pins
-
Select the Resource View tab.
-
Select any of the checkboxes:
-
Pickups
-
Deliveries
-
Drivers
-
Power Unit
-
Containers
-
Trailers
-
Chassis
-
MISC Equipment
-
Select a pin on the map to see details for that freight bill or resource.
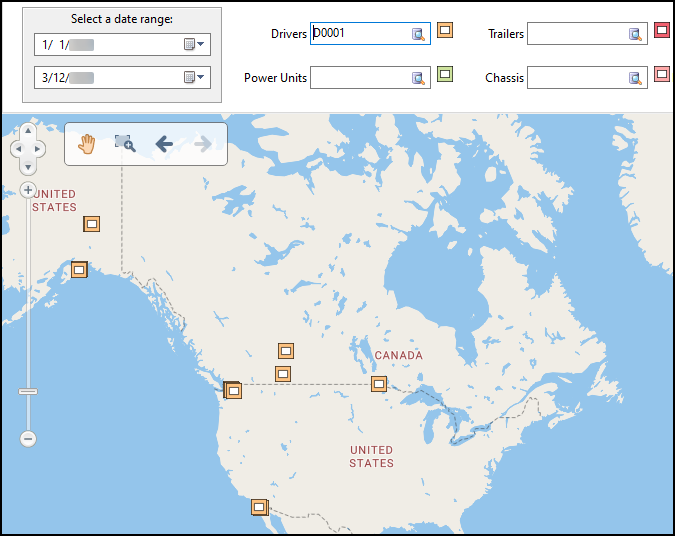
Resource History View
You can see a resource’s history on the map.
-
Select the Resource History View tab.
-
Select the
 calendars on the Select a date range pane to set a start and end date.
 -
Select the
 magnifying glass next to a resource field. A search window for that resource opens.
 -
Select a resource.
-
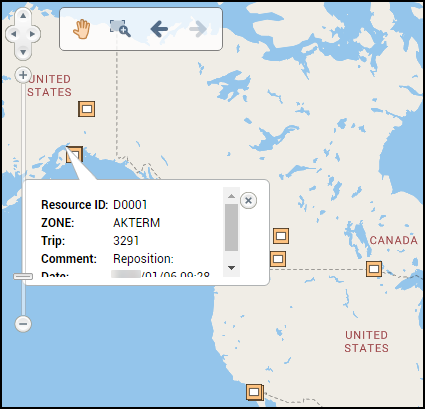
Select OK. Pins appear on the map for that resource’s location history.
-
Select a pin to see location details.
Match resources to trips
You can drag a resource pin to a trip to assign it to that trip. To do this, the Routing checkbox and a resource type must be selected on the Resource View tab.
-
Drag the resource to the trip.
The trip turns orange when the resource is over it.
-
Release the resource.
One of the following happens:
-
If the resource is not a carrier, the resource is assigned to the trip.
-
If the resource is a carrier, the Carrier Information window opens.
-
-
Enter any required carrier information.
-
Select Assign Carrier. The Carrier Information window closes and the resource is assigned to the trip.
Create a test route
You can create test routes in Trimble Map View.
| To use this feature, License 7040 must be enabled. |
-
Select the Test Routes tab.
-
Select the Vehicle Type and Trailer dropdown menus to set the vehicle and trailer dimensions.
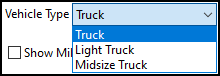
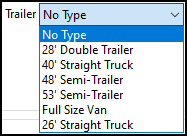
The vehicle type and trailer will affect the route that is produced.
-
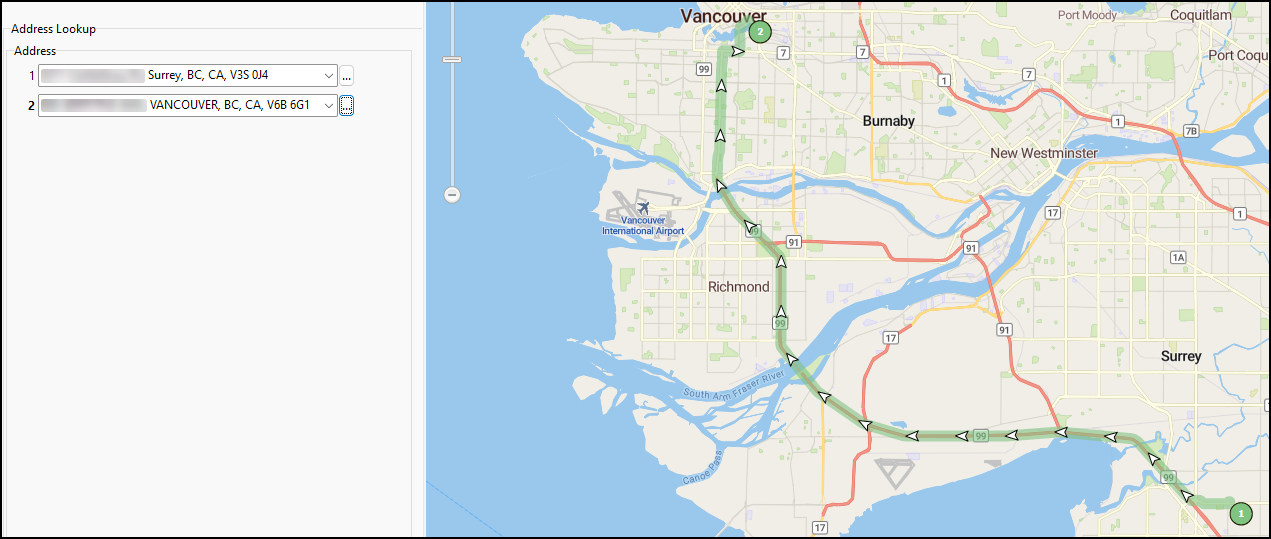
Enter an address on the Address Lookup pane. You can either enter an address manually or look up a client’s address.
-
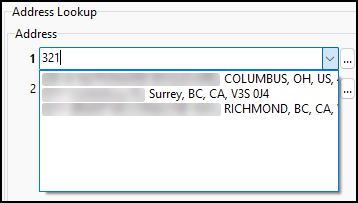
Enter an address manually:
-
Select an Address field.
-
Start entering an address. A dropdown list populates with addresses based on what you entered.
-
Select an address from the list.
-
-
Look up a customer’s address:
-
Select the
 ellipses. The Select Client window opens.
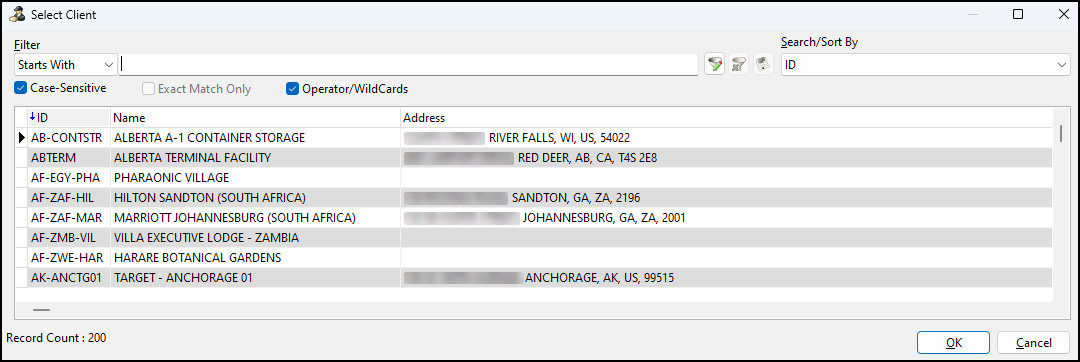
-
Select an address from the list. You can enter a client’s name to refine the list.
-
Select OK. The Select Client window closes and the address is entered in the field.
-
-
-
Repeat Step 2 for a second address. After you have entered two addresses, a route is plotted onto the map.
-
To add more than two stops, select Add Address. A blank Address field appears on the Address Lookup pane.
-
Repeat Step 2 for each additional address.