Assigned (Orders)
The Assigned Orders page displays all freight bills that have active IP records (ORDER_INTERLINER) that are assigned to the vendor.
The Assigned Orders page also enables Carriers to change the status of freight bill that do not have trips associated with them. When the Assigned Orders page is opened, a list of recent orders, along with search functionality is displayed.
| Options and visible columns displayed on the Assigned Orders page can vary, depending on how an administrator has set it up. |
By selecting one of the Bill Numbers (or other valid link) or by entering successful search parameters, you gain access to a Trip Status Update page, which contains the status change procedures. You can export trip details into Excel, E-mail, or print it out.
Searching assigned orders
Use this procedure to search for assigned orders. Depending on the information types; you can search for trips by:
-
Its bill number
-
Shipper name
-
Consignee name
-
Bill of Lading
-
Booking number
-
On the TM4Web menu, click Assigned.
The Assigned Orders page opens.Show me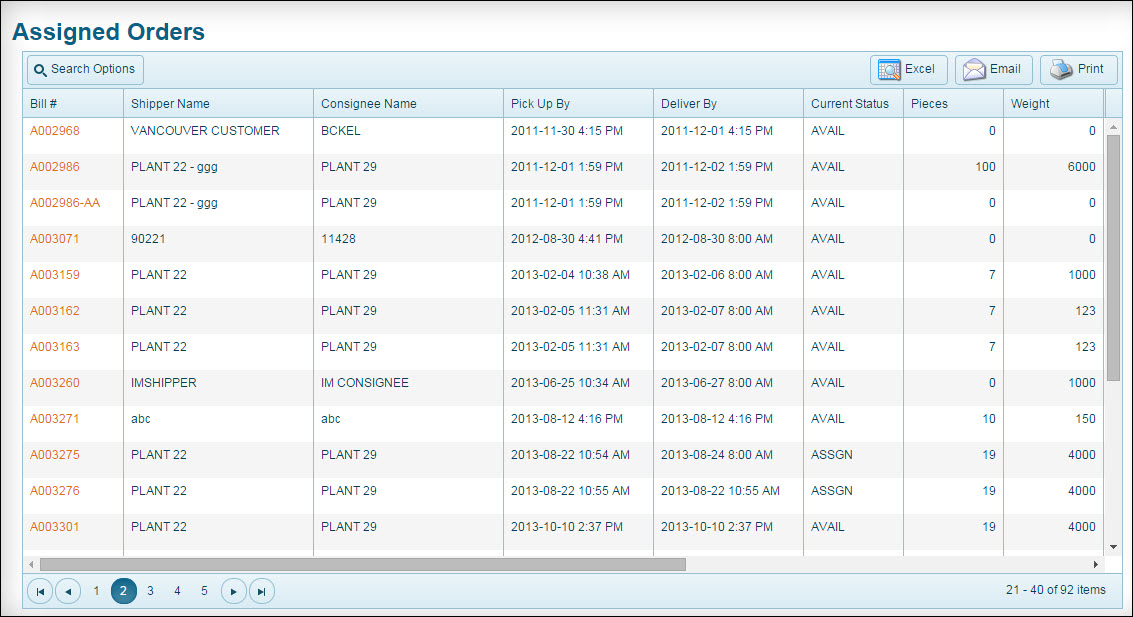
-
Click
 Search Options.
The Search Options screen is displayed.Show me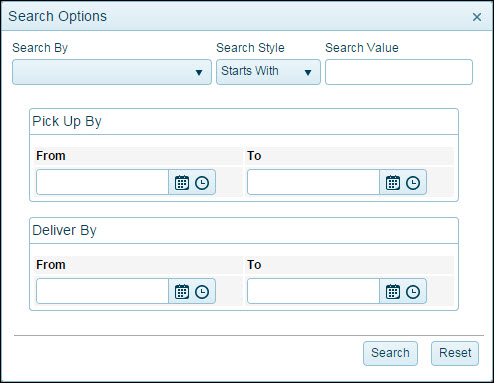
-
In the Search By field, select the information type on which you want to search.
-
In the Search Style field, select either Starts With or Exact to indicate how this field is used to search.
-
In the Search Value field, enter the ID or value appropriate to the search type you selected. When entering a number, you can:
-
Enter the entire number
-
Enter part of the number
-
-
Select relevant dates for Pick Up By and Deliver By times.
Show me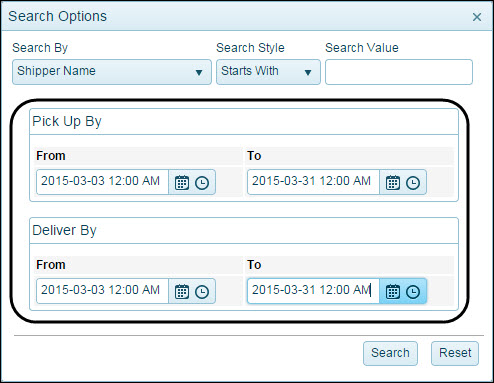
-
Click
 Calendar to choose a date for either the From or To fields for Pick Up By and Deliver By dates.
 -
Click
 Clock to choose a time for either the From or To fields for Pick Up By and Deliver By times. An item list appears allowing you to select a time.
-
-
Click Search.
If multiple orders are found matching your search criteria, a list appears. Select the order you want to view and then click Bill # (or other valid link).
Show me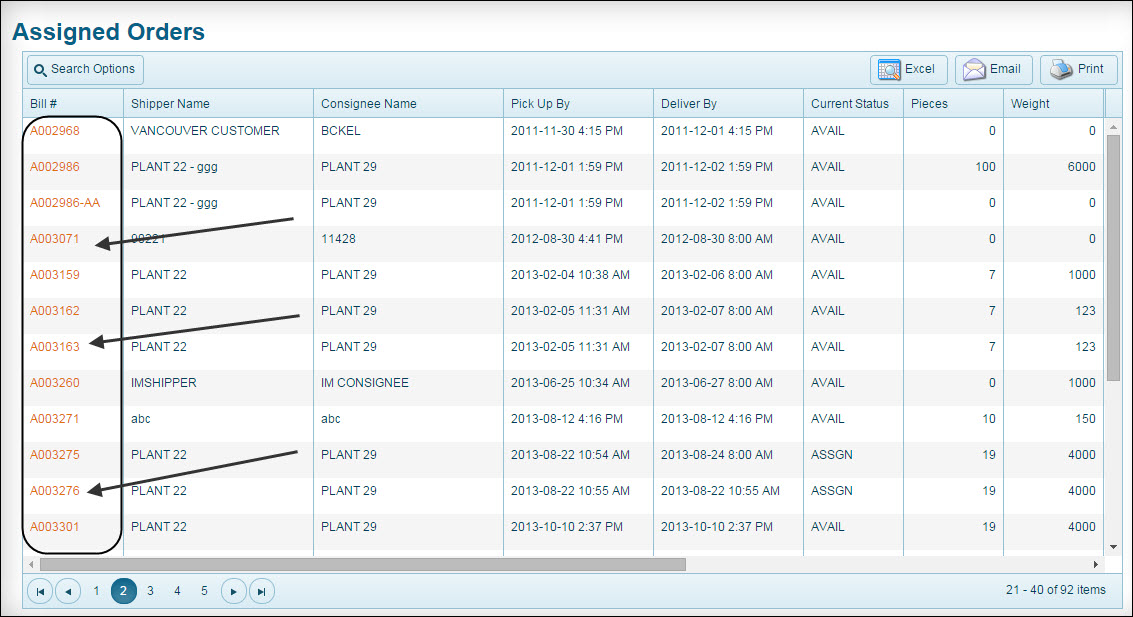
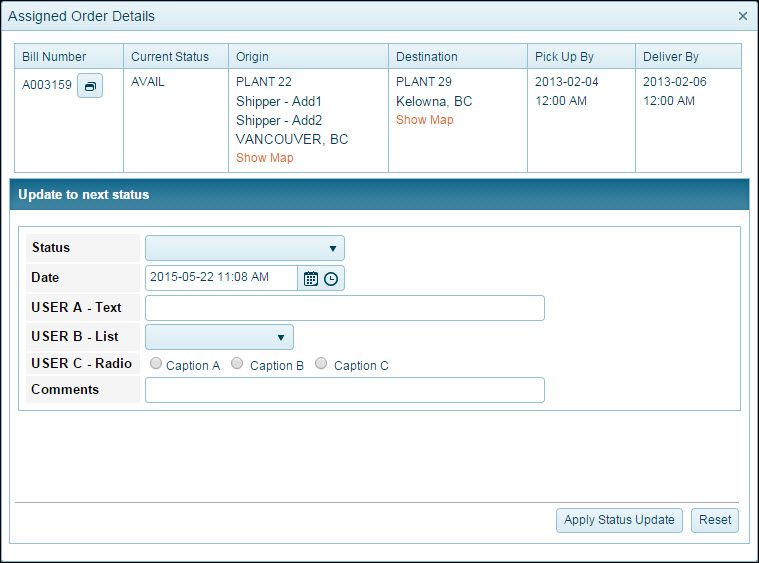
The Assigned Order Details page appears.
Detail grid optionsOption Description Excel
Clicking
 Excel enables you to display the results from the details grid in a .CSV file format that can be loaded in an Excel spreadsheet to be saved, circulated, and accessed at a later time.
Email
Clicking
 Email enables you to send the results from the details grid in an .xls file spreadsheet.
Print
Clicking
 Print displays the list of results from the details grid that can be printed.
 -
To search for another order, do the following:
-
Click Search Options.
-
Click Reset.
-
Modify the search values.
-
Click Search.
-
Assigned order(s) and status updates
Use this procedure to view assigned order details and to update the status of an order. Order information can be viewed by Bill # (or other valid link).
-
From the search results grid, open an order.
-
Click a Bill Number link (or other valid link).
Show meThe Assigned Order Details appear.
The Assigned Order Details differ depending on options set by your administrator. Sample Assigned Order Details with status update featureThis example illustrates an Assigned Order Details page.
 Field definitions
Field Definition Bill #/Current Status
This information displays the Freight Bill attached to the selected order. Next to this information is the current status and other pertinent information.
New Status
New Status Codes in the item list are available to select a new Status for the Freight Bill.
Note: If enabled, you are able to make multiple status changes on this page. When configured, the Assigned Order Details page will display multiple fields to allow for multiple status changes, designated as Next Status. The first status field dropdown is based on the current status; the second status field dropdown is based on the first status, and so on.
Date
The date field automatically populates with the current date/time. You can select a different date/time from.
Custom Field(s)
If enabled, up to three custom fields can be added to the status change page. In the previous example image, Text, List, and Radio type option have been enabled.
Comments
Enter any comments regarding the status change.
-
Select a new status from the New Status item list.
-
If required, select a new date.
-
If enabled, complete the custom fields in the status change page.
-
Enter any relevant comments in the Comments field.
-
To remove any data entered on the fields of this page, click Reset.
-
To update an order’s status, click Apply Status Update.
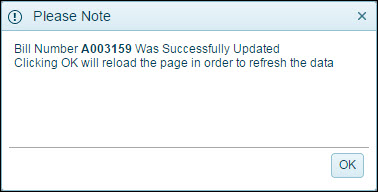
An entry will be inserted into the STATUS_CHANGE_JOB table. -
On the Update Success dialog, click OK.
Show me