Finalizing pay for multiple assets
You can use the Final Queue in the Final Settlements Folder to finalize pay for a group of resources at the same time. The process includes:
-
Selecting a pay period in the queue for processing
-
Running the Collect process
-
Running the Close process
| To save time, you can run the Collect and Close processes at the same time. |
Running the Collect process
The Collect process has two main functions:
-
It searches for and applies any regularly scheduled pay that is not tied to a trip, such as deductions and recurring pay.
-
It creates a pay header for each resource’s settlement. A pay header binds together all of the pay details that have been released to a specific pay period for a particular resource. When you run the Collect process, the system assigns those pay details to a unique pay header ID.
To use the Final Queue to run the Collect process for a group of resources, follow these steps.
-
To open the Final Settlements Folder, go to Settlements > Final Settlements Folder.
The Final Queue appears on the right side of the Final Settlements Folder window.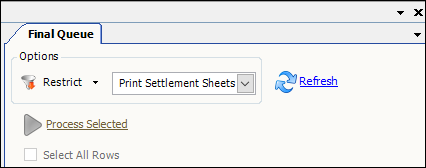
-
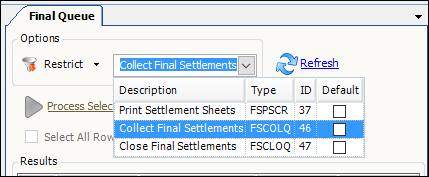
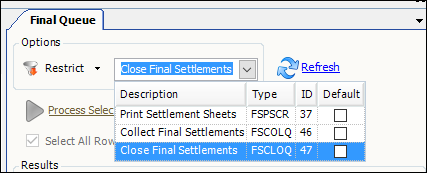
In the Final Queue, select Collect Final Settlements.
-
To select a pay period, click Restrict.
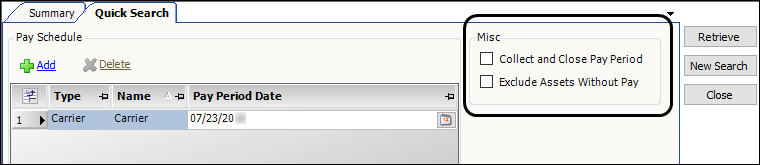
The Quick Search tab opens.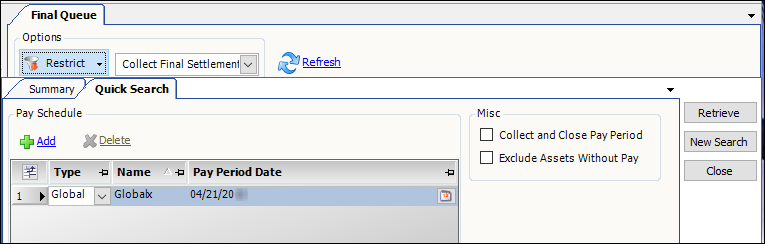
-
In the Type field, select the type of pay schedule you want to process.
For example, if you want to process pay for carriers, select Carrier as your entry.
-
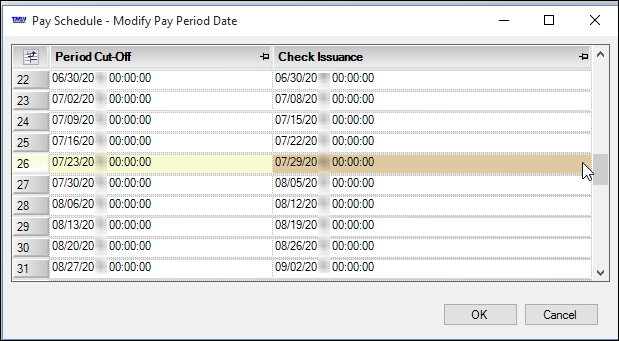
In the Pay Period Date field, click the calendar icon
The Pay Schedule - Modify Pay Period Date window is displayed. -
In the Period Cut-Off field, select the pay period.
-
Click OK.
-
In the Misc section, select these check boxes as needed.
-
Collect and Close Pay Period check box
Do one of the following:
-
Select
When you want the system to run both the Collect and Close processes in succession, which can save you time
-
Clear
When you want to review the pay records after running the Collect process but before Closing the pay period
-
-
Exclude Assets Without Pay check box
When you select this check box, the queue pulls only those resources that have pay details released to the selected pay period. Selecting the check box prevents the application of deductions when no other pay exists.
-
-
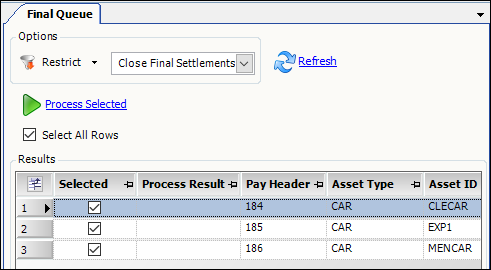
Click Retrieve.
The Results grid lists all resources that meet your restrictions.
For example, this illustration shows a retrieval list of three carriers.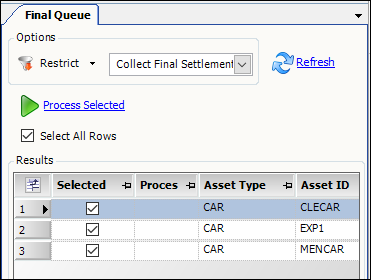
-
Use the Selected check boxes to specify which resources to process.
-
When you select a check box, the system processes the record.
-
By default, the system selects the check box for every row.
-
Use the Select All Rows check box to select or clear all rows.
-
-
Click Process Selected to process all selected resources.
-
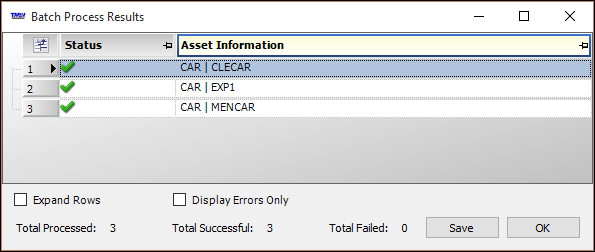
When the system completes processing, it displays the Batch Process Results window.
-
A green checkmark in the Status field means the process was successful.

-
If the system is unable to process a resource’s pay, it displays a red X in the status field instead of the Green checkmark.
-
-
Click OK to close the window.
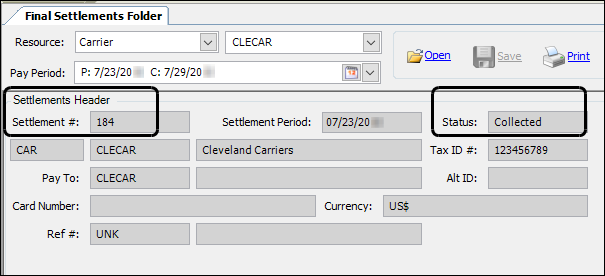
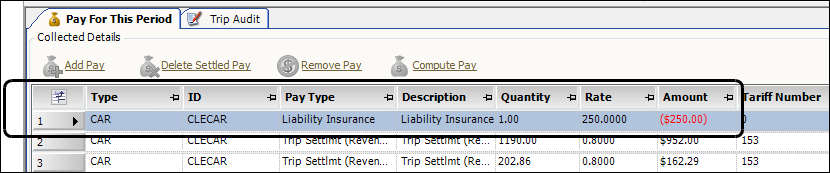
These illustrations show sections of the pay record for the carrier, CLECAR, after the Collect process was successful. Notice that the system:
-
Created the pay header and entered a pay header number in the Settlement # field
-
Set the record’s status to Collected
-
Applied the recurring deduction for Liability Insurance
Running the Close process
After you run the Collect process, you can run the Close Process. Closure is the final step of the settlement process prior to performing a transfer to accounting.
During the Close process, the status of pay details in the period is changed to Closed, making them ineligible for change. In addition, you can no longer add new pay details to the settlement. You should run the Close process only after you are sure no further settlement changes are needed for the pay period. At this point, the system considers the resource’s pay period final.
To use the Final Queue to run the Close processes for a group of resources, follow these steps.
-
In the Final Queue, select Close Final Settlements.
-
To select a pay period, click Restrict.
The Quick Search tab opens.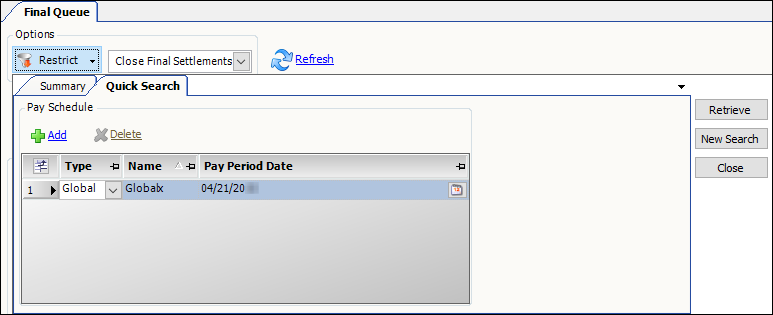
-
In the Type field, select the type of pay schedule you want to process.
For example, if you want to process pay for carriers, select Carrier as your entry.
-
In the Pay Period Date field, click the calendar icon.
The Pay Schedule - Modify Pay Period Date window is displayed. -
In the Period Cut-Off field, select the pay period.
-
Click OK.
-
Click Retrieve.
The Results grid lists all resources that meet your restrictions.This illustration shows a retrieval list of three carriers.
-
Use the Selected check boxes to specify which resources to process.
-
When you select a check box, the system processes the record.
-
By default, the system selects the check box for every row.
-
Use the Select All Rows check box to select or clear all rows.
-
-
Click Process Selected to process all selected resources.
When the system completes processing, it displays the Batch Process Results window.
Icons in the Status field show whether the process was successful:-
A green checkmark means the process was successful.
-
A red X means the process was not successful.
-
-
Click OK to close the window.
The pay records are now closed and ready for transfer to your accounting system.
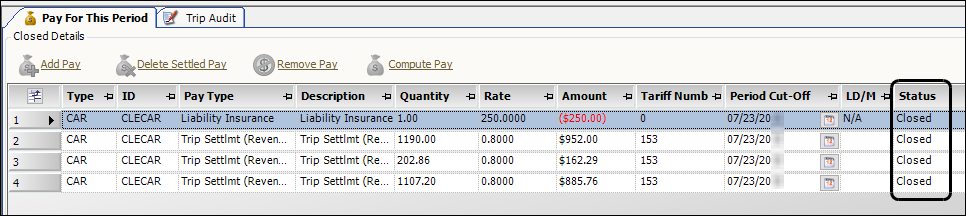
These illustrations show sections of the pay record for the carrier, CLECAR, after the Close process was successful. Notice that the system:
-
Set the record’s status to Closed
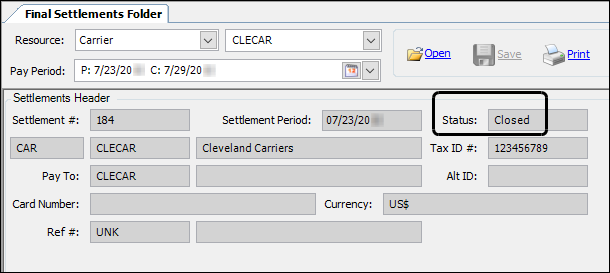
-
Set the status for each pay detail to Closed.