Master bills
A master bill is a summary statement that lists the totals for individual invoices for a specific Bill To company. There are five steps involved in setting up and using master billing:
-
Create a master bill record for one or more individual invoices.
-
View, edit, and print master bills and associated invoices.
Creating master bills on schedule
Typically, you create a single master bill on a date defined in the master bill format schedule. You use the Print Invoices feature to create a master bill record from a group of invoices.
The master bill prints from the default printer as defined for the master bill report format. If the Bill To company is set up to receive both master bills and individual invoices, the selected invoices print from the default printer as well. You can choose to set the statuses of the master bill and invoices to Printed.
To create a master bill record, follow these steps.
-
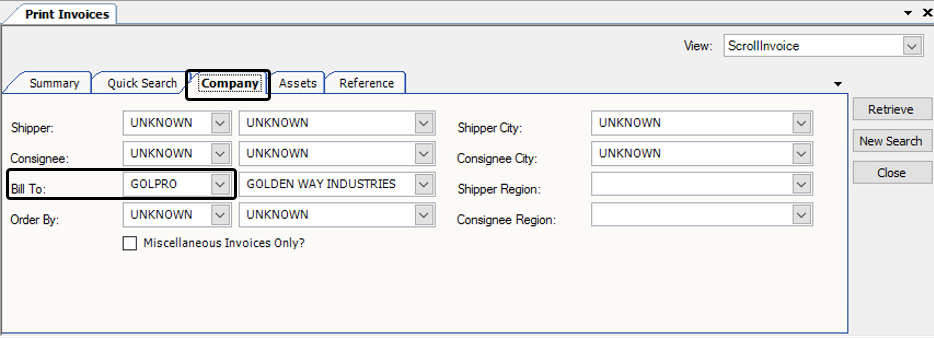
Go to Invoicing > Print Invoices.
The Print Invoices window opens. -
Click the Company tab.
-
In the Bill To field, enter the ID of the Bill To company.
-
Click Retrieve.
The grid lists all invoices for the Bill To with a status of Ready to Print. The number of records available for processing appears at the top of the grid. -
If needed, set additional restrictions in the Quick Search, Company, Assets, and Reference tabs, and click Retrieve to refresh the grid.
-
If, as part of the process, you want to set the master bill and invoice statuses to Printed, select the Finalize Print check box. By default, this check box is not selected.
When you select this check box, the Bill Date Override field becomes available. If you want to override the scheduled bill date on the master bill and invoices, enter the date in this field.

-
Click Process Selected.
The Batch Process Results window displays the processing results. The number of documents printed from the default printer depends on the InvoiceStatus value in the Bill To company’s profile.-
If the Bill To company receives only master bills, a single master bill record is created and the master bill is printed.
-
If the Bill To company receives both master bills and individual freight bills, a single master bill record is created, the master bill is printed, and an invoice is printed for each order selected.
-
-
Click OK to close the Batch Process Results window.
In the Processing Queue tab, the Process Result column indicates which invoices' statuses were and were not changed successfully.
Creating master bills between schedule dates
First available in TMW Back Office 17.30
Typically, you can print a single master bill only on days that you define in the master bill schedule. However, you may find that you have a group of invoices that you want to send to a Bill To before the next scheduled date.
If you need to print one or more additional master bills outside of the schedule, follow these steps.
-
Go to Invoicing > Master Billing.
The Master Billing window opens. -
In the BillTo field, enter the company ID.
-
Click Open.
-
Click New Master Bill.
A new record appears in the Billing Groups grid. The Available tab becomes active.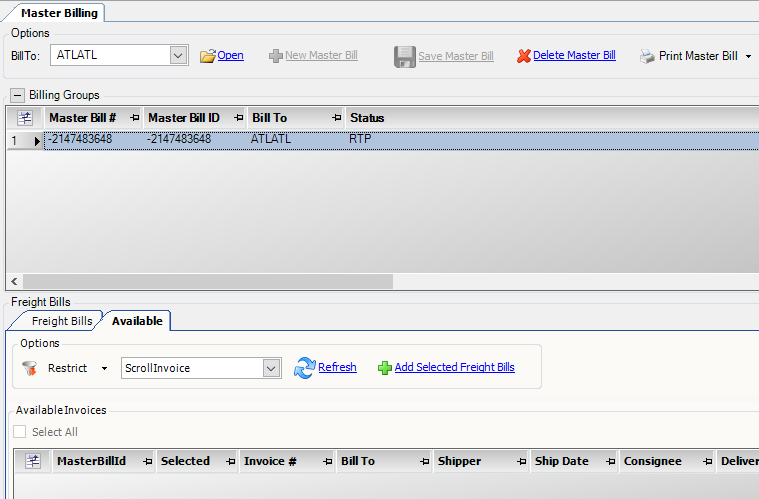
-
In the Available tab, add the invoices you want to include on the master bill.
-
Click Save Master Bill.
The system assigns a master bill number and ID to the record. It uses the current date as the bill date. -
Print the master bill. If the Bill To is set up to receive master bills and individual invoices, you can print those invoices as well.
Viewing, editing, and printing master bills
You use the Master Billing window to:
-
View and edit master bills
-
Print master bills and their associated invoices
-
Update the master bill status and invoice statuses from Ready to Print to Printed
-
Create additional master bills outside of the schedule, if necessary
-
Delete master bills
-
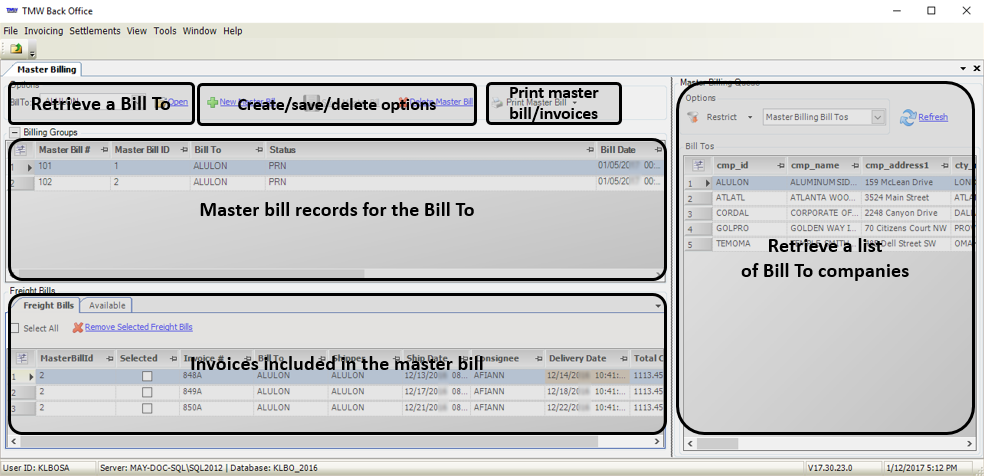
Go to Invoicing > Master Billing.
The Master Billing window opens. -
In the Master Billing Queue, click Refresh.
The system displays all Bill To companies in the database that are set up for master billing.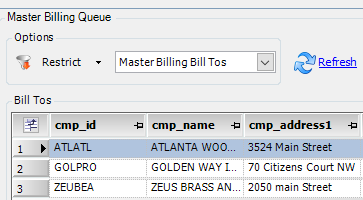
-
To limit the list to specific Bill To companies, click Restrict.
The Quick Search tab is displayed.
-
Set your restrictions in the Quick Search, Address, and User Defined tabs.
-
Click Retrieve.
The system displays the Bill To companies that meet the criteria you specify. -
Double-click on a company in the Bill Tos grid.
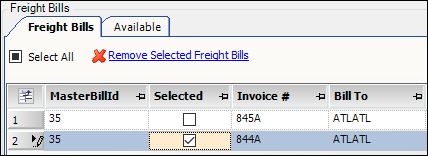
The Master Billing window displays available master bill records in the Billing Groups grid. To view the invoices that are attached to a record, double-click on it in the grid. Invoice data displays in the Freight Bills tab.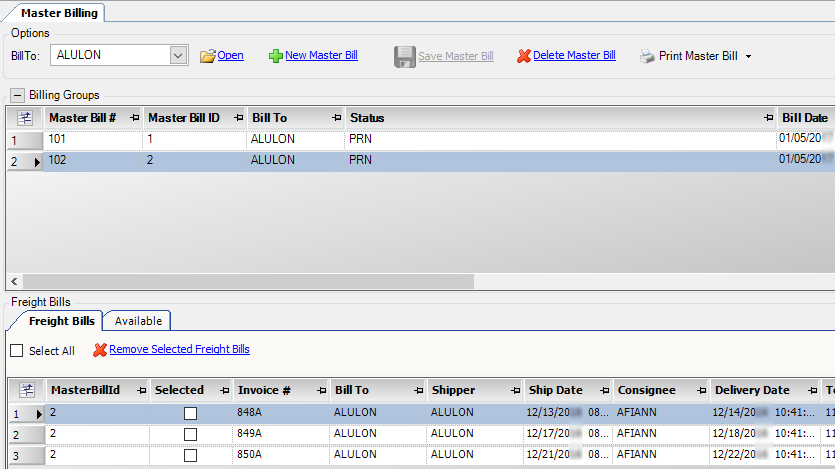
-
If needed, remove any invoices you do not want to include in the master bill.
-
In the Freight Bills tab, select the check box in the Selected column for each invoice.
-
Click Remove Selected Freight Bills.
Note: If the master bill’s status is Printed, a message appears indicating that by removing invoices, its status will be changed to Ready to Print. Click Yes to continue or No to cancel.
-
-
If needed, add any available invoices.
-
Click the Available tab.
-
Click Refresh.
Invoices with a status of Ready to Print (RTP) display in the AvailableInvoices grid. -
If needed, restrict the list of invoices that appear in the grid.
-
Click Restrict.
The QuickSearch tab opens.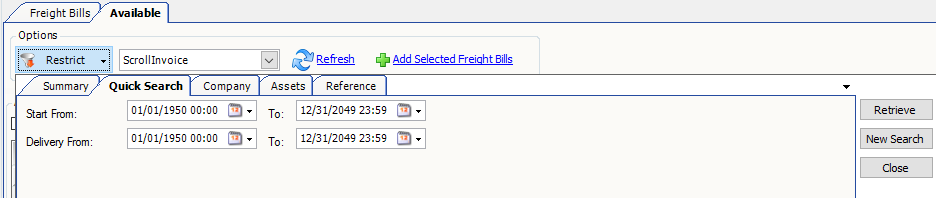
-
Set your restrictions in the Quick Search, Company, Assets, and Reference tabs.
-
Click Retrieve.
The system displays the invoices that meet the criteria you specify.
-
-
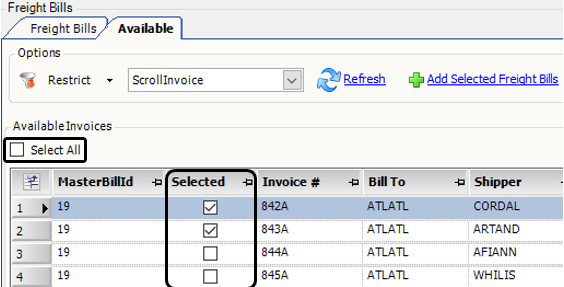
Select the invoices you want to add.
-
To select an individual invoice, select the check box in the Selected column for that invoice.
-
To select all the invoices in the grid, select the Select All check box.
-
-
Click Add Selected Freight Bills.
The selected invoices appear in the grid on the Freight Bills tab.
Note: If the master bill’s status is Printed, a message appears indicating that by adding invoices, its status will be changed to Ready to Print. Click Yes to continue or No to cancel.
-
-
To save your changes, click Save Master Bill. To delete the master bill record, click Delete Master Bill.
Note: When you delete a master bill, the invoices that were associated with that master bill become available. You can then attach them to a different master bill if you want.
Printing master bills from the Master Billing window
To print a master bill, follow these steps.
-
In the Billing Groups section, select the master bill to print.
-
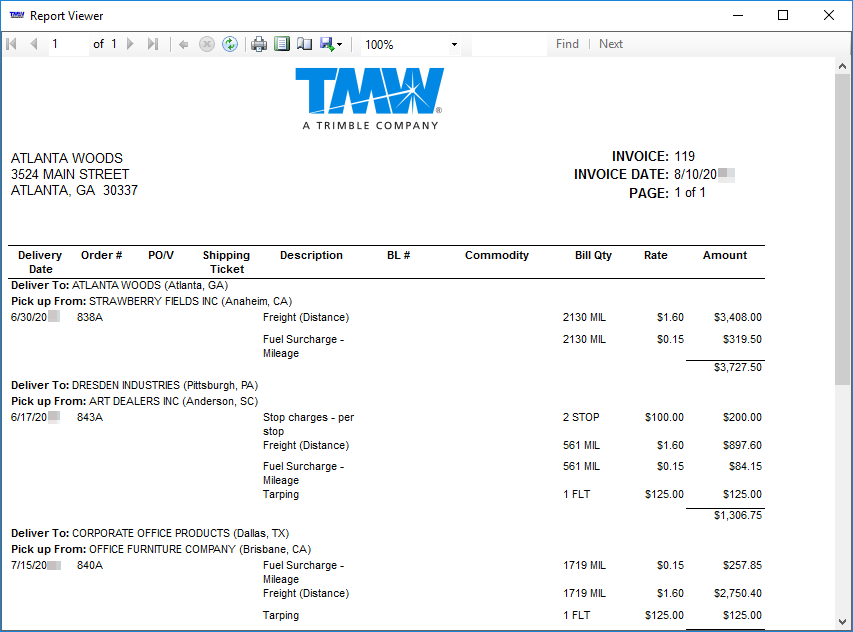
Go to Print Master Bill > Print.
The Report Viewer window opens.
-
Click
 Print.
The system sends a copy of the master bill to your default printer. -
Close the Report Viewer window.
If the master bill status was Ready to Print, a message displays asking if you want to mark the master bill status as Printed. Do one of the following:-
Click Yes to change the status to Printed.
-
Click No to keep the status at Ready to Print.
-
-
The system sends a copy of the master bill to your default printer.
Printing invoices from the Master Billing window
If the Bill To company is set up to receive both master bills and individual invoices, you can print any or all of the invoices associated with a master bill record.
To print any or all of the invoices associated with a master bill, follow these steps.
-
In the Billing Groups section, select the master bill.
-
In the Freight Bills tab, select the Selected check box next to each invoice you want to print.
-
Go to Print Master Bill > Print Selected Invoices.
If the status of any of the selected invoices is Ready to Print, a message displays asking if you want to mark the status as Printed. Do one of the following:-
Click Yes to change the status to Printed.
-
Click No to keep the status at Ready to Print.
-
-
The system sends a copy of each selected invoice to your default printer.