Handle widgets
First available in V.2024.2
You can easily customize the landing page. You can:
Once you’ve made all your changes, you can save or reset the landing page.
Add or remove widgets
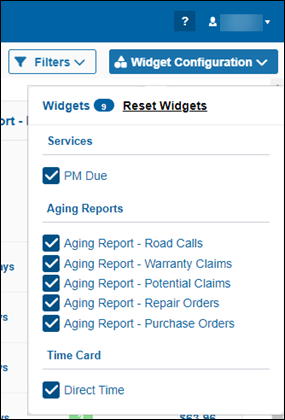
You use the Widget Configuration menu to add or remove widgets from the Dashboard.
-
Select Widget Configuration. The menu opens.
-
Do one of the following:
-
To add a widget to the page, select its checkbox.
-
To remove a widget from the page, clear its checkbox.
-
-
Select Widget Configuration again to close the menu.
This illustration shows the Widget Configuration menu. The total number of available widgets is nine, but this user does not have the permissions needed to use two of the widgets. The two missing are the Time Card Approval widget and the Time Card Status widget, which are reserved for shop managers in this setup.

If you ever want to return the widgets to their original places, select Reset Widgets on the Widget Configuration menu.
Move widgets
Widgets have uniform sizing that lets you drag and drop the widgets easily. Select the widget header, drag the widget where you want it to go, and release the header.
Refresh widget content
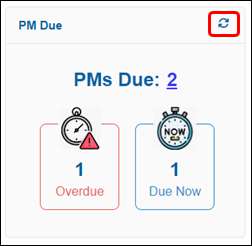
To make sure you’re seeing the most recent content on a widget, select the Refresh icon.

Save or reset the landing page
To save changes you have made to the landing page, such as moving or filtering widgets, select  Save Page State. The next time you open the page, the program shows you your custom view.
To reset the landing page to its default settings, select  Reset Page Template. The program opens a confirmation message: "Are you sure you want to reset the dashboard to the default configuration?" Select YES.