Highlighting specific entries in a column
Instead of formatting all the entries in a column the same way, as you would with a True Condition, you might want to highlight only those entries that meet certain criteria. You can highlight specific column entries using a Formula Condition, which formats one column based on criteria in another column.
You can use a Formula Condition to highlight such conditions as:
-
An arrival that is outside retain/runout
-
An available order that is within one or two hours of runout
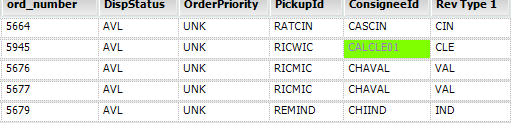
This example illustrates how to quickly spot a particular Consignee in the Available Orders tab of the Card Planner. You create an expression that will add a background color to the consignee’s grid cell when the trip has more than one live unload.
Note: You must retrieve data before setting conditional formatting for a column.
Fuel Dispatch prior to version 17.10
-
Retrieve data in the Available Resources grid of the Card Planner.
-
Click the Avl. Orders tab.
-
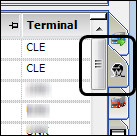
Right-click the column header that will contain the formatting.
For this example, right-click ConsigneeID.
-
From the shortcut menu, select Conditional Format.
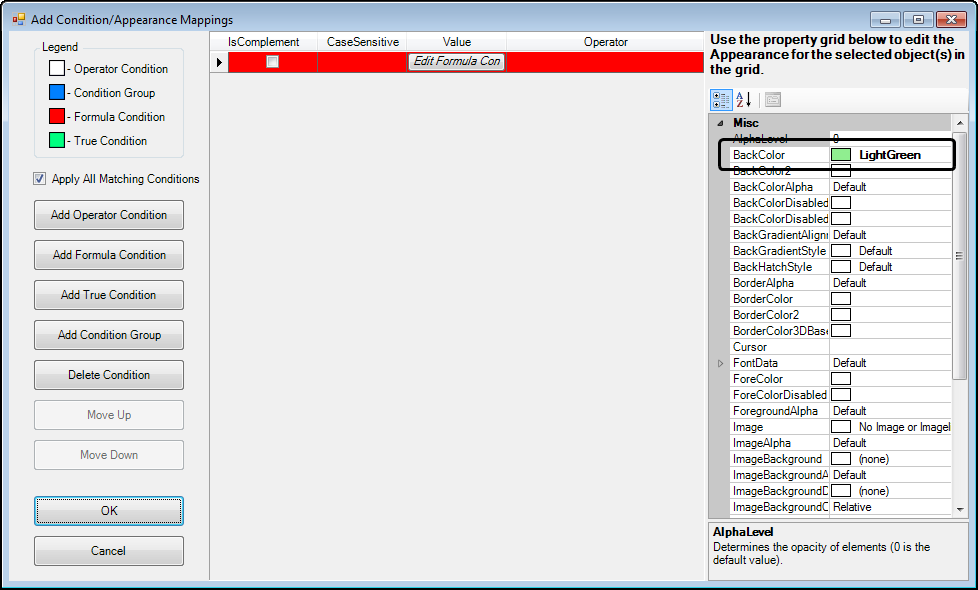
The Add Condition/Appearance Mappings window opens. -
Click Add Formula Condition.
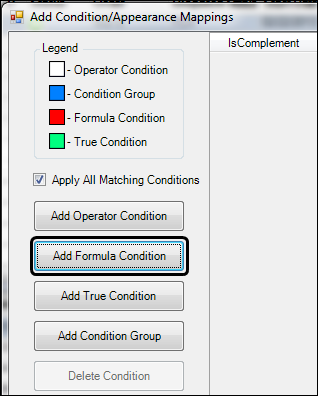
The Formula Builder window opens.
-
On the Operands tab, go to the appropriate control.
For this example, expand Controls > DisplayOnlyGrid1 >_Band_0.
-
Locate and double-click the name of the column that contains the information on which you want to base the condition.
Note: You cannot select the same data column you are formatting.
For this example, double-click DrpCnt, which contains the number of live unloads.
[DrpCnt]appears in the upper-right field.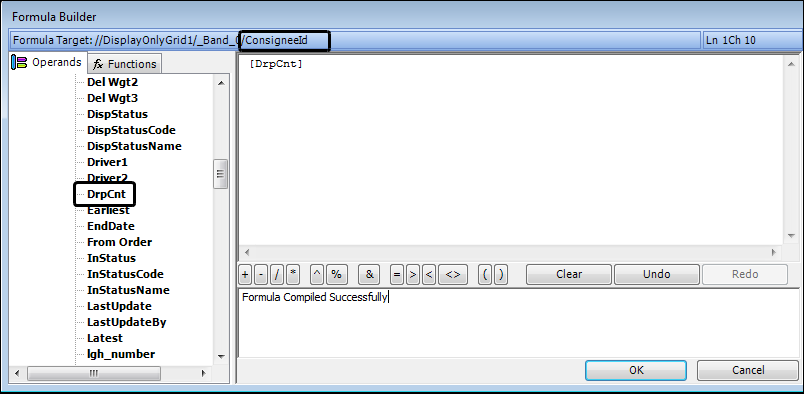
-
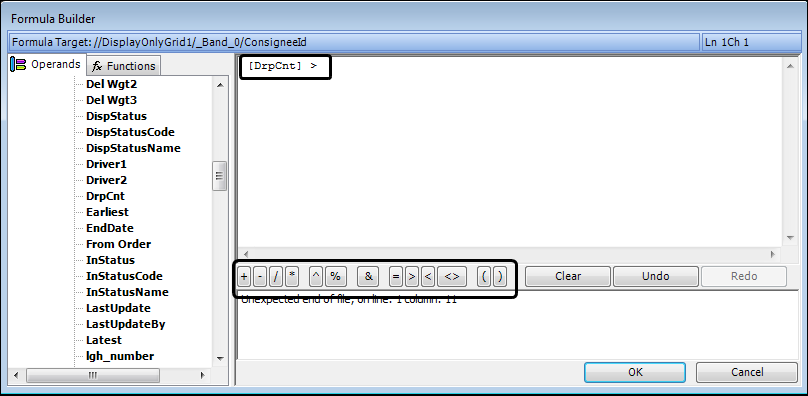
Click the appropriate operator button.

In this example, click the > button. The greater than sign is added to the expression.
-
Enter the value or, within quotation marks, the data item to complete the expression.
In this example, enter 1.
If the entry is accepted, a message will appear in the lower-right field confirming that the formula compiled successfully.

-
Click OK.
The Formula Builder window closes. -
In the property grid, locate the BackColor property and select a color.
-
Click OK.
Any consignee’s name that meets your criteria appears highlighted in the color you selected.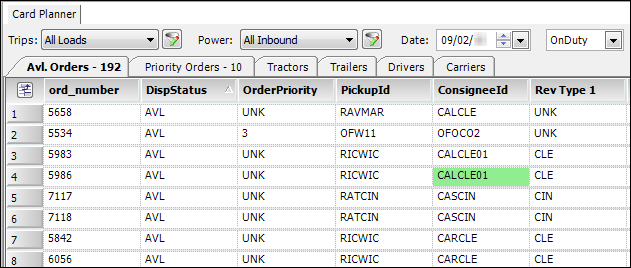
Fuel Dispatch version 17.10 and later
-
Retrieve data in the Available Resources grid of the Card Planner.
-
Click the Avl. Orders tab.
-
Right-click the column header that will contain the formatting.
For this example, right-click Consignee ID.
-
From the shortcut menu, select Conditional Format.
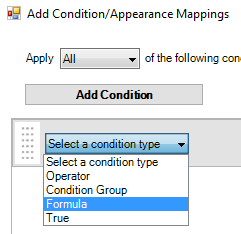
The Add Condition/Appearance Mappings window opens. A single condition row appears in the grid by default. -
In the Select a condition type field, select Formula.
-
Click
 Formula Builder.
The Formula Builder window opens. -
On the Operands tab, go to to the appropriate control.
For this example, expand Controls > DisplayOnlyGrid1 >_Band_0.
-
Locate and double-click the name of the column that contains the information on which you want to base the condition.
Note: You cannot select the same data column you are formatting.
For this example, double-click DrpCnt, which contains the number of live unloads.
[DrpCnt]appears in the upper-right field. -
Click the appropriate operator button.

In this example, click the > button. The greater than sign is added to the expression.
-
Enter the value or, within quotation marks, the data item to complete the expression.
In this example, enter 1.
If the entry is accepted, a message will appear in the lower-right field confirming that the formula compiled successfully.
-
Click OK.
The Formula Builder window closes. -
Click
 Styles.
 -
Click Custom Style.
The Custom Style Properties window opens. -
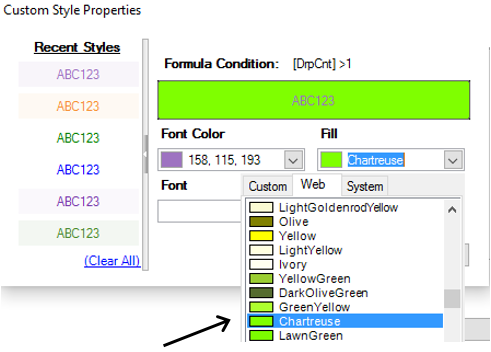
In the Fill field, select a fill color. You can do this by typing an RGB value (such as 0, 255, 0) in the field or by following these steps:
-
Click the arrow in the Fill field.
A drop-down menu opens. -
Click any of the tabs to select the palette you want.
-
Click the color you want to use.
-
-
Click OK.
The Custom Style Properties window closes. -
Click OK on the Add Condition/Appearance Mappings window.
Any consignee’s name that meets your criteria appears highlighted in the color you selected.