Recording contact information
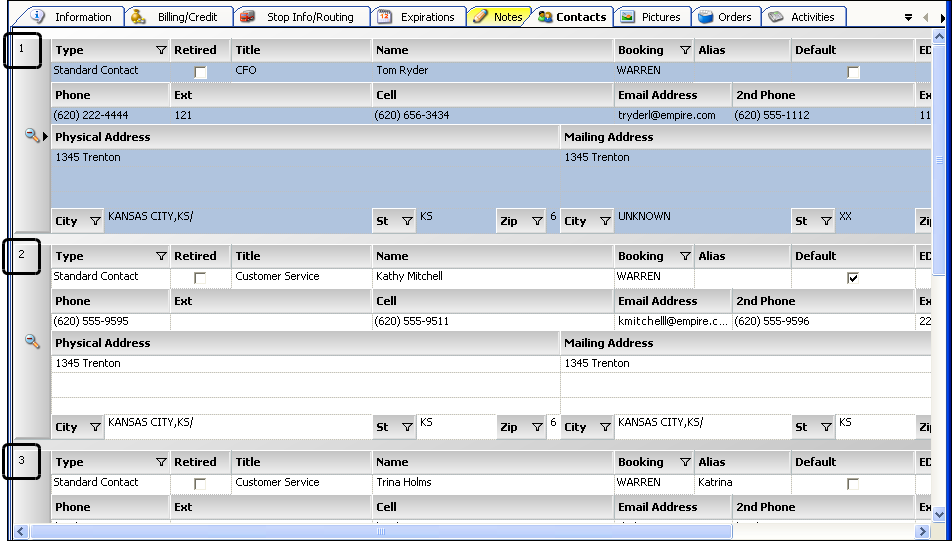
You use the Contacts tab to record information about the contacts with whom you do business at a company. In this illustration of the tab, information for three contacts is shown. By default, you see an expanded view of all information for all contacts.
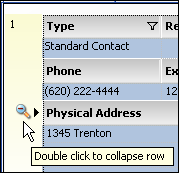
If you prefer, you can change the view so that all information for each contact is shown in a single row. To do so, double-click on the magnifying glass icon shown to the left of any contact record.
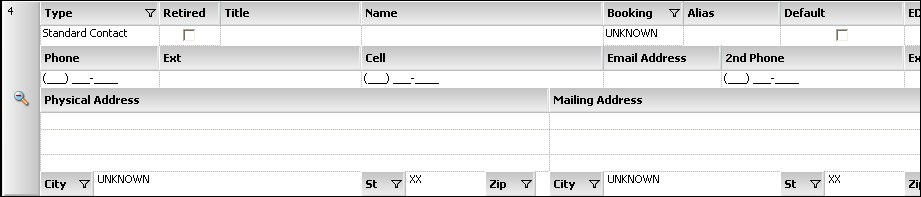
This illustration shows a collapsed view of contact records.

To return to the expanded view, double-click the magnifying glass at the far left of any row.

|
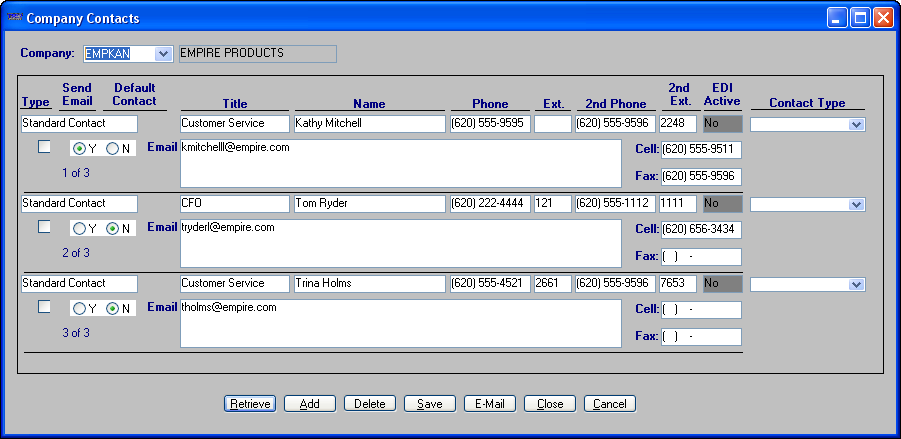
Company contact information recorded in Fuel Dispatch can be accessed and updated in core TMWSuite applications, and vice versa.
For details on using the Company Contacts feature in TMWSuite core applications, see: |
Adding a contact
To record contact information, follow these steps:
-
Look up the company profile and click the Contacts tab.
-
Click Add in the lower right of the window.
-
If you want, switch from an expanded view of the contact record to a collapsed view.
By default, the system displays an expanded view of contact records, as shown here:
If you prefer to enter information in a single row, i.e., collapsed view, double-click the magnifying glass
 at the far left of the record. The system collapses the record, as shown here:
To return to the expanded view, double-click the magnifying glass again.
-
Make entries in the fields displayed for the contact record.
Field definitionsField Definition Type
Identifies the type of contact record you are creating. Clicking in the field displays a drop-down list of options. Select the appropriate type:
-
Standard Contact
Identifies the contact record as a general contact, i.e., not for use by TMWSuite’s EDI or Imaging add-on modules. -
EDI/Imaging Email
Identifies the contact record as available for use by TMWSuite’s EDI or Imaging add-on modules. When this option is selected, you can record an e-mail address for the contact. Phone number fields are not accessible. -
EDI/Imaging Fax
Identifies the contact record as available for use by TMWSuite’s EDI or Imaging add-on modules. When this option is selected, you can provide a fax number for the contact. Other phone number fields are not accessible.
Note: These options are system code entries in the CmpContactType label.
Default
There can be only one default, i.e., primary, contact for a company. When you add the first contact, the system automatically selects the Default checkbox for it.
If the first contact is not the primary, select the Default checkbox for the person who is the primary contact.
Later, when an activity is created for the company on the Activity Details window, the system will automatically default the primary contact’s information in the Contact, Phone, Ext, and E-mail fields.
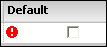
Note: If the Default checkbox is not selected for any contact, the system shows a red warning indicator below the checkbox for each contact.
Title
Free-form text field used to record the contact’s title. The system saves a maximum of 30 alphanumeric characters.
Name
Free-form text field used to record the contact’s name. The system saves a maximum of 30 alphanumeric characters.
Alias
Contact’s alternate name.
Note: This field is not available on the Company Contacts window in core TMWSuite applications.
Phone
Primary telephone number by which the contact can be reached.
Ext.
Extension number for the contact’s primary phone number.
2nd Phone
Alternate telephone number by which the contact can be reached.
2nd Ext.
Extension number for the contact’s secondary phone number.
Email
Contact’s e-mail address.
Note: If you want, you can set up the system to require that an e-mail address must be recorded for a contact. For more information, see the Requiring an e-mail address when saving a contact record section.
Cell
Contact’s cell phone number.
Fax
Contact’s fax number.
Physical Address, City, St, Zip
Contact’s geographic address, city, state/province, and ZIP/postal code.
Note: This field is not available on the Company Contacts window in core TMWSuite applications.
Mailing Address, City, St, Zip
Address, city, state/province, and ZIP/postal code to which mailed items must be delivered.
Note: This field is not available on the Company Contacts window in core TMWSuite applications.
Booking
Select the CSR who typically works with the contact.
Note: This field is not available on the Company Contacts window in core TMWSuite applications.
Comment
Enter free-form text about the contact.
Note: This field is not available on the Company Contacts window in core TMWSuite applications.
EDI Active
Applies if the type is EDI/Imaging Email or EDI/Imaging Fax.
-
If the contact information is to be used by the EDI add-on module, select the checkbox.
-
If the contact information is to be used by the Imaging add-on module, clear the checkbox.
Retired
Applicable when a person is no longer a contact for your company.
Note: This field is not available on the Company Contacts window in core TMWSuite applications.
Updated By
TMWSuite ID of the person who last updated the contact’s information.
Update Date
Date/time when the contact’s information was last updated.
-
-
Click
 Save on the main toolbar.
Note: If you did not select the Default checkbox for any contact, the system displays a message indicating that you cannot save.
Show me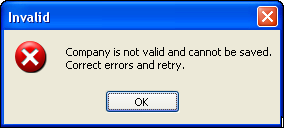
Click OK, select the Default checkbox for the primary contact, and click Save again.
Deleting a contact
When a contact record is no longer valid, it can be deleted (for example, the contact has left the company or has changed positions). To delete a contact record, follow these steps:
-
Look up the company profile and click the Contacts tab.
-
Click in one of the fields for the contact record you want to delete.
-
Click Remove in the lower right of the window.
One of the following occurs:
-
The system displays a confirmation message.
Show me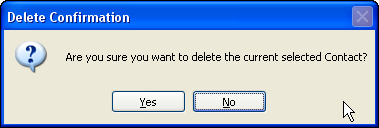
Click Yes to complete the deletion.
-
If there are multiple contact records and the contact you are deleting is marked as the default contact, the system displays a message indicating that the record cannot be deleted.
Show me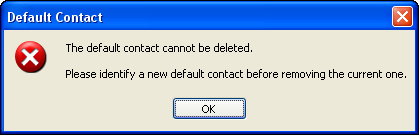
-
Click OK.
-
Select the Default checkbox for the new primary contact.
-
Click Remove again.
-
-
-
Click
Save on the main toolbar.