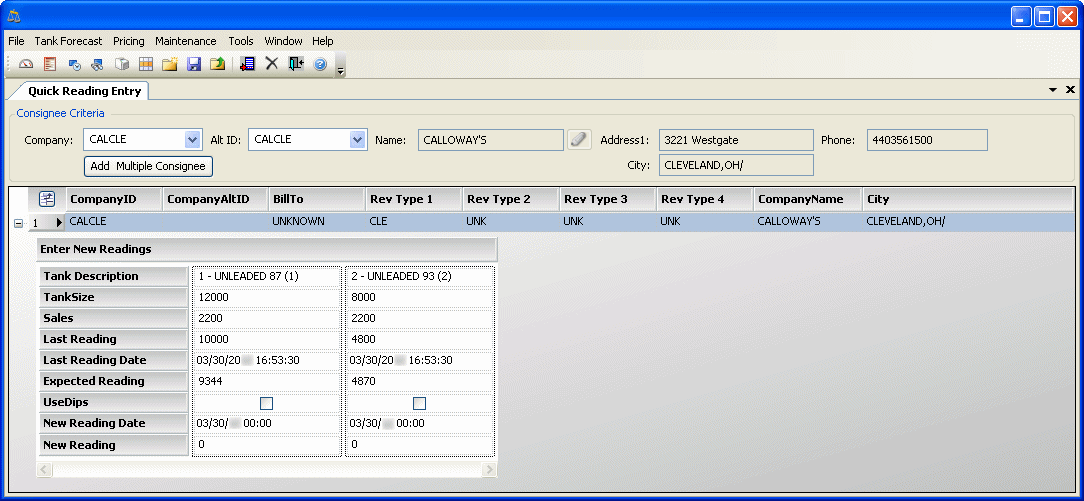
Entering readings in the Quick Reading Entry window
In the Quick Reading Entry window, you can update and save tank readings for a single store. Alternatively, you can retrieve multiple stores, update tank readings for all of them, and then save each store’s readings individually.
To access the Quick Reading Entry window, go to Application > Quick Reading Entry. The window consists of three sections.
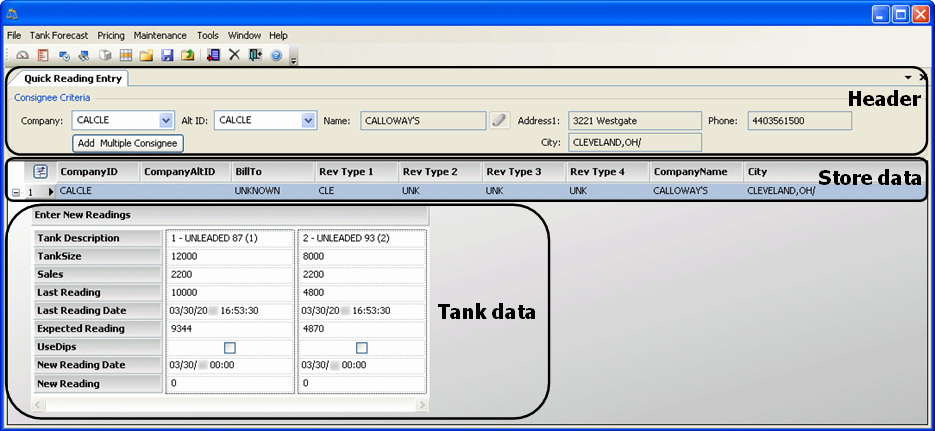
Header |
Allows you to do either of the following:
|
Store data |
Displays company data for each store you have retrieved. This information comes from the store’s company profile. |
Tank data |
A block of tank reading data is displayed for each tank of each store loaded into the Quick Reading Entry window. Note: If tank readings are not visible for a store, click the |
Retrieving stores for reading entries
To open one or more stores in the Quick Reading Entry window, follow these steps:
-
Select Application > Quick Reading Entry.
-
To retrieve one store, do the following:
-
In the Company or Alt ID field, enter a company ID.
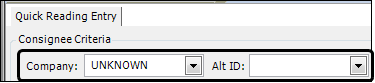
-
Press TAB.
-
-
To retrieve multiple stores, do the following:
-
Click Add Multiple Consignee.
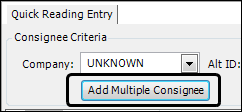
The Company Scroll window opens.
-
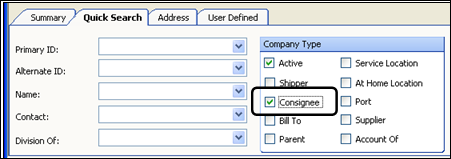
On the Company Scroll Quick Search tab, select the Consignee checkbox.
-
To filter the list of stores you want to update, make entries as needed in other fields on the Quick Search, Address, and User Defined tabs.
-
Click Retrieve. The Results grid displays the matching companies.
-
Press and hold CTRL while selecting the companies you wish to update.
The selected companies remain highlighted.
-
Close the Company Scroll window.
The selected companies appear in the Tank Data section of the Quick Reading Entry window.
-
Entering reading details
In the Quick Reading Entry window, you can enter and save tank readings for one store at a time, or you can retrieve multiple stores, update all tank readings, and save them all at one time.
You can make only three types of entries:
-
In the New Reading Date field, enter the date/time of the tank’s new reading.
-
In the New Reading field, enter the volume of the tank’s new reading.
-
Select the UseDips checkbox to indicate whether the reading was obtained through the dip method.
All other tank information is read-only.
| If a store has multiple tanks, they should all be read at the same time and their readings recorded for the new reading time. Leaving any tank’s New Reading field with a value of 0 (zero) when you save will provide the forecaster with inaccurate data. |
To enter readings for a tank, follow these steps:
-
If the tank readings are not visible for the store, click the
 icon at the left of the store’s data to expand the row.
 -
Note the tank’s Expected Reading, Last Reading, and Last Reading Date fields.
This information can help you to identify an incorrect reading, or to judge the validity of the new reading you are about to enter.
-
In the New Reading Date field, enter the date and time of the new reading(s). The date defaults to midnight on the current date.
Notes:
-
If there are multiple tanks for the store, your entry in the New Reading Date field for any tank applies to the store’s other tanks. You must enter readings for all tanks as of that date and time.
-
The time you enter for the new readings must be later than the time of the last readings. If you enter an earlier time (or date), the new readings will not be saved.
-
-
The New Reading field for each of the store’s tanks defaults to 0 (zero). Enter the new reading for each tank.
Note: As of Version 17.20, the volume must be equal to or less than the maximum tank volume. Entering a quantity larger than the tank capacity makes the Reading Entry Error message appear. The message states the value entered is greater than the tank’s size. It instructs you to correct the reading. Click OK to close the message. The field value is reset to 0 (zero).
-
Select or clear the UseDips checkbox for each of the store’s tanks according to the reading method.
-
If you opened multiple stores in Quick Reading Entry, repeat Steps 1-5 for each tank at each of the other stores.
Warning: If you opened multiple stores in Quick Reading Entry, you must update all tank readings for all stores before you click Save.
-
Click
 Save.
Save.