Recording tractor accessories in the tractor profile
You can view, add, and delete accessories equipped on a tractor or straight truck on the Accessories tab in the Tractor Profile window.
| You must set up your tractor accessories using the TrcAcc label in the label file. For more information, see Defining load requirement labels. |
Viewing a tractor’s accessories
To access a tractor’s accessories, follow these steps:
-
Go to Tools > Tractor Scroll.
-
Enter the tractor’s ID.
-
Click Retrieve.
-
Click Profile.
The Tractor Profile window opens. -
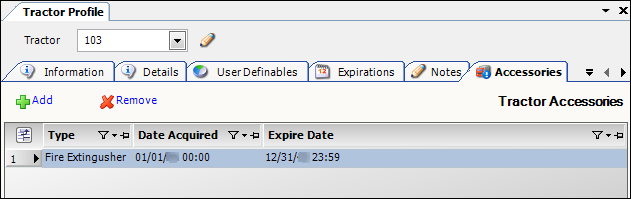
Select the Accessories tab.
Required field: *
Type *
Type of accessory equipped on the vehicle
Note: You set up the options in the TrcAcc label. For more information, see: Guide: System Administration | Chapter: Using the label file to customize fields | Section: How to edit a label
Date Acquired *
Date the vehicle was equipped with the accessory
Expire Date
Date the accessory will expire, if applicable
Adding a tractor accessory
To add a tractor accessory, follow these steps:
-
Go to Tools > Tractor Scroll.
-
Enter the tractor’s ID.
-
Click Retrieve.
-
Click Profile.
The Tractor Profile window opens. -
Select the Accessories tab.
-
Click Add.
-
Make entries in the following fields:
Required field: *
Type *
Type of accessory equipped on the vehicle
Note: You set up the options in the TrcAcc label. For more information, see: Guide: System Administration | Chapter: Using the label file to customize fields | Section: How to edit a label
Date Acquired *
Date the vehicle was equipped with the accessory
Expire Date
Date the accessory will no longer be available, if applicable
-
Click
 Save.
Save.
Deleting a tractor accessory
-
Go to Tools > Tractor Scroll.
-
Enter the tractor’s ID.
-
Click Retrieve.
-
Click Profile.
The Tractor Profile window opens. -
Select the Accessories tab.
-
Select the accesory to be removed.
-
Click Remove.
The system displays a confirmation message.
-
Click Yes to complete the deletion.
-
Click No to cancel the deletion.
-
-
Click
Save.