Customer Service
The Customer Service program can be considered the center of TruckMate because it is where a great deal of information used in the rest of the system originates.
This is where freight bills are created and managed for dispatch operations, billing, collections, and the General Ledger. It allows you to store, view, and edit details about pickup, delivery, routing, load details, dangerous goods information, status history, trace numbers, rates, charges, extra charges, quotes, and more.
In Customer Service, you can enter and manage additional information about costs and expenses related to the freight bill. These include interline charges, COD on freight, and freight bill based driver pay.
In addition, the program provides specialized functions related to batch auditing of freight bills and managing system mileage tables.
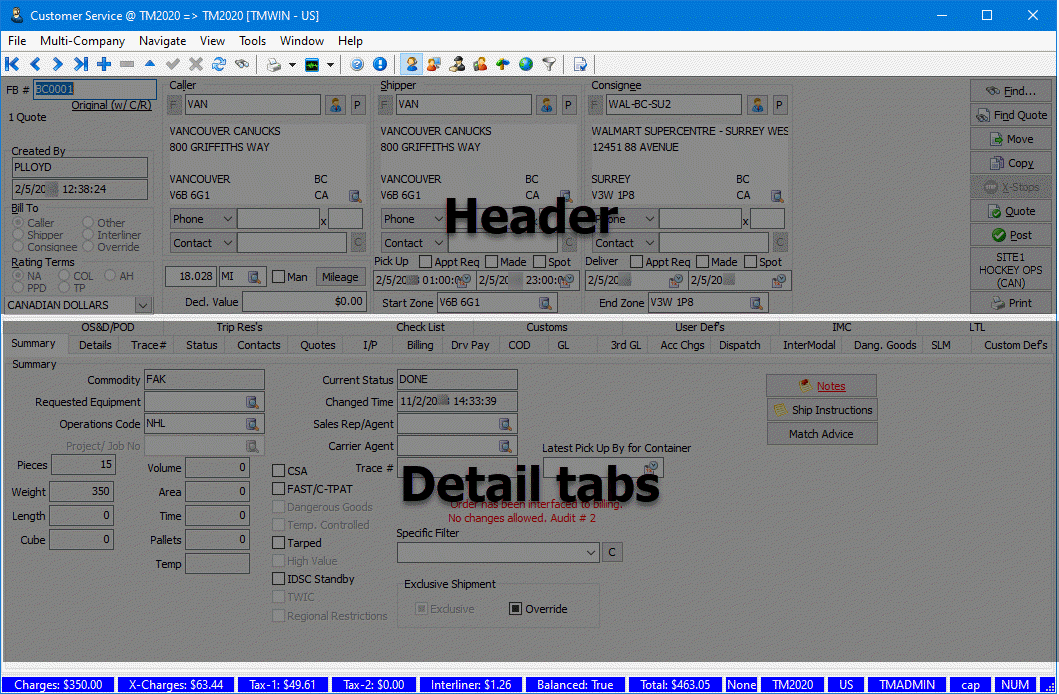
Enter general information about the freight bill in the header.
Add details in one or more detail tabs. You can access a tab by clicking on it in the window or by selecting the tab name in the View menu. To preserve the window view so that the selected tab appears the next time you open the application, go to View > Remember Current View. Your choice is preserved when switching between companies in a Multi-Company environnment.
To access Customer Service:
| From this location | Go to |
|---|---|
TruckMate Menu and TruckMate Task List |
|
Windows Start Menu |
TruckMate 20xx > Customer Service |
Windows Explorer |
C:\Program Files (x86) > TruckMate 20xx > Cserv.exe |
Quick Start
How do I create a freight bill?
-
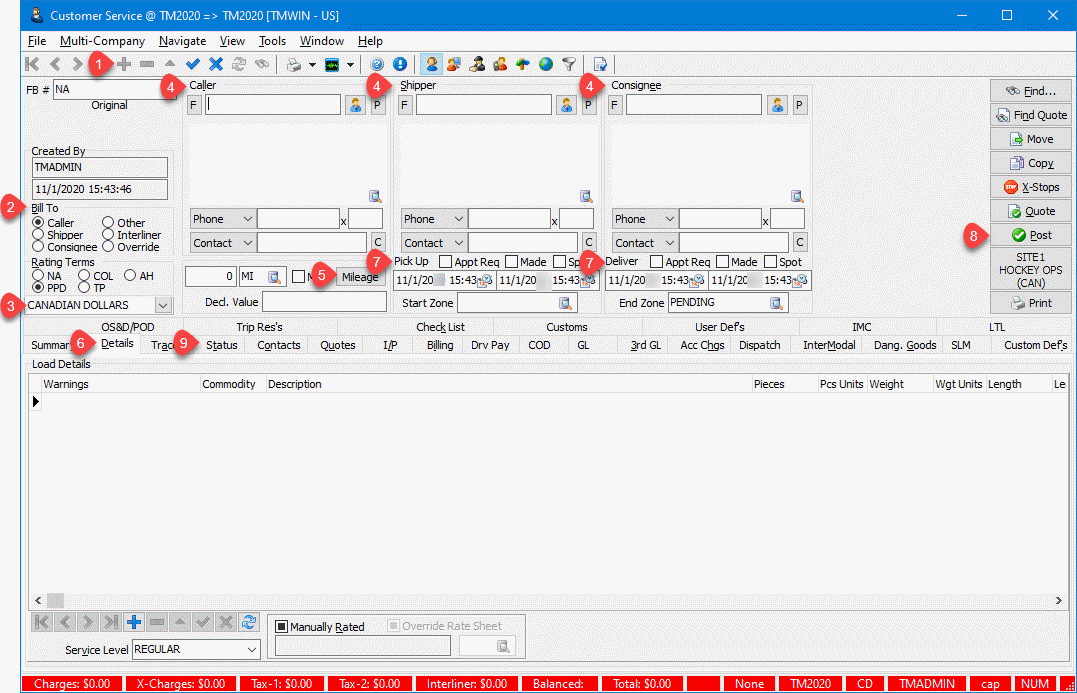
Click
 Insert. The window refreshes with N/A in the FB# field.
 -
In the Bill To section, select the entity that will pay for the freight.
-
Select the currency to be used.
-
In the Caller, Shipper, and/or Consignee sections, enter the customer information.
-
If you already know the code associated with a customer, you can enter it in the field indicated.
-
If you do not know the customer code, click F and select the customer from the Customer Search window.
-
If the customer does not exist in your database, you can create a profile for them in Customer and Vendor Profiles. You can then select their customer code in Customer Service.
-
-
Click Mileage to determine the mileage needed to complete the trip.
-
In the Details tab, enter as much information as is relevant for the trip.
-
To enter a freight line item, click
Insert. -
Complete fields as needed. If you want to enter a value in the Rate field, you must select Manually Rated.
-
Repeat Steps a and b as needed.
-
When you are finished, click
 Post to save your changes, or
  Cancel to cancel them.
 -
In the Service Level field, select the appropriate service level.
-
-
Make sure the pickup date is prior to the delivery date.
-
When you are ready to create the freight bill, click Post. The FB# field contains the freight bill number.
-
To confirm that the bill was entered into the system, select the Status tab.
How do I find a freight bill?
If you know the freight bill number:
-
Click Find.
The Find Freight Bill window opens. -
In the Search By section, select Freight Bill Number if it is not already selected.
-
In the Search Number field, enter the freight bill number.
-
Click OK.
How do I copy the contents of a freight bill?
-
Click Copy.
The Copy window opens. -
Select the information you want to copy.
-
Click OK.
The system creates a new freight bill with the information you selected.
How do I approve freight bills?
To approve one freight bill:
-
Confirm that the bill has been posted. Posted bills have a status of AVAIL.
-
On the Billing tab, click APPRVD.
The bill status changes to APPRVD.
To approve two or more freight bills:
-
Set up a filter to allow you to view the freight bills that are available for approval.
-
Do one of the following:
-
To approve all bills displayed on the filter page, right-click on the page and select Approve > Approve All.
-
To approve a smaller number of bills, select them on the page by pressing and holding SHIFT while clicking each bill. When you have selected the bills, right-click on the page and select Approve > Approve Selected.
-
How do I print a freight bill report?
You can print a Crystal Report for the freight bill you are viewing.
-
Click Print.
-
On the window that opens, select CSERV.RPT.
-
Click OK.
A report displays. -
Click Print.
How do I create a quote from a freight bill?
You can create a quote from a copy of any freight bill entered in Customer Service.
| Do not use this procedure if your system is set to post copies of freight bills automatically. For more information, contact your system administrator. |
-
Find the freight bill you want to use for your quote.
-
Click Copy.
The Copy window opens. -
Select the information you want to copy.
Note: Do not select Automatically Post. -
Click OK.
-
Click Quote.
The Quotes tab lists existing quotes for a freight bill.