Controls for selection and filtering
This help topic describes controls that are used to enter specific data like date and time information or for selecting items from a pick-list or pull-down menu. It also describes some aspects of how to use some of the custom filter tools to locate specific records.
Calendar date controls
A Calendar form is available for all date fields by double-clicking within the field or by clicking the Calendar button on the left side of the field.
![]()
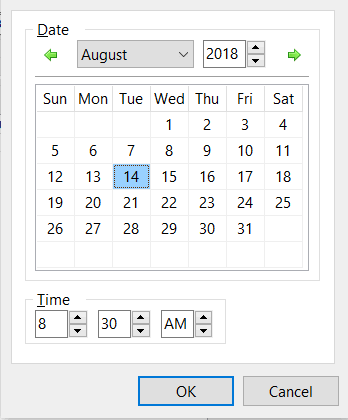
| The calendar form may differ from the one shown above. For example, in certain cases it is only necessary to select a date so the time fields would not be available. |
Use the green arrows at the top of the form to change the month or use the pick-list in the month field. You can manually change the time values, or use the up and down arrows beside the fields to indicate the time. Click the desired date, ensure the rest of the information is correct and click the OK button. Double-clicking a date will select that date and close the form.
You do not have to use the Calendar form. You can manually enter 6 digits (2 each for month, day and year, in the order defined in your Windows settings, (usually 'mmddyy') and the date separators (slashes) will be automatically added for you. For doing a lot of data entry, the 2 keystroke reduction per date can be a time saver.
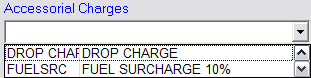
Drop-Down menus
In many cases, drop-down menus or picklists are used to select previously configured data when you are entering records. Often the drop-down list will display both the code and the code description.
In some cases, especially when there are many records to display in the drop-down list box, the entry field functions as a Filter. That is, you can enter the starting characters of the desired code in the field, then, when you click the drop-down list box button, only records that match the characters entered in the field will be displayed. In other cases, when you enter characters in the field, the first record that matches the characters will be displayed. In that case, you can use the arrow keys on your keyboard to scroll through the records (or click on the drop-down list box button for a list of all codes in the field).
Finding records using a Select or Pick search window
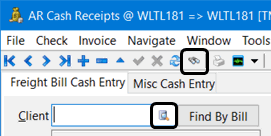
Many fields display a Find or an Edit-Pick button making it easier to edit the contents of the field by displaying a Select item or Pick item window to help locate or filter a specific record or record groups. Some programs will have their own customized Find function window.
-
Select the Navigate > Find function or the Find button or in some special cases, the Pick List (Database Search) button available on certain fields within some program windows.
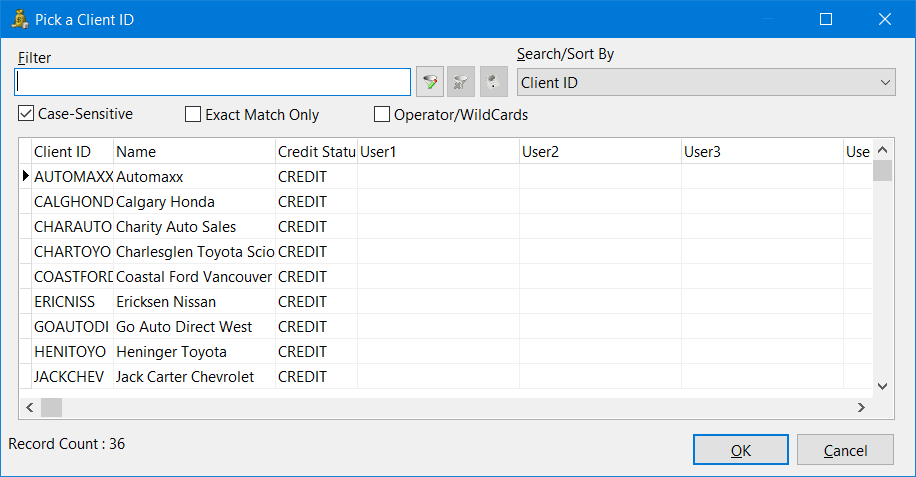
A Select or Pick window (sometimes called an Edit-Pick Lookup window) will open. The window title and the data displayed depend on which application you are using and which database tables are being accessed.
-
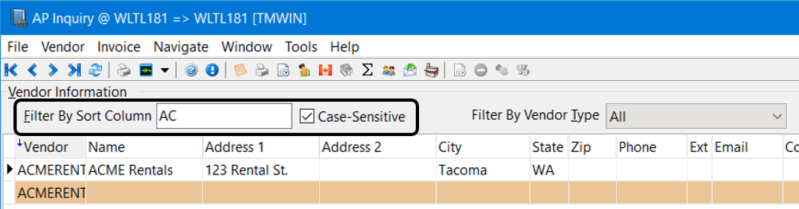
Use the Filter field and the checkboxes below it to restrict the records being displayed or to search for records containing the desired text string for the field identified in the Search/Sort By pick list. Leaving the Filter field empty returns all records and the field can be used for partial text searches without having to use a wildcard.
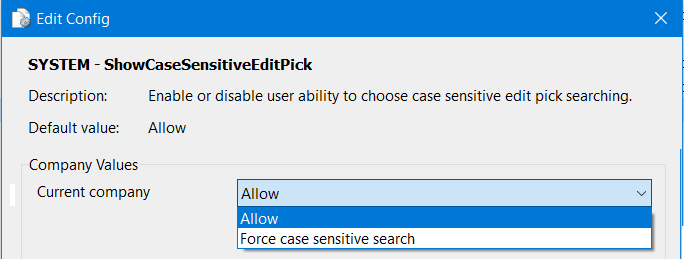
Note: You can enable/disable case-sensitive searches on the Edit Pick Lookup window by changing the value of the Application Configurator program > SYSTEM > ShowCaseSensitiveEditPic option. A setting of Allow displays the Case-Sensitive checkbox.
-
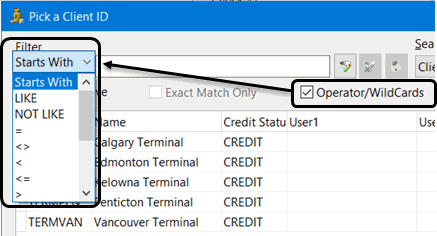
Select the Operator/WildCards checkbox to reveal a set of operator options you can use to refine your search. The LIKE option uses the % character as a wildcard.
-
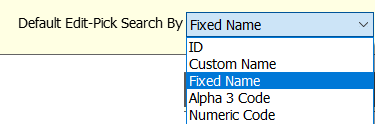
Use the Search/Sort By pick list to allow the filter to search for text strings appearing in other data fields.
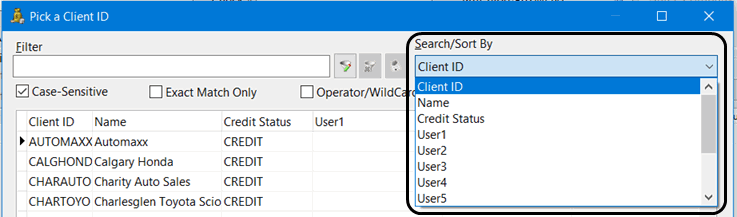
Note: It is possible to customize the grid layout on a search window and set a different column as the default for the Search/Sort By field.
Selecting Single and Multiple options
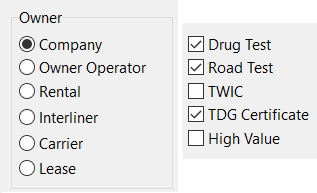
When a group of circular radio button options is provided for selection, it means that only one of the values can be selected. When a group of checkboxes is provided for selection, you can select multiple values by checking more than one box.
Null checkbox
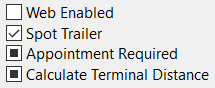
A checkbox containing a solid square indicates the value that checkbox represents is currently set to 'NULL' which is not the same as being checked or unchecked. You may occasionally spot this when creating a new item before the record has been saved to the database.
Filters
TruckMate offers users a number of different program controls to filter the number of records on the screen or to help search for specific records, or groups of records. In many cases, you can search for a specific record by using a Find or Search button, or you can invoke a standard search Select or Pick window by double-clicking a data entry field. A more advanced option that allows the user to define his/her own filter using the 'Where Condition' in the where clause of a SQL filter. Common examples of different types of filter controls are described here:
Filter field
You can reduce the number of vendor records that are displayed by entering partial match data in the Filter field. The Filter field often works in conjunction with the currently selected sort column, often indicated by a small blue arrow. When you enter characters in the Filter field and press Enter, only records in the currently selected sort column with characters that match will be displayed.
Locate feature
When you start entering text into a Filter field on a Select or Pick item window, the system will automatically perform a partial text search and move to the first invoice that matches the data entered in the filter field. This behavior applies to other filter fields within the program windows but in some cases you must press Enter for the Locate feature to perform the search.
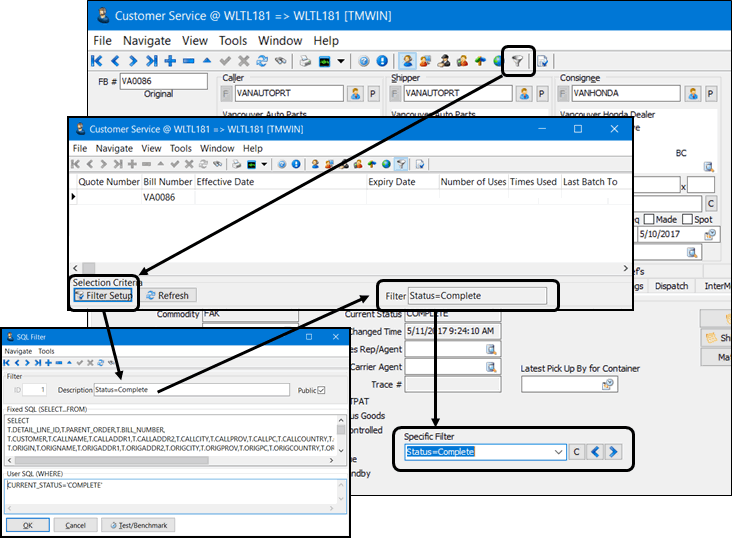
Custom Filters and Filter Setup
Some windows include additional filtering tools to provide even more ability to locate a specific subset of data. They are associated with a specialized Filter, Edit Filters or Setup buttons which open up a SQL Filter window for more high level data filtering at a database query level.
For example, The Filter tab in the Customer Service program provides a Filter Setup button to access the SQL Filter window and create a custom filter to use on the Customer Service > Summary tab. You can create many different custom filters and apply the desired one at any time by selecting it from the drop-down list.
Here are some other examples of similar Edit Filters or Setup custom filter fields in other programs.
Equipment Rental > Rental Agreements: 
AP Inquiry > Driver Pay Audit 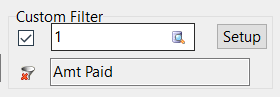
Using the Advanced Filter
-
In a Select or Pick screen where the number of retrieved records is too large, click the Set Advanced (Multi Column) Filter button to open the Advanced (Multi-Column) Filter window where you can enter multiple search criteria.

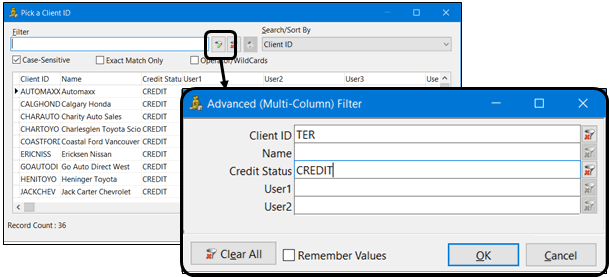
-
Enter the desired criteria and click the OK button.
-
Selecting the Remember Values checkbox to have the system remember the values you enter for your filter criteria. This allows you to reopen the Advanced (Multi-Column) Filter window and refine your search criteria settings without having to start over. Once the underlying Select or Find window is closed, the search criteria values are cleared.
Note: If the results of an advanced search are not what you expected, you can always right-mouse-click the grid and select Show Grid’s SQL to see how TruckMate interpreted your filter.
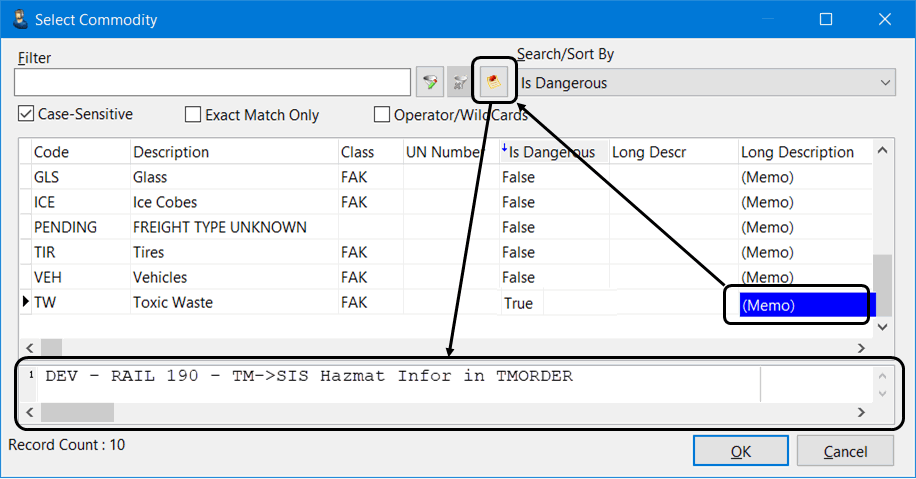
Using the Show SQL Field Memo
If there are any memos or text descriptions associated with a record (such as a Commodity item), the Show SQL Field Memo button is enabled.
Click the Show SQL Field Memo button to display the memo text at the bottom of the Select window. (You may need to click on the grid or scroll over to the memo field before the Show SQL Field Memo button is enabled.) Here is an example when searching for a commodity on the Customer Service > Details tab.