D83 Data Import

The Rocky Mountain Tariff Bureau Inc. (RMB) Division Sheet D-83 is an accepted industry standard used in determining the division of revenue between multiple carriers moving a single load. D83 Data Import lets you:
-
Import the D-83 rate structure into your TruckMate database
-
Set up split rate sheets to apply to your interline vendors
To access D83 Data Import:
| From this location | Go to |
|---|---|
TruckMate Menu and TruckMate Task List |
|
Windows Start Menu |
TruckMate 20xx > D83 Tariff Import |
Windows Explorer |
C:\Program Files (x86) > TruckMate 20xx > D83Import.exe |
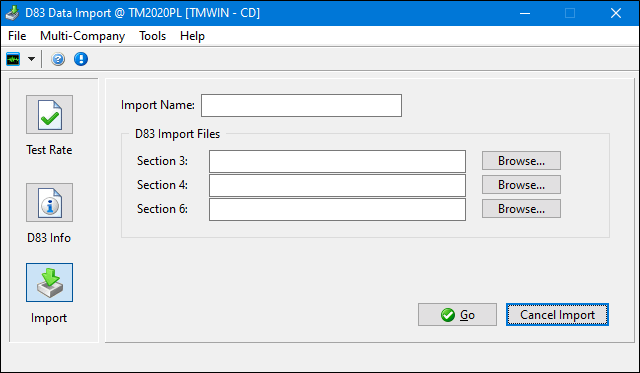
Layout of the D83 Data Import window
The D83 Data Import window is divided into sections. Typically, you access them in this order:
-
Import
Import your D83 information into your database.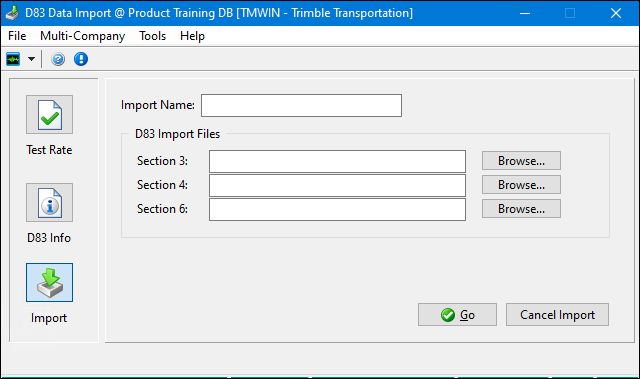
-
D83 Info
Set up D83 options.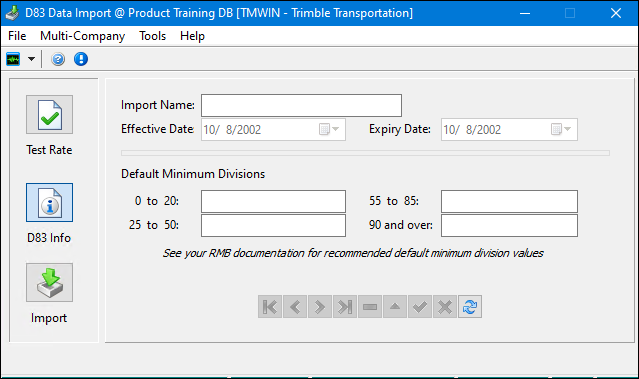
-
Test Rate
Test your data to ensure it’s working correctly.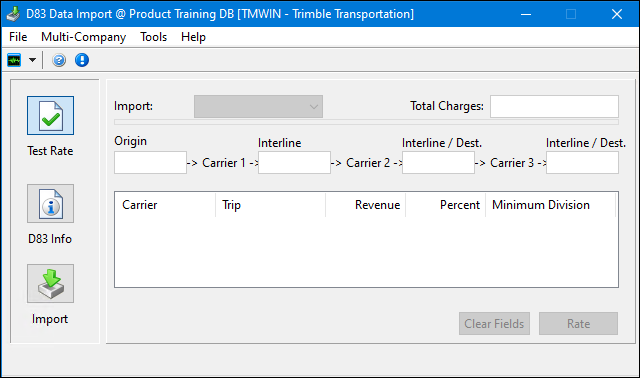
Menu and toolbar options
There are no unique menu and toolbar options and functionality that are specific to the D83 Data Import window.
For information about common menu and toolbar options (i.e. File menu, Refresh, Multi-Company, etc.), see General menu and toolbar options.
Importing D83 data
In the Import section:
-
Type D83 in the Import Name field.
-
Enter the paths and file names of the import files in the Section 3, Section 4, and Section 6 fields respectively. Keep in mind:
-
Typically, the Section 3 and Section 4 files are kept together. The Section 6 file is in a separate location.
-
Select ASCII files. Do not select EBCDIC or Tape Format files.
-
-
Click Go.
The import process may take several hours, depending on the speed of your database server. When the process is complete, a confirmation window opens. Click OK to continue.
You can now test a rate to see if your data has been imported correctly.
Setting up D83 options
In the D83 Info section:
-
Enter the import name.
-
By default, the Effective Date value is today’s date, and the Expiry Date is a year from today’s date. If you want, you can change these.
-
Enter default minimum divisions in the fields provided. For assistance, see the RMB documentation.
Testing imported D83 data
After you have imported your D83 information, the Test Rate section contains available options that you can use to confirm that your data imported correctly.
When you click Rate, the carrier split should occur.
To clear all fields and start over, click Clear Fields.
Setting up a rate sheet that uses D83 tariffs
Once you have imported your data, you can create a rate sheet to use with it. For more information, see How do I use the D83 functions within Rates Maintenance?.
Using reverse D83
Reverse D83 is the practice of using D83 tariff calculations to calculate how much another Carrier would owe you if you were taking a partial move of shipment for them. For example: CLIENT_A has hired ABBA Trucking to move a load from the Shipper to their terminal. They will be billing their customer $1000 and will be expecting you to move the Freight 40% of the move. The Reverse D83 calculation would create a receivable item of 40% of their charge to the customer.
-
Setup D83 Rating normally, as described above.
-
A Freight Bill is then created in the Customer Service program with 'Shipper' and 'Consignee' information as provided by the other Vendor.
-
The movement that the other Vendor will be completing is then entered into the Customer Service program > IP Tab with the appropriate 'Movement Type' and appropriate 'Start Zone' / 'End Zone' of what they will be doing. The 'Charges' field must be set to 'Receivable'.
-
This will then change the 'Bill-To' Client on the order to the Interliner. In order for this step to be accomplished, however, the Vendor must be set up with a CLIENT Code in it’s profile. You can add a Client Code to a Vendor using the Customer & Vendor Profiles program > Vendor > Header > 'Customer Code' field. This Client Code must also be assigned and approved to the D83 Rate Sheet that had been setup previously (in the Rates Maintenance program > Rate Sheets Tab).
-
The amount that the other Carrier is billing their customer is put into the Customer Service program > Details Tab > 'Gross Manual' field, and the detail line should be marked as 'Manually Rated'.
-
The splitting is calculated based on the 'Movement Type' on IP Tab, and the same 'Start Zone' / 'End Zone' lookup as regular D83. What you will see happen is the percentage of the move calculated and charges based off of this put into the Details Tab. This in turn will populate the Billing Tab and create a Receivable for you from the Vendor involved.