Getting started with report writing
| The procedures and images in these topics reflect Crystal Reports XI Release 2. For more information on later versions, see the corresponding User Guide available on the Crystal Reports documentation site. |
Optimizing Crystal Reports
Depending on your environment, reporting speeds can be slow. Turning off certain Crystal Reports options can help improve the speed.
-
In Crystal Reports, go to .
-
In the Options window, deselect options listed in this table.
On this tab Deselect these options Database
-
Perform Query Asynchronously
-
Verify on First Refresh
-
Verify Stored Procedures on First Refresh
-
Automatic Smart Linking
Reporting
-
Save Data With Report
-
Re-import Subreport on Open
-
-
Click OK.
-
Close Crystal Reports.
Creating a basic report
When creating a report, remember to save your work often.
-
In Crystal Reports, click
 New.
New.
The Standard Report Creation Wizard opens. -
On the Data page, expand the Create New Connection folder.
-
Select ODBC (RDO).
The ODBC (RDO) window opens. -
On the Data Source Selection page, select your TM_Reporting alias and click Next.
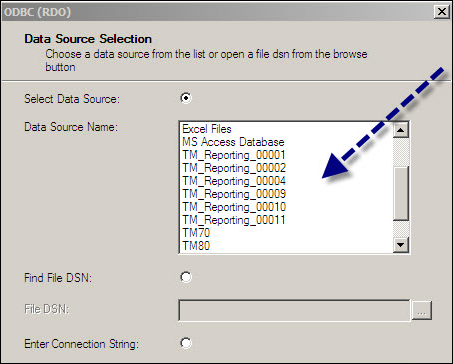
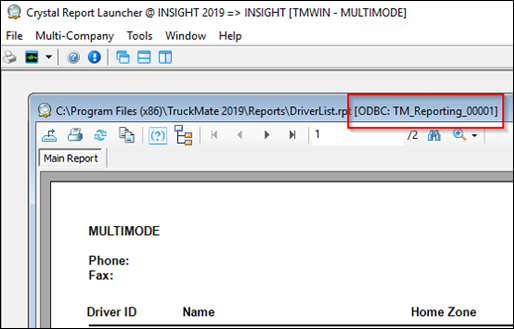
If there are two or more aliases, and you are not sure which one to use, open a report in the Crystal Report Launcher and look at the ODBC value in the title bar.
-
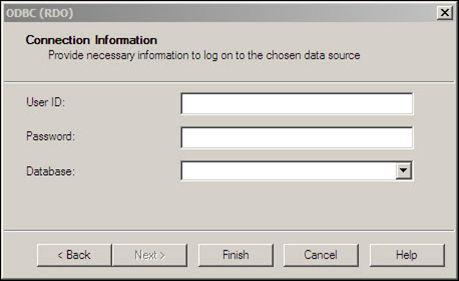
On the Connection Information page, log into the database using your user ID and password. Leave the Database field blank.
-
Click Finish.
The ODBC (RDO) window closes. -
On the Standard Report Creation Wizard’s Data page, highlight your schema owner and expand the tree. If you do not know your schema owner, contact your IT department.
-
From the Available Data Sources area, drag to the Selected Tables area the table(s) that contain the fields you want in your report. In this illustration, the fields are in the TLORDER table.

-
Click Next.
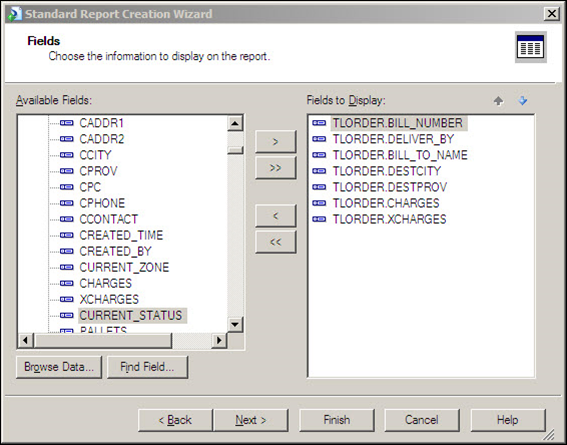
The Fields page appears. -
From the Available Fields area, drag to the Fields to Display area the field(s) you want in your report. In this illustration, seven fields are included.
-
Click Finish to see your report in Crystal Reports.
Formatting a report
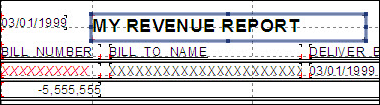
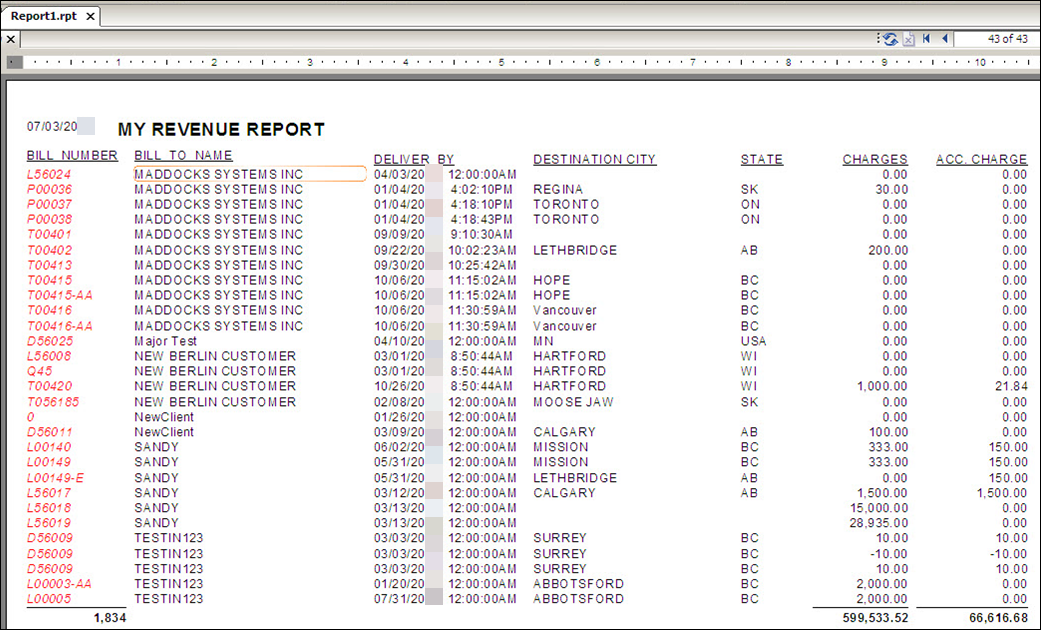
When formatting a report, remember to save your work often. This illustration depicts a sample formatted report in Crystal Reports.
Formatting individual fields
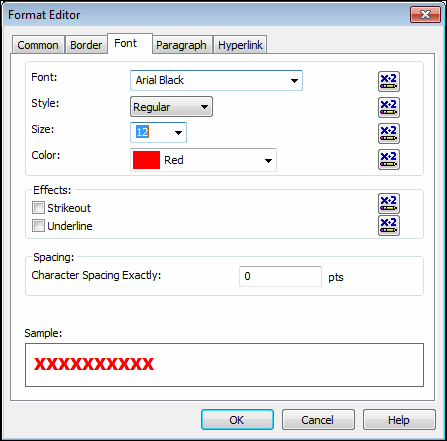
In the report, right-click on a field and select Format Field.

The Format Editor opens. In this window, you can change various characteristics. For example, on the Font tab, you can change the field’s font, style, size, and color, among other things.
Formatting page layout
Go to . In the Page Setup window, you can change the report orientation, margins, etc.
Resizing field columns
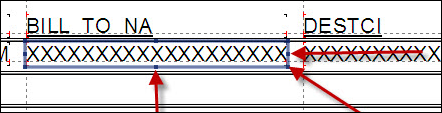
If you are unable to see all the characters in a particular field column, you can resize them.
-
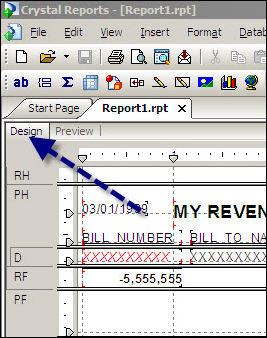
Click Design to switch to design mode.
-
Use your mouse to adjust the column widths.
Note: By default, Crystal Reports shows field names in design view. To show field lengths, go to and deselect Show Field Names.
Sorting data
If you look at your report in preview mode, you may notice that the data is not in logical order. To fix this:
-
Go to .
The Record Sort Expert window opens. -
Using the
 Add button, add to the Sort Fields area the field(s) you want to sort on.
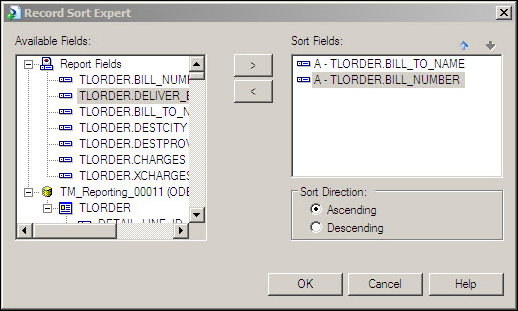
If you want, use the arrow buttons in the upper right of the Sort Fields area to change the field sort hierarchy.
-
In the Sort Direction field, choose a sort direction.
-
Click OK.
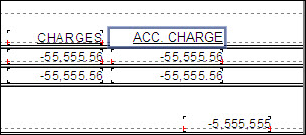
Adding a summary total to a field column
-
Right-click the column to which you want to add a summary total.
-
Go to .
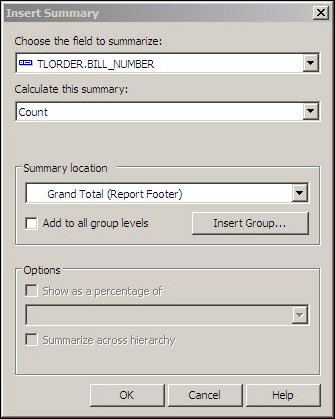
The Insert Summary window opens. -
In the Calculate this summary field, select the type of summary you want.
-
In the Summary location field, indicate where you want the summary to appear.
-
Click OK.
In this illustration, selecting Count for the Bill Number field adds a summary to the last page of the report that contains the total number of freight bills in the report.