Component Specifications
By default, when you record information about a unit’s components in the Add Unit Specification or the Edit Unit Specification windows, you are limited to specifications defining:
-
Manufacturer
-
Manufacturer Part Number
-
Part Type
-
Capacity
-
Model
Sometimes, you need to have more information on record for the components on a unit. You can add custom fields on a component-by-component basis.
You set up these custom fields on the Components Specifications page.
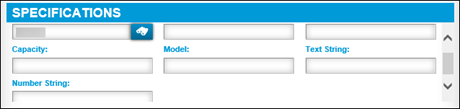
These fields can hold text strings or number strings. The fields appear in the Specifications section. You must scroll to bring them into view.
Component specifications overview
To access the Component Specifications page, go to Menu > Setup > Component Specifications.
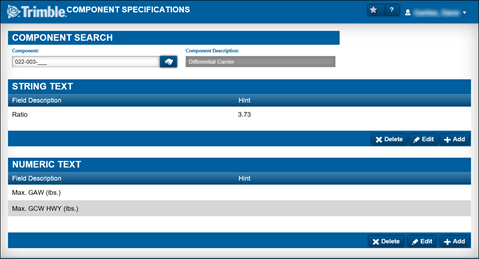
The page has three sections:
The Component Search section
You use the Component Search section to identify the component code for which you are adding fields.
|
Custom fields are specific to a single component. For example, if you select component code 022 and add fields, they appear only on that component. If there is a child (022-003) record or a grandchild (022-002-001) record for that component, the fields do not show for them. |
| Field | Definition |
|---|---|
Component |
The ID of the component for which you are adding component specifications |
Component Description |
The description of the selected component code |
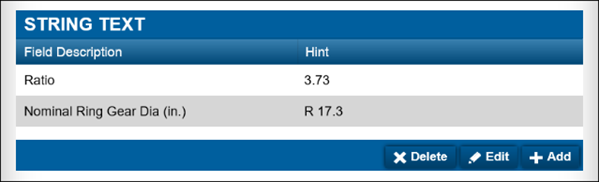
The String Text section
You use the String Text section to create up to five custom text fields for the component. The fields can contain up to 20 alphanumeric characters. When the component is used on a unit, and you create specifications for the unit, the fields appear in the Add Unit Specifications window. They also appear in the Edit Unit Specifications window when that component is selected.
| Field | Definition |
|---|---|
Field Description |
The name used for the field in the Add Unit Specifications and the Edit Unit Specifications windows |
Hint |
User-specified text for the hint that shows as a ToolTip for the field You provide hints to help users know what to enter in the field. |
Function buttons are available to allow you to add, edit, and delete text string fields.
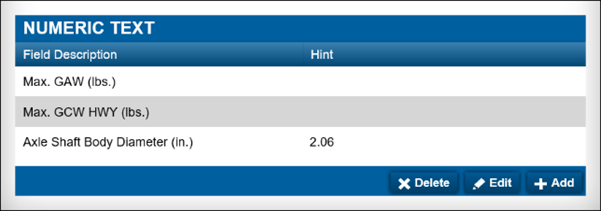
The Numeric Text section
You use the Numeric Text section to create up to five custom text fields for the component. These fields can contain only numeric characters. When the component is used on a unit, and you create specifications for the unit, the fields appear in the Add Unit Specifications window. They also appear in the Edit Unit Specifications window when that component is selected.
| Field | Definition |
|---|---|
Field Description |
The name used for the field in the Add Unit Specifications and the Edit Unit Specifications windows |
Hint |
User-specified text for the hint that shows as a ToolTip for the field You provide hints to help users know what to enter in the field. |
Function buttons are available to allow you to add, edit, and delete numeric text string fields.
Managing component specifications
On the Component Specifications page, you can add, edit, and delete user defined fields for component specification.
You can add up to five of each type of text field to a component code. These user defined fields will appear on the Specs tab for the component code on a unit.
Working with component specifications based on text strings
You can set up component specifications to use custom fields that require text entries. You create, edit, and delete these fields in the String Text section of the Component Specifications page.
Adding a string text field
To add a string text field:
-
Go to Menu > Setup > Component Specifications.
The Components Specifications page opens. -
In the Component Search section, enter the component.
The Component Description field automatically shows the description.Note: If there are existing string text component specifications, they appear in the String Text section.
-
In the String Text section, click Add.
The Add Component String Text window opens.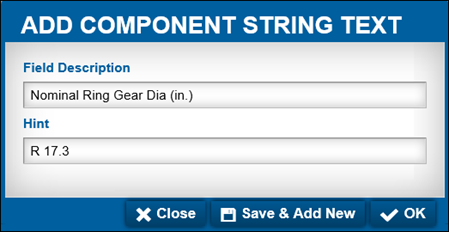
-
Complete the string text fields.
-
Do one of the following:
-
To save your entry and exit the window, click OK.
-
To save your entry and add another text string field, click Save & Add New.
-
To close the window without saving your entry, click Cancel.
Editing an existing string text field
To edit an existing string text field:
-
Go to Menu > Setup > Component Specifications.
The Components Specifications page opens. -
In the Component Search section, enter the component.
The Component Description field automatically shows the description. -
In the String Text section, select the string text you want to edit.
-
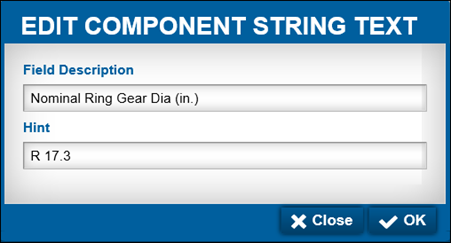
In the String Text section, click Edit.
The Edit Component String Text window opens. -
Make changes as needed. See the string text fields for more information.
-
Click OK to save your changes and exit the window.
To close the window without saving your changes, click Cancel.
Deleting a string text field
To delete an existing string text field:
-
Go to Menu > Setup > Component Specifications.
The Components Specifications page opens. -
In the Component Search section, enter the component.
The Component Description field automatically shows the description. -
In the String Text section, select the text string you want to delete.
-
In the String Text section, click Delete.
The Delete String Text confirmation message window opens. It asks, "Are you sure you want to delete component specification string text Value?" -
Click Delete String Text to complete the deletion and close the message window.
To cancel the deletion and close the message, click Cancel.
Working with component specifications based on numeric text strings
You can set up component specifications to use custom fields that require numeric text entries. You create, edit, and delete these fields in the Numeric Text section of the Component Specifications page.
Adding a numeric text field
To add a numeric text string field:
-
Go to Menu > Setup > Component Specifications.
The Components Specifications page opens. -
In the Component Search section, enter the component.
The Component Description field automatically shows the description.Note: If there are existing numeric string text component specifications, they appear in the Numeric Text section.
-
In the Numeric Text section, click Add.
The Add Component Numeric Text window opens.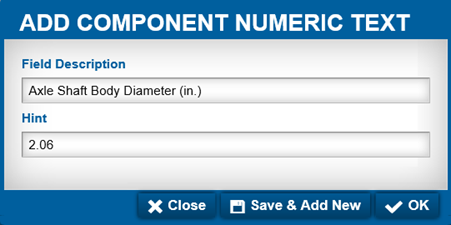
-
Complete the numeric text fields.
-
Do one of the following:
-
To save your entry and exit the window, click OK.
-
To save your entry and add another numeric text string field, click Save & Add New.
-
To close the window without saving your entry, click Cancel.
Editing an existing numeric text field
To edit an existing numeric text field:
-
Go to Menu > Setup > Component Specifications.
The Components Specifications page opens. -
In the Component Search section, enter the component.
The Component Description field automatically shows the description. -
In the Numeric Text section, select the numeric text string you want to edit.
-
In the Numeric Text section, click Edit.
The Edit Component Numeric Text window opens.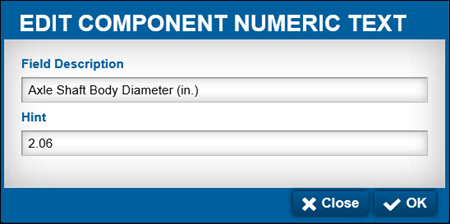
-
Make changes as needed. See the numeric text fields for more information.
-
Click OK to save your changes and exit the window.
To close the window without saving your changes, click Cancel.
Deleting a numeric text field
To delete an existing numeric text field:
-
Go to Menu > Setup > Component Specifications.
The Components Specifications page opens. -
In the Component Search section, enter the component.
The Component Description field automatically shows the description. -
In the Numeric Text section, select the numeric text string you want to delete.
-
In the Numeric Text section, click Delete.
The Delete Numeric Text message opens. It asks, "Are you sure you want to delete component specification numeric text Value?" -
Click Delete Numeric Text to complete the deletion and close the message.
To cancel the deletion and close the message, click Cancel.