Creating a vendor parts record
You use the Definition tab on the Vendor Parts page to add vendor-supplied parts to your system. These parts can be specific to a shop and vendor combination or just a vendor. Before you can charge vendor parts to a repair order, you must first create the Vendor Parts master record for that part.
To create a vendor parts record:
-
Go to Menu > Masters > Vendor Parts.
The Vendor Parts page opens.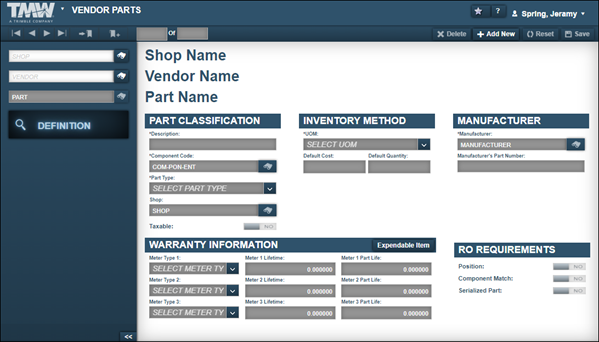
-
Click Add New.
The Add New Vendor Part window opens.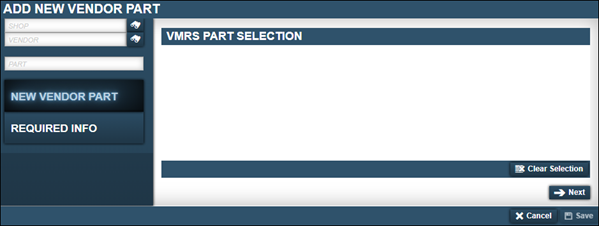
-
If needed, enter the shop’s ID in the Shop field and press ENTER.
Show me
Note: You do not need to enter a shop’s ID to create a vendor part record.
-
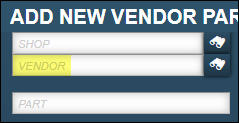
In the Vendor field, enter the vendor’s ID and press ENTER.
-
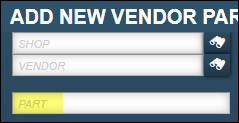
Enter the new part number (part ID) in the Part field and press ENTER.
The system does one of the following:
-
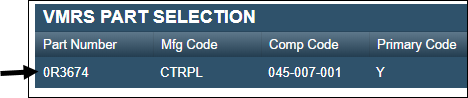
Displays the part number in the VMRS Part Selection section
This means that the part record exists within the Vehicle Maintenance Reporting Standards (VMRS) system.Select the correct part and go to Step 6.
-
No part number displays in the VMRS Part Selection section
Go to Step 6.
-
-
Click Next.
The Vendor Parts, Inventory Method, Manufacturer, and RO Requirements sections are displayed.
-
Make entries as needed.
For details about individual fields, see Definition tab. -
Click Save.
The new vendor part record is displayed on the page.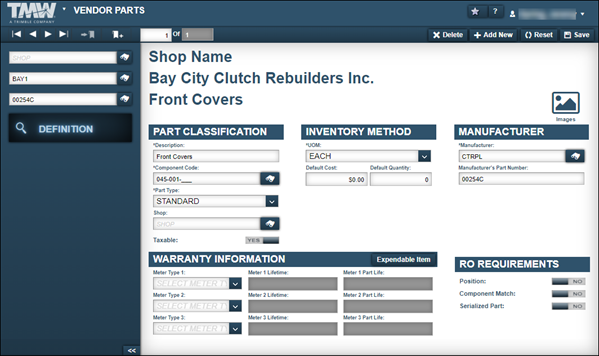
-
Do one of the following:
-
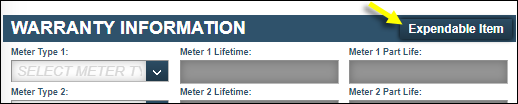
If the part has a warranty, follow the steps in the Adding warranty information to a vendor part section.
-
If the part does not have a warranty, click Expendable Item.
-
-
Click Save.