Parts or accessories
In TMT Fleet Maintenance, you can add parts or accessories to Unit master records. You add parts when you want to track specific components for a unit. You use the Parts tab to add, edit, or remove parts.
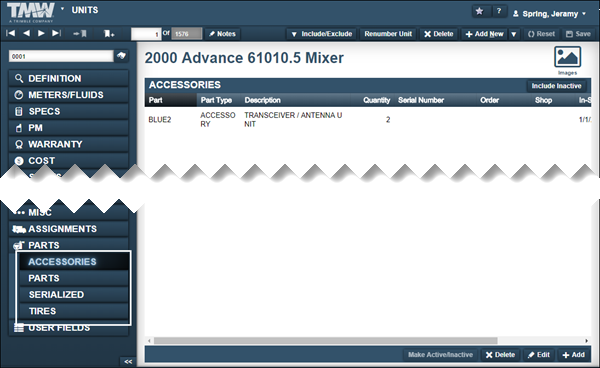
The Parts tab contains four sub tabs. When you click the Parts tab, the Accessories sub tab displays automatically.
This illustration shows the Parts tab and its sub tabs.
-
Accessories
This tab allows you to add, edit, or remove accessories from the record. Example accessories are:-
Satellite unit
-
Engine
-
Turbocharger
-
Transmission
-
Auxiliary power unit
-
-
Parts
This tab allows you to add, edit, or remove parts to the record. Example parts are:-
Air compressor
-
Oil pressure gauge
-
Fan belt
-
Alternator
-
-
Serialized
This read-only tab displays parts that contain serial numbers. -
Tires
This read-only tab displays tire information.
Managing parts on a unit
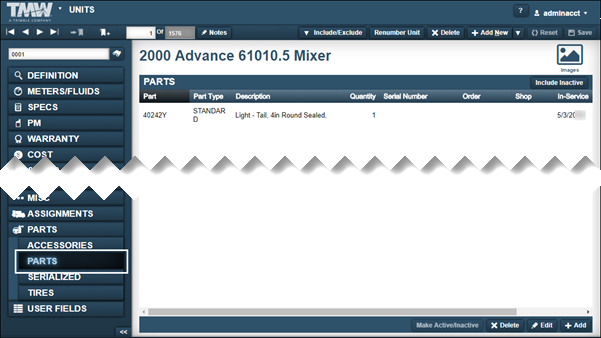
You use the Parts sub tab to add, edit, or remove parts from a unit’s record.
This illustration shows the Parts sub tab.
Adding parts to a unit
You can add parts to a unit’s record for tracking purposes. Before you add the part to a unit record, verify that the part exists in your system.

To add a part to a unit:
-
Select the Parts tab and then select the Parts sub tab.
The Parts section is displayed.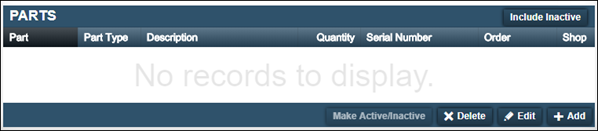
-
Click Add.
The Add Unit Part window opens.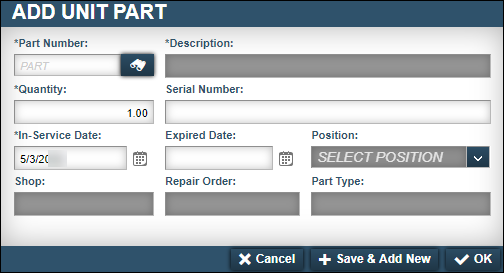
-
In the Part Number field, enter the part ID and press ENTER.
The system updates the Description and Part Type fields automatically. -
Make entries as needed.
For information on individual fields, see Parts tab - Parts. -
When you are finished entering information, do one of the following:
-
To add the part to the unit, click OK.
The system adds the part to the Parts section. The window closes. -
To assign multiple parts to the unit, click Save & Add New.
The system adds the part to the Parts section. The window remains open to allow you to add additional parts. -
To close the window without saving your changes, click Cancel.
-
Editing parts assigned to a unit
There may be times when you may need to edit a part after you have assigned it to a unit.
To edit a part:
-
Select the Parts tab and then select the Parts sub tab.
The Parts section is displayed.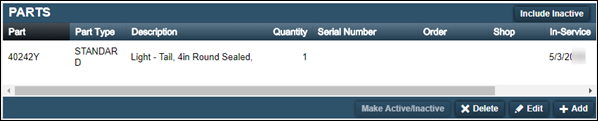
-
Select the row that you want to edit and click Edit.
The Edit Unit Part window opens.

-
Make changes as needed.
For information on individual fields, see Parts tab - Parts. -
Click OK.
The window closes and your changes are displayed.
Marking a part as inactive
If you no longer use a part on a unit, you can mark that part as Inactive.
Differences between marking a part as inactive and deleting it:
-
Marking a part as inactive
-
Hides the part in the Parts section
-
Keeps a historical record of the part being added to the unit
-
-
Deleting a part
-
Removes the part from the Parts section
-
Does not keep a historical record of the part being added to the unit
-
To mark a part as inactive:
-
Select the Parts tab and then select the Parts sub tab.
The Parts section is displayed. -
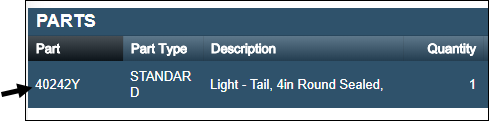
Select the part that you want to mark as inactive.
-
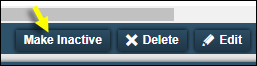
Click Make Inactive.
The Make Part Inactive system message window opens. It asks, "Are you sure you want to make unit part Part ID inactive?"
-
Click Make Part Inactive.
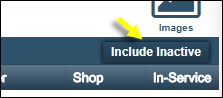
The part is inactive and removed from the Parts section.To view parts marked as inactive in the Parts section, click Include Inactive.
Marking an inactive part as active
To mark an inactive part as active:
-
Select the Parts tab and then select the Parts sub tab.
The Parts section is displayed.
-
Click Include Inactive.
The Parts section displays inactive parts.
-
Select the part that you want to mark as active.
-
Click Make Active.
The Make Part Active system message window opens. It asks, "Are you sure you want to make unit part Part ID active?"
-
Click Make Part Active.
The part is active and displays in the Parts section.
Deleting a part from a unit record
If you no longer use a part on a unit, you can delete that part from the unit record.
Differences between marking a part as inactive and deleting it:
-
Marking a part as inactive
-
Hides the part in the Parts section
-
Keeps a historical record of the part being added to the unit
-
-
Deleting a part
-
Removes the part from the Parts section
-
Does not keep a historical record of the part being added to the unit
-
To delete a part:
-
Select the Parts tab and then select the Parts sub tab.
The Parts section is displayed. -
Select the part that you want to delete.
-
Click Delete.

The Delete Part system message window opens. It asks, "Are you sure you want to delete unit part Part ID?"
-
Click Delete Part.
The part is removed from the unit record.
Managing accessories on a unit
You use the Accessories sub tab to add, edit, or remove accessories from a unit’s record.
A few examples of accessory parts:
-
Satellite unit
-
Engine
-
Turbocharger
-
Transmission
-
Auxiliary power unit
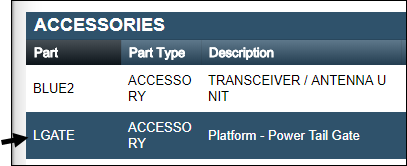
This illustration shows the Accessories sub tab.

Adding accessories to a unit
You can add accessories to a unit’s record for tracking purposes. Before you add the accessory to a unit record, verify that the part exists in your system.
To add an accessory part to a unit:
-
Select the Parts tab.
The system selects the Accessories sub tab automatically.
-
Click Add.
The Add Unit Accessory window opens.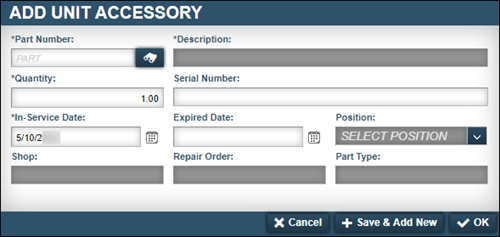
-
In the Part Number field, enter the accessory part ID and press ENTER.
The system updates the Description, and Part Type fields automatically. -
Make entries as needed.
For information on individual fields, see Parts tab - Accessories. -
Do one of the following:
-
To add the accessory part to the unit, click OK.
The system adds the part to the Accessories section. The window closes. -
To assign multiple accessory parts to the unit, click Save & Add New.
The system adds the part to the Accessories section. The window remains open to allow you to add additional parts. -
To close the window without saving your changes, click Cancel.
-
Editing accessories assigned to a unit
To edit an accessory part follow these steps.
-
Select the Parts tab.
The system selects the Accessories sub tab automatically.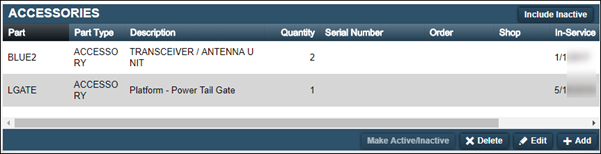
-
Select the row that you want to edit and click Edit.
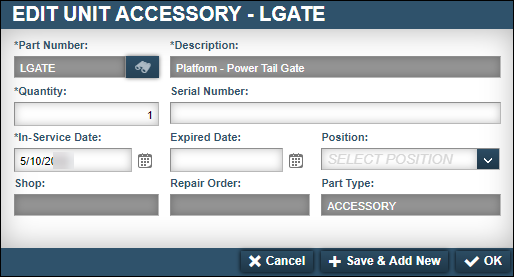
The Edit Unit Accessory window opens.
-
Make changes in the fields as needed.
For information on individual fields, see Parts tab - Accessories. -
Click OK.
The window closes and your changes are displayed.
Marking an accessory as inactive
If you no longer use an accessory on a unit, you can mark that part as Inactive.
Differences between marking an accessory as inactive and deleting it:
-
Marking an accessory as inactive
-
Hides the part in the Accessories section
-
Keeps a historical record of the accessory being added to the unit
-
-
Deleting an accessory
-
Removes the part from the Accessory section
-
Does not keep a historical record of the accessory being added to the unit
-
To mark an accessory as inactive:
-
Select the Parts tab.
The system selects the Accessories sub tab automatically. -
Select the accessory that you want to mark as inactive.
-
Click Make Inactive.
The Make Accessory Inactive system message window opens. It asks, "Are you sure you want to make unit accessory Accessory ID inactive?"
-
Click Make Accessory Inactive.
The accessory is inactive and removed from the Accessories section.To view accessories marked as inactive in the Accessories section, click Include Inactive.
Marking an inactive accessory as active
To mark an inactive part as active:
-
Select the Parts tab.
The system selects the Accessories sub tab automatically. -
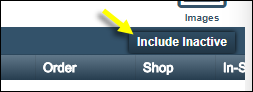
Click Include Inactive.
The Accessories section displays inactive parts.
-
Select the accessory that you want to mark as active.
-
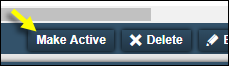
Click Make Active.
The Make Accessory Active system message window opens. It asks, "Are you sure you want to make unit accessory Accessory ID active?"
-
Click Make Accessory Active.
The accessory is active and displays in the Accessories section.
Deleting an accessory from a unit record
If you no longer use an accessory on a unit, you can delete it from the unit record.
Differences between marking an accessory as inactive and deleting it:
-
Marking an accessory as inactive
-
Hides the part in the Accessories section
-
Keeps a historical record of the accessory being added to the unit
-
-
Deleting an accessory
-
Removes the part from the Accessory section
-
Does not keep a historical record of the accessory being added to the unit
-
To delete an accessory:
-
Select the Parts tab.
The system selects the Accessories sub tab automatically. -
Select the accessory that you want to delete.
-
Click Delete.
The Delete Accessory system message window opens. It asks, "Are you sure you want to delete unit accessory Accessory ID?"
-
Click Delete Accessory.
The accessory is removed from the unit record.