Setting up the spare tire
You can add a spare tire to a unit’s tire configuration. To enable Spare Tire capabilities within the Tire Module, you must first turn on the option for spare tires.
| To charge a spare to a unit, the unit must have a tire configuration already set up. |
Setting the spare tire option
To set up the spare tire option:
-
Go to Setup > Options >Application Options.
The Application Options page is displayed. -
In the Category pane, expand Repairs.
-
In the Repairs expanded list, select Tires.
Spare tire options are displayed in the Options pane.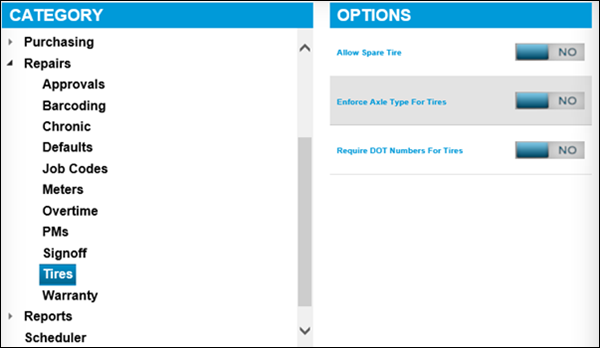
-
Toggle the Allow Spare Tire option to YES.
The Spare Tire option is enabled.
Setting up the Position Code
After the Spare Tire option has been enabled, you must set up a Position Code for the spare tire.
-
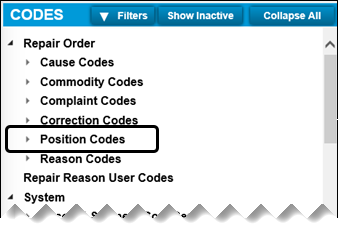
Go to Menu > Setup > System Setup.
A list of position codes are displayed. -
In the Codes pane, under Repair Order, expand Position Codes.
-
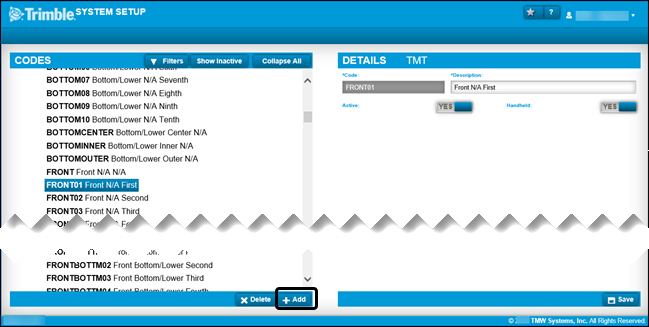
From the list of Position Codes, select the position for the spare tire.
-
In the bottom left pane, click +Add.
-
In the Details pane in the Code field, enter SPARE.
-
In the Description field, enter Spare Tire.
-
Do one of the following:
-
Confirm that the Active option is YES.
-
If the Active option is NO, toggle it to YES.
-
-
Toggle the handheld button to YES or No.
Note: The Handheld option is available when you have the Palm module installed. The default is YES, but can be changed to NO if the Palm module is not in place.
-
Click Save.
-
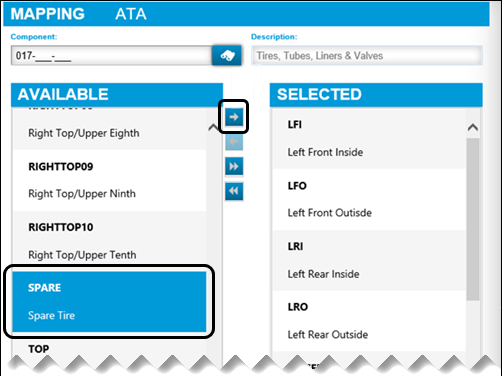
Select Position Codes again.
-
In the Mapping pane, in the Component field, enter 017.In the Available list, click SPARE.
-
To add Spare to the Selected list, click the single arrow.
Setting up the Tire Configuration codes
You must set up the tire configuration codes to support having a spare tire on a unit.
-
Go to Menu > Setup > System Setup.
-
In the Codes pane, under System, select Tire Configuration.
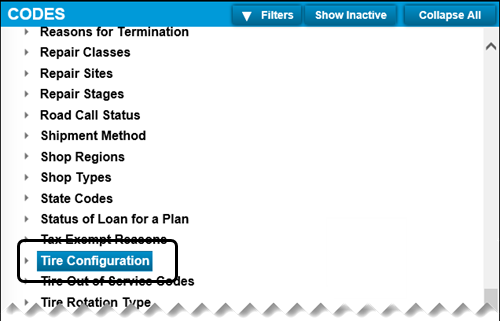
-
In the Tire Configuration list, select the configuration that you need.
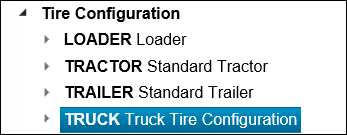
-
At the bottom right of the Code pane, click +Add.
-
In the Details pane, add the code for the spare tire configuration.
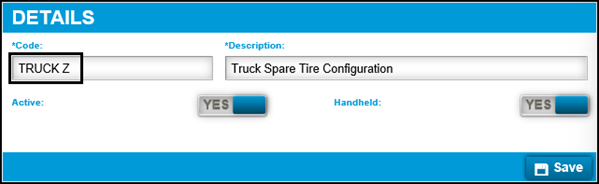
-
Click Save.
Your new spare tire configuration is added to the list under Tire Configuration.
Assigning a spare tire to a unit
Assigning a spare tire to a unit is similar to assigning any tire to a unit. See Adding Tire Data.
The difference in the assignment of a spare tire to a unit is that when you view the Tire Data for the first time, an icon is displayed for the spare tire.
| Make sure that the Allow Spare Tire option is set to YES. See Setting the spare tire option. |
To assign a spare tire to a unit:
-
Go to Menu > Masters > Units.
-
On the left, select Misc.
-
In the top left, click
 Search to browse for the unit.
Note: The shop a unit is in can affect whether you can find it with Unit Search. For details, see Shop Restrictions.
-
Select the unit.
-
Under Additional Information, select the name of the tire configuration, for example, Spare.
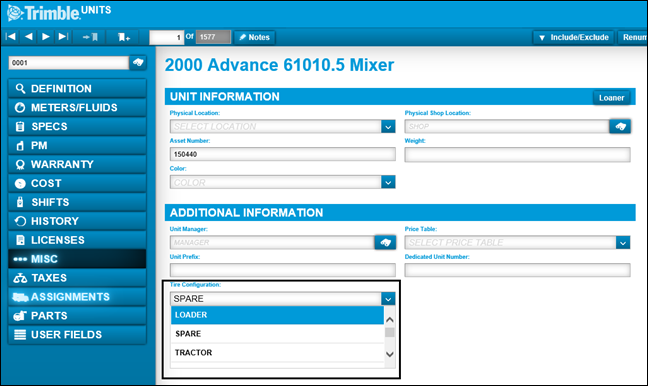
-
Click Save.
-
Do one of the following:
-
For V.2020.2 through V.2022.2.2, go to Menu > Activities > Interactive Workstation > Interactive Workstation.
Note: For versions earlier than V.2020.2, go to Menu > Activities > Interactive Workstation.
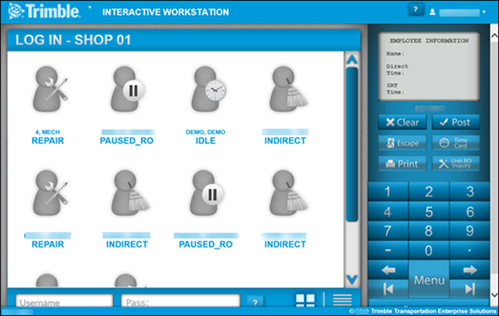
The Interactive Workstation (IWS) opens. -
For V. 2022.3 and later, go to Menu > Activities > Technician Portal > Technician Portal.
The Trimble Technician Portal (TTP) opens.
-
-
Select a user.
-
Click Post.
-
Click Menu.
A list of options is displayed.
-
Select Mechanic Workstation.
The Job Logon page opens.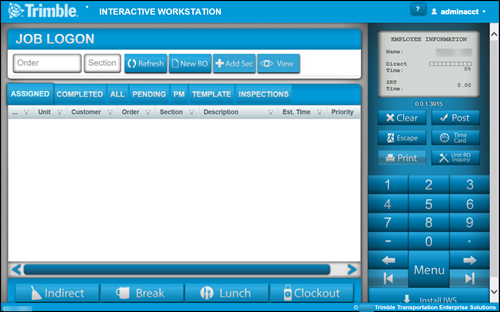
-
Select New RO.
The Repair Order header displays.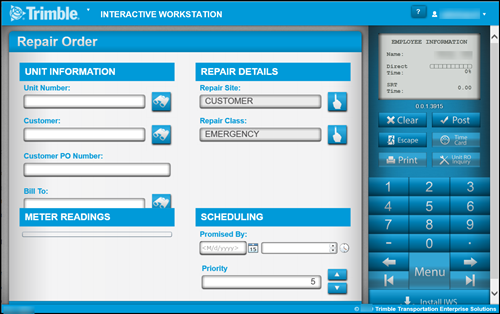
-
Make appropriate entries into the Unit Number and Customer fields in the Repair Order header.
Meter Readings for the particular unit and customer are displayed. -
Click Post to save RO header.
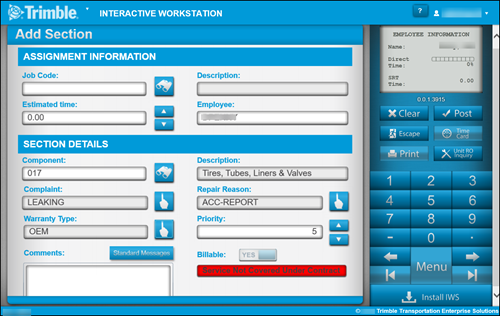
The Add Section page opens. -
In the Add Section page under Section Details, make the appropriate entries in the fields.
-
Click Post.
The Job Logon page is displayed showing all assignments for the mechanic. -
Select the section that you created.
-
Click Post.
The Job activity page is displayed. -
Click the Tire Data button under the Order column.
The Tire Data page displays showing your tire configuration and the spare tire. You will also see a confirmation message, "Do you want to charge from Inventory?"" -
Click the spare tire position and then click Search to search for your tire part.
-
Select the tire you want in the spare position.
-
After you have made tire updates on the Tire Data page, click Post to save.