Understanding options
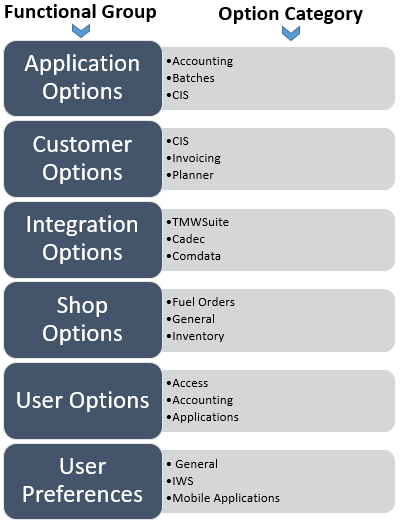
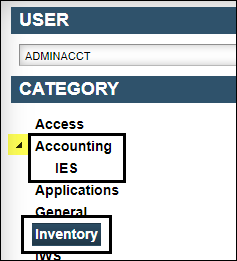
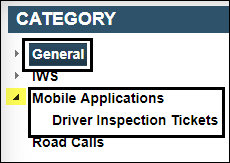
Options determine how the system functions. You make changes to these options based on your company’s way of doing business. Options are organized by Functional Group and then by Option Category.
This illustration shows an example of the organization.
General process for changing options:
-
Select the Functional Group from the menu.
-
Do one of the following:
-
Select an Option Category or expand an Option Category.
-
Enter a customer ID, shop ID, or User ID and then select an Option Category.
-
-
Make changes as needed.
Options hierarchy
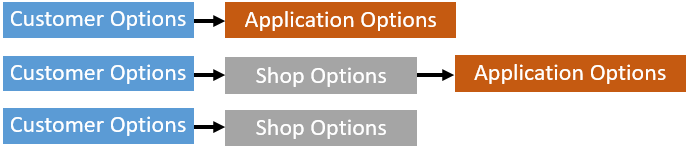
The system organizes options into separate functional groups. Options in each group affect different areas of the application. If you make changes to Customer options, Shop options, User Preferences, or User options, they overwrite the values set in the Application Options section.
Application Options
These options apply to the entire system. To load the Application Options page, go to Menu > Setup > Options > Application Options. For a list of application options, see Application options.
Customer Options
These options apply to specific customers. To load the Customer Options page, go to Menu > Setup > Options > Customer Options.
Customer options overwrite option values in the Application Option and the Shop Options sections.
Integration Options
These options control how TMT Fleet Maintenance integrates with other applications. To load the Integration Options page, go to Menu > Setup > Options > Integration Options.
Shop Options
These options apply to specific shops. To load the Shop Options page, go to Menu > Setup > Options > Shop Options.
Shop options overwrite option values in the Application Options section.

User Options
These options apply to specific users. To load the User Options page, go to Menu > Setup > Options > User Options.
User Options overwrite:
-
Option values in the Shop Options section, Shop Options overwrite option values in the Application Options section
-
Option values in the Application Options section

User Preferences
User Preferences apply to the user logged into the system. To load the User Preferences page, go to Menu > Setup > Options > User Preferences.
User Preferences overwrite:
-
Option values in the Shop Options section, Shop Options overwrite option values in the Application Options section
-
Option values in the Application Options section

Changing Application Options
You use the Application Options page to change Application Options.
To change application options:
-
Go to Menu > Setup > Options > Application Options.
The Application Options page opens. -
Do one of the following:
-
Select an Option Category.
-
Expand an Option Category.
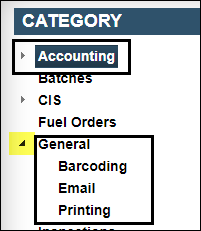
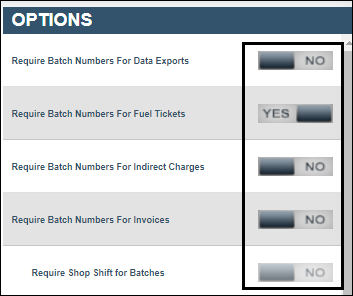
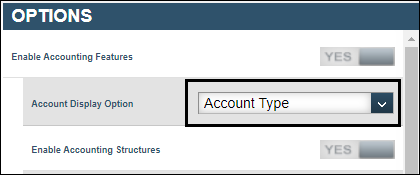
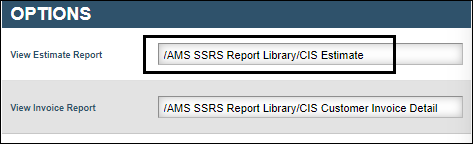
The Options section lists available options.
-
-
Change the options as needed.
-
Toggle YES or NO
-
Select an option
-
Enter a value
Note: Changes to settings save automatically.
-
Changing Customer Options
You use the Customer Options page to change options for a specific customers. Most of the options on this page are also on the Application Options page. When an option appears on both pages, your entries on the Customer Options page are used for that specific customer. If you change a customer option, the system ignores any future changes made to that option in the Application Options section for that customer.
To change customer options:
-
Go to Menu > Setup > Options > Customer Options.
The Customer Options page opens.Show me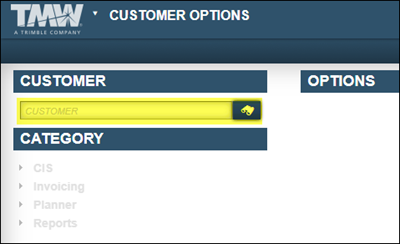
-
Do one of the following:
-
Enter the customer ID in the Customer field and press TAB.
-
Use the search feature to find the customer ID.

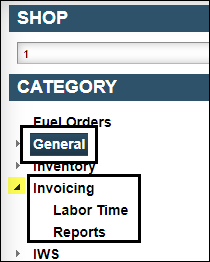
The Category section enables.
-
-
Do one of the following:
-
Select an Option Category.
-
Expand an Option Category.
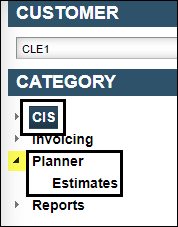
The Options section lists available options.
-
-
Make changes as needed.
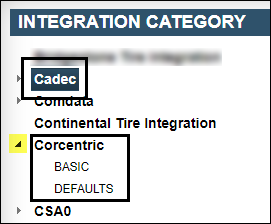
Changing Integration Options
You use the Integration Options page to change integration options. These options affect how TMT Fleet Maintenance interacts with other applications.
-
Go to Menu > Setup > Options > Integration Options.
The Integration Options page opens. -
Do one of the following:
-
Select an Option Category.
-
Expand an Option Category.
The Options section lists available options.
-
-
Make changes as needed.
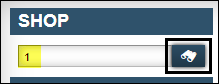
Changing Shop Options
You use the Shop Options page to change options for a specific shops. Most of the options on this page are also on the Application Options page. When an option appears on both pages, your entries on the Shop Options page are used for that specific shop.
-
Go to Menu > Setup > Options > Shop Options.
The Integration Options page opens.Show me
-
Do one of the following:
-
Enter the shop ID in the Shop field and press TAB.
-
Use the search feature to find the shop ID.
-
-
Do one of the following:
-
Select an Option Category.
-
Expand an Option Category.
The Options section lists available options.
-
-
Make changes as needed.
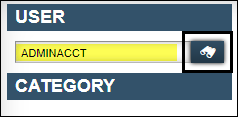
Changing User Options
You use the User Options page to change options for a specific user. Most of the options on this page are also on the Application Options page. When an option appears on both pages, your entries on the User Options page are used for that specific shop.
-
Go to Menu > Setup > Options > User Options.
The User Options page opens. -
Do one of the following:
-
Enter the user ID in the User field and press TAB.
-
Use the search feature to find the user ID.
-
-
Do one of the following:
-
Select an Option Category.
-
Expand an Option Category.
 s
s
The Options section lists available options.
-
-
Make changes as needed.
Changing User Preferences
You use the User Preferences page to change user preferences.
-
Go to Menu > Setup > Options > Integration Options.
The Integration Options page opens. -
Do one of the following:
-
Select an Option Category.
-
Expand an Option Category.
The Options section lists available options.
-
-
Make changes as needed.