Edit repair order shops, vendors, dates, and prices
The repair order (RO) header allows you to record the repair shop, order number, unit, and other information related to the order.
You can make these changes to an RO:
Reassign a repair order to a different shop
Using the Re-assign Shop On Repair Order feature, you can change an RO’s assigned shop. To do this, the RO must be in Open status. These restrictions apply:
-
Only standard repair orders (SROs) can be re-assigned. That is, you cannot re-assign vendor repair orders (VROs).
-
All sections on the repair order must be in Open status. Otherwise, the program shows this system message: "Cannot re-assign shop. Order, Section or Lines are closed."
-
All non-vendor part records must exist in the Parts Catalog and all concerned shop’s inventories. If non-vendor part records are not in the Parts Catalog, the program shows the message, "Destination shop does not have all the parts. Cannot re-assign shop"
Note: Local part records are not allowed.
-
The repair order cannot have a mechanic signed into any of the sections. If multiple mechanics are signed into any of the sections, you will receive a similar message: "Order is locked by 3 employee(s)"
-
The RO cannot have any parts on order or parts on requested. If parts are on order or on request, either of the following two messages will be displayed:
-
"Order has parts on order. Cannot re-assign shop"
-
"Order has parts on request. Cannot re-assign shop"
-
-
The RO cannot have any serialized parts charged out.
Note: The application option
[Repairs] AllowReassignmentOfShopOnOpenROmust be set to YES.-
Go to Menu > Orders > Repair Orders Listing.
The Repair Order Listing page opens.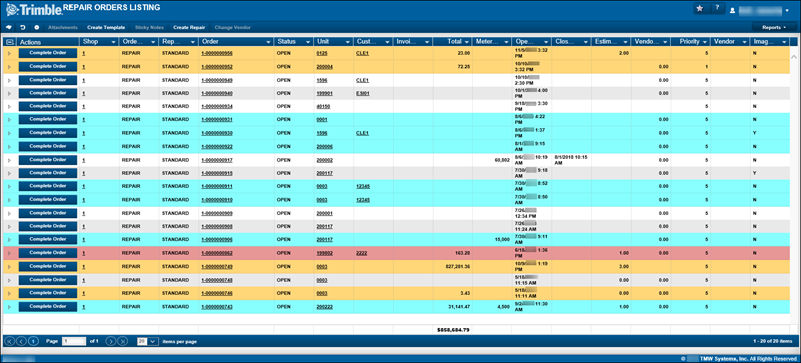
-
Select the RO to be reassigned.
When you select an eligible RO, the Re-assign Shop button turns on.

-
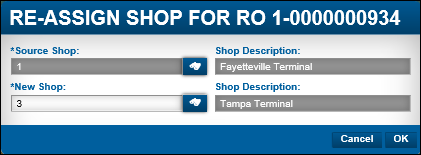
Click Re-Assign Shop.
The Re-Assign Shop For RO number window opens. -
Enter the New Shop number, and press ENTER.
The Shop Description is displayed with the shop master’s description.
-
Click OK.
The following actions occur:-
The Shop ID on the repair order is changed to the new shop.
-
The Order Number is replaced with the next sequential repair order number for the new shop.
-
Any existing parts on the repair order is transferred from the Source Shop to the New Shop.
-
There is no increase to either shop’s inventory quantity on hand.
-
-
Change the vendor on a vendor repair order
The Change Vendor feature lets you re-assign a vendor repair order (VRO) to a different vendor. These restrictions apply:
-
Only VROs can be re-assigned
-
The VRO cannot be Closed
-
Go to Menu > Orders > Repair Orders Listing.
The Repair Orders Listing page opens. -
If the Repair Orders Listing page does not show any VROs, complete the following steps:
-
In the top-left corner of the page, click
 Search Orders.
The Repair Order Search section expands. -
In the Order Type field, select Vendor RO.
-
Click Search.
The page refreshes to display a list of VROs only.
-
-
Select the VRO to be reassigned.
When an eligible RO is highlighted, the Change Vendor button is enabled.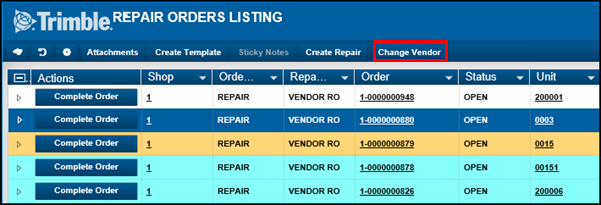
-
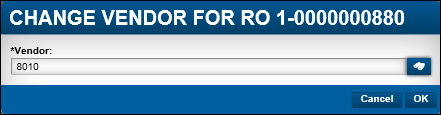
Click Change Vendor.
The Change Vendor For RO window opens.
-
Enter the vendor in the Vendor field.
-
Click OK.
-
Change the repair order dates
When you create an RO for a unit, the system shows the date and time that you set up the RO. You can modify the date and time when necessary
To modify the date and time on a repair order:
-
Go to Menu > Orders > Repair Orders Listing.
The Repair Order Listing page opens. -
Select the RO with the date you want to change.
-
See Selecting a date and time to change the RO dates.
-
Click Save.
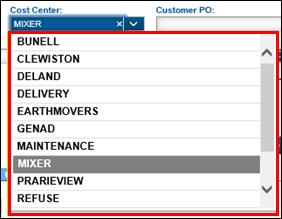
Change the cost center on repair orders
By default, the Cost Center from the unit is displayed on the RO. You can change the cost center on the RO under these conditions:
-
The application option
[Repairs] DisplayCostCenterOnRepairOrderFormmust be set to YES. -
The user option
[Repairs] UserCanChangeCostCenterOnROmust be set to YES for each user. -
The repair order is not Closed.
-
Go to Menu > Orders > Repair Orders Listing.
The Repair Order Listing page opens. -
Select the order with the cost center you want to change.
The Repair Order page opens. -
Select the new Cost Center from the drop-down list.
-
Click Save.
-
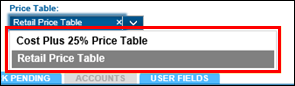
Change the invoice price table on repair orders
If you are licensed for the Invoicing module, you can specify the invoice price table an RO uses.
-
Go to Menu > Orders > Repair Orders Listing.
The Repair Order Listing page opens. -
Click the order with the invoice price table you want to change.
The Repair Order page opens. -
In the Price Table drop-down list, select the option you want for the repair order.
-
Click Save.