Unit warranties
The Units page allows you to set up a unit’s Original Equipment Manufacturer’s (OEM) warranty and/or extended warranties.
Setting up an OEM warranty
An Original Equipment Manufacturer’s (OEM) warranty is a guarantee made by the unit’s manufacturer that the unit or components will function without issue for a specific period. These types of warranties are known as bumper-to-bumper warranties.
You set up an OEM warranty if you want the system to notify you when there is a warranty opportunity. You use the Warranty tab on the Units page to set up an OEM warranty.

Before you start setting up an OEM warranty, do the following:
-
Obtain the warranty parameters for the OEM warranty from your equipment dealer.
-
Verify that the OEM vendor exists in your system.
To set up an OEM warranty:
-
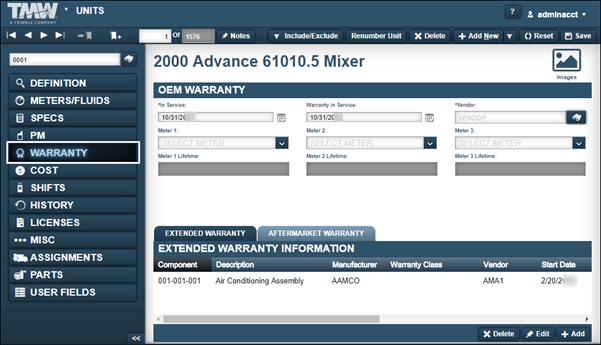
Select the Warranty tab.
The OEM Warranty section is displayed.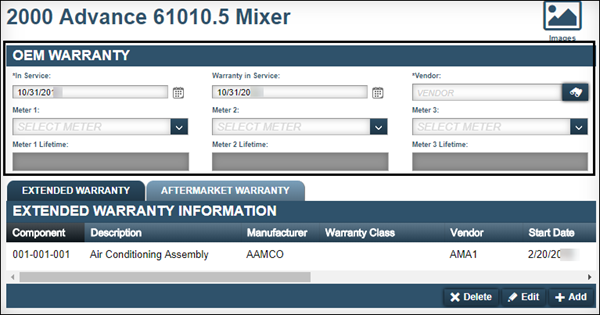
-
If needed, change the In Service date.
The In Service date is the date that you started tracking the unit in your system. By default, the system fills this field with the date on which you created the unit’s master record.While this field in not used for warranty tracking, it is a required field. It is essential to unit reporting.
-
In the Warranty in Service field, enter the date that the OEM warranty started and press ENTER.
-
In the Vendor field, enter the vendor ID for the company that will process the warranty claims and press ENTER.
-
Make entries in the Meter, Meter Lifetime, Odometer, or Hour Meter fields as needed.
OEM warranties may cover one, two, or three different meter types.If there are no odometer readings or hour readings on record for the In Service date, you must enter the meter readings in the Odometer or the Hour Meter fields.
If needed, select the
 Ellipses icon to view previous readings.Show me
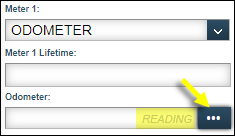
-
When you are finished, click Save.

The warranty information updates and the Readings fields are hidden.
The system creates potential warranties after you:
-
Enter values into the OEM Warranty section.
-
Save your changes.
-
Add the unit to new repair orders.
The system does not update potential warranties for existing repair orders. You must add this unit to a new repair order for the feature to work.
-
Setting up an extended warranty
An extended warranty prolongs the coverage period for a component past the Original Equipment Manufacturer’s (OEM) coverage period. You set up an extended warranty if you want the system to notify you when there is a warranty opportunity. You use the Warranty tab on the Units page to set up an extended warranty.
Before you set up an extended warranty, do the following:
-
Obtain the warranty parameters for the extended warranty from the manufacturer.
-
Verify that the warranty vendor exists in your system.
-
Verify that meter types are listed in the unit’s Meter Information section. If they are not listed, you must add them before you set up the extended warranty.
To set up an extended warranty:
-
Select the Warranty tab.
The OEM Warranty section is displayed.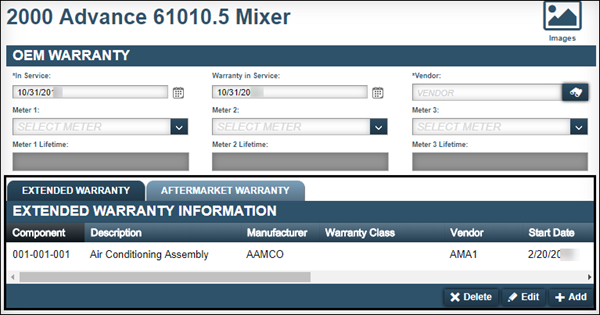
-
Click Add.
The Add Extended Warranty window opens.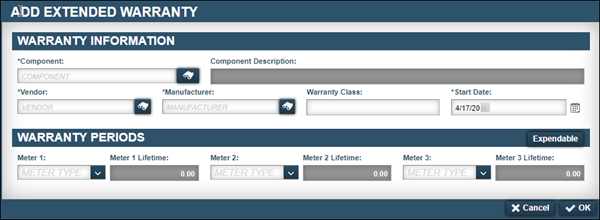
-
In the Component field, enter the component code for the part and press ENTER.
The system updates the Component Description field automatically. -
In the Vendor field, enter the vendor ID for the company that will process the warranty claims and press ENTER.
-
In the Manufacture field, enter the manufacturer’s ID and press ENTER.
-
In the Start Date field, enter the extended warranty’s starting date.
-
Make entries in the Warranty Periods fields as needed.
The Warranty Periods section contains three Meter fields and three Meter Lifetime fields. Extended warranties may cover up to three warranty types. -
Click OK.
The new extended warranty is displayed. -
Click Save.