AP Invoice Register
AP Invoice Register follows the same data processing pattern as other source journal registers in TruckMate.
-
One or more vendor invoices are collected into a posting batch.
-
The batch is assigned the next audit number for the AP Invoice Register.
-
All invoices are marked as Posted. They are then no longer editable in AP Invoice Entry.
-
The invoices appear in AP Inquiry, where they can then be selected for payment or adjustment. Any deductions expensed appear in Driver Pay Audit.
-
For all the invoices in the audit, summary entries are generated in GL Journal Entries on a date and account basis.
Credit postings are made to the AP control account specified in the AP Invoice Entry header.
Debit postings are made according to the entries in the Expenses and Driver Deductions tabs in AP Invoice Entry. Postings for a single invoice can include a combination of entries from both tabs.
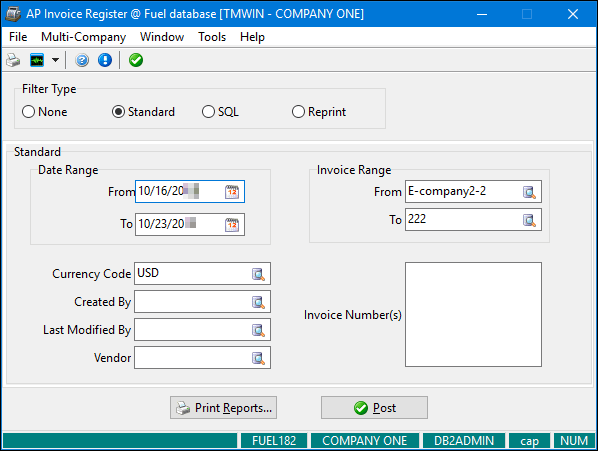
Several different filter types are available. The fields that appear differ depending on the filter type. This illustration shows the fields that appear when you select the standard filter (default).
To access AP Invoice Register:
| From this location | Go to |
|---|---|
TruckMate Menu and TruckMate Task List |
Accounting & Finance > Accounts Payable > AP Invoice Register |
Windows Start Menu |
TruckMate 20xx > AP Invoice Register |
Windows Explorer |
C:\Program Files (x86) > TruckMate 20xx > ApNr.exe |
Setting up Application Configurator for use with AP Invoice Register
The following Application Configurator options for AP Invoice Register are listed under Configuration Options > APNR.EXE.
Allow Inactive GL |
Determines system behavior when the user attempts to use an inactive General Ledger (GL) account. Options are:
|
Auto-Correct Closed Period Posting Dates - Future Auto-Correct Closed Period Posting Dates - Past |
|
Driver Deds to Wait |
When this option is set to True, AP Invoice Register will not post driver deduction records automatically. Instead, they will receive a status of Wait. |
Subtotal GLTRANS Postings |
When this option is set to True, all of the GL transactions in the register are grouped/summed together by GL account and date (creating a single total per combination). If left at the default, transactions are grouped by GL account, date, and source transaction ID. |
Use Vendor Name |
When this option is set to True, the vendor name appears on the generated reports. If left at the default, the vendor ID is used. |
Posting invoices
The general process for posting invoices in AP Invoice Register is:
-
Select a filter type. Options are:
-
None
-
Standard
-
SQL
-
-
Enter one or more search criteria, as described below.
-
If you want, review the register reports for accuracy prior to posting.
-
Click Post.
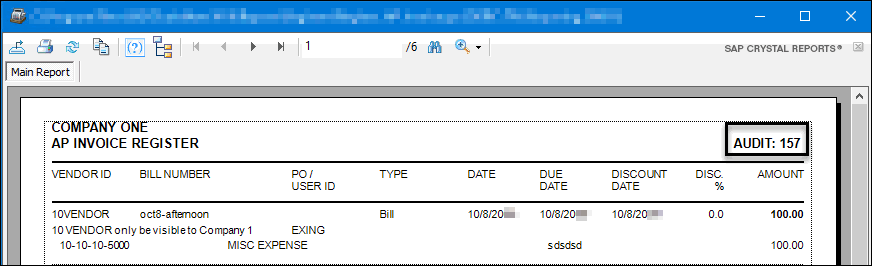
Two reports -AP Invoice Register and AP Invoice Register - GL Summary - display in separate windows. The audit number appears in the upper right corner of the report. -
After you have finished reviewing the reports, close the report windows.
A message appears indicating that the posting is complete.
|
Posting invoices without using a filter
-
In the Filter Type section, select None.
The AP Invoice Register window redisplays as shown in this illustration.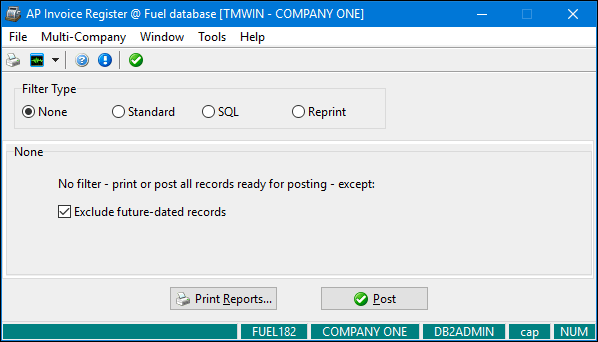
-
By default, future-dated records are excluded. If you want to include them, deselect Exclude future-dated records.
Posting invoices using the standard filter
-
In the Filter Type section, select Standard if it is not already selected.
The AP Invoice Register window redisplays as shown in this illustration.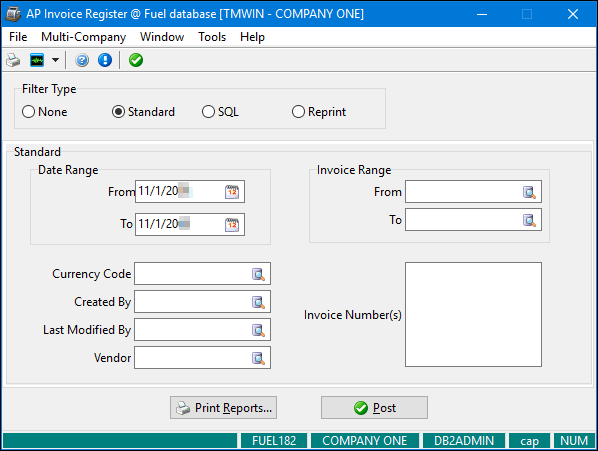
-
Enter one or more filter criteria. Note that the more criteria you enter, the narrower the results.
Field Definition Date Range
Enter valid dates (as listed in the AP Invoice Entry header) or click
 Calendar to search for and select a date.
Invoice Range
Enter valid bill numbers (as listed in the AP Invoice Entry header) or click
 Pick List to search for and select a bill number.
Currency Code
Enter a valid currency code (for example, USD or CAD) or click
Pick List to search for and select a currency code.Created By
Enter the user name of the person who created the invoice or click
Pick List to search for and select a user name.Last Modified By
Enter the user name of the person who last modified the invoice or click
Pick List to search for and select a user name.Vendor
Enter a valid vendor ID or click
Pick List to search for and select a vendor ID. You cannot use wildcard characters in this field.Invoice Number(s)
Enter specific bill numbers, one to each line. You cannot use wildcard characters in this field.
Posting invoices using the SQL filter
-
In the Filter Type section, select SQL.
The AP Invoice Register window redisplays as shown in this illustration.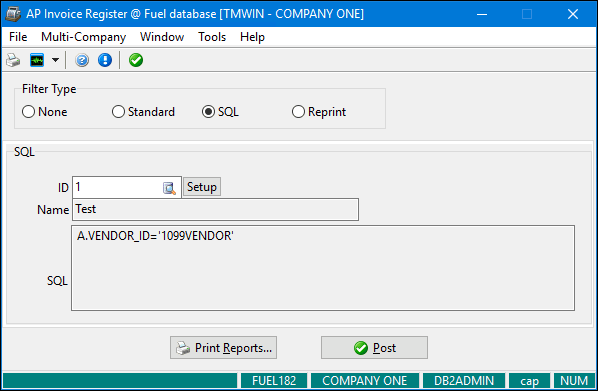
-
Do any of the following:
-
Enter a valid custom SQL filter ID.
-
Click
Pick List to search for and select a custom SQL filter ID. -
Click Setup and create a custom SQL filter in the SQL Filter window.
The name of the SQL filter and its corresponding SQL code appear in the read-only Name and SQL fields.
-
Printing and reprinting reports in AP Invoice Register
To see reports listing invoices that meet your search criteria, click Print Reports. Two reports appear, each in a separate window:
-
AP Invoice Register
-
AP Invoice Register - GL Summary
If you click Print Reports prior to posting, the message "Audit Not Posted" appears in the upper right corner of the report. You can review this report for accuracy prior to posting.
After posting, the audit number appears in the upper right corner of the report.
To reprint reports:
-
In the Filter Type section in AP Invoice Register, select Reprint.
The AP Invoice Register window redisplays as shown in this illustration.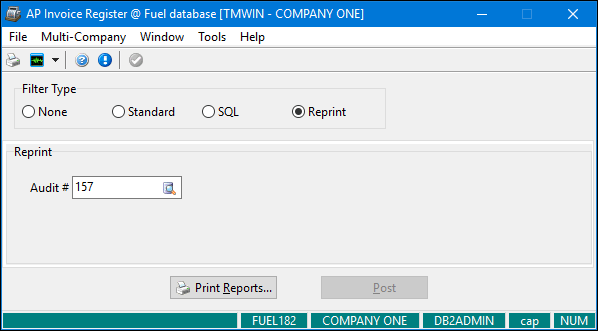
-
Enter a valid audit number in the Audit # field or click
Pick List to search for and select an audit number. -
Click Print Reports.