Crystal Report Launcher
The Crystal Report Launcher program is a utility for running Crystal Reports without having to run a TruckMate application. You can select any RPT format file from within this program. Keep in mind that in some cases, the selection criteria for a report is embedded in a TruckMate program. For example, the INVOICE.RPT report has no embedded selection criteria so selecting this report using the Crystal Report Launcher program will include all freight bills.
Dynamic Parameters are supported in Crystal Reports run through the Crystal Report Launcher program. If you would like to run Crystal Reports containing Dynamic Parameters, you must access those reports via the Crystal Report Launcher program, as no other TruckMate program contains the RDC Active-X Control required to view Crystal Reports containing Dynamic Parameters. (Dynamic parameters allow subsequent selection criteria to reflect previously entered criteria. For example, if the State is selected as New York, only cities in New York State will appear as options for the city criteria.)
To access the Crystal Report Launcher:
| From this location | Go to |
|---|---|
TruckMate Menu and TruckMate Task List |
|
Windows Start Menu |
TruckMate 20xx > Crystal Report Launcher |
Windows Explorer |
C:\Program Files (x86) > TruckMate 20xx > CrRun.exe |
Setting up Application Configurator for Crystal Report Launcher
Utilities > Application Configurator > CRRUN.EXE
| Option | Definition |
|---|---|
Mark New Reports Private |
Automatically mark newly added reports as private.
|
Viewing a Report using the Crystal Report Launcher
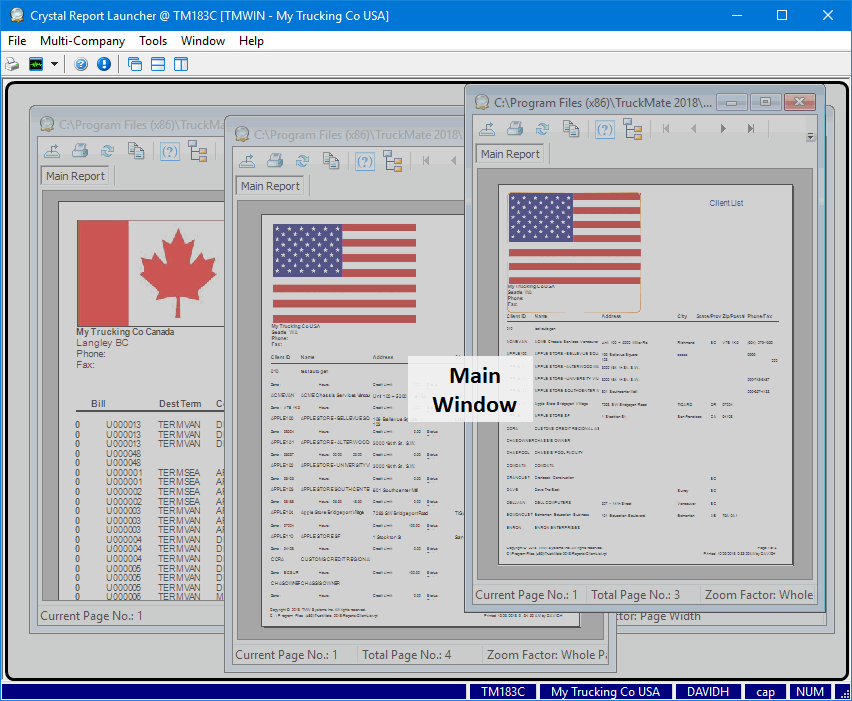
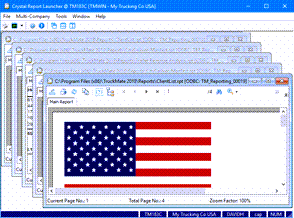
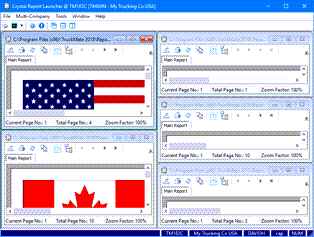
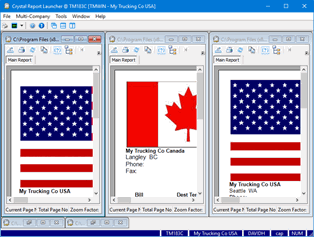
The Main window of the Crystal Reports Launcher program is blank until a Crystal Report is opened. You can open multiple reports at once (or even multiple instances of the same report) and use the options under the Window menu to arrange them in varying fashions.
-
In Crystal Report Launcher, select Print Reports from the File menu.
-
The standard Report Selection window is displayed. The report Type will show reports associated with the CRRUN report type.
-
If you do not see the report you want in the list on the left, double-click the Name field and use the Select Report window to browse to the report.
-
Select the desired report and click Open.
-
You will be returned to the Report Selection window.
-
Click the Print Preview button. You may have to enter parameter values or other such specifics and click OK to continue.
-
You can repeat this process as many times as you want, allowing multiple reports to be on-screen at once. Use the options in the Window menu to arrange the reports (E.g., cascade or tile) if you have more than one report open.
When you open a report, it will display in its own window, with several toolbar options available.
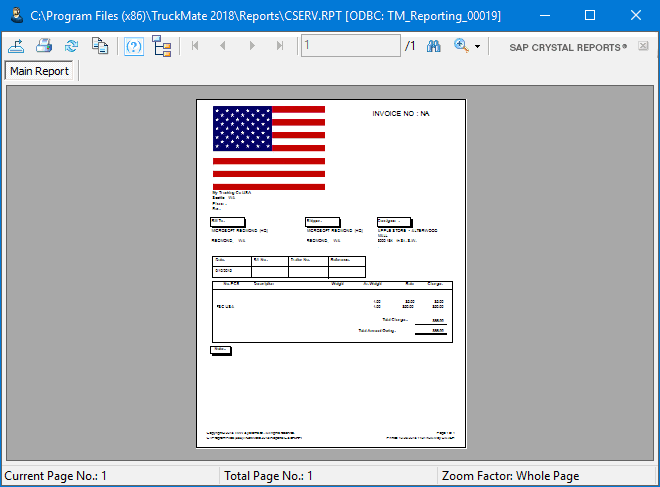
See Report Preview window in TruckMate Basics for information about the standard features.
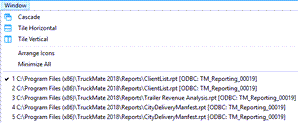
Arranging the Report Previews
When you have multiple reports open in the Main window of the Crystal Report Launcher, there are a number of options available in the Window menu to arrange them.
Cascade |
|
Arranges the report preview windows in a cascading fashion.
|
Time Horizontal |
|
Tiles the reports horizontally using the available window space.
|
Tile Vertical |
|
Tiles the reports vertically using the available window space.
|
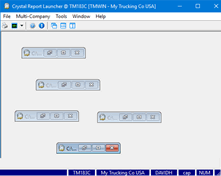
Arrange Icons |
If you have multiple report windows minimized in the Main window, the minimized windows will be arranged neatly at the bottom of the Main window.
|
|
Minimize All |
Minimize all open reports in the Main window.
|
|
Reports list |
When working with multiple reports, their file names are listed below the Minimize All option. Selecting a file name will display that particular report’s window.
|

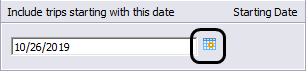
Calendar date controls
A Calendar form is available for all date fields by double-clicking within the field or by clicking the Calendar button on the left side of the field.
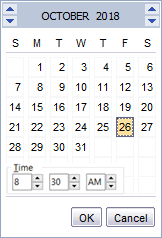
-
Use the arrows at the top of the form to change the month or year.
-
Double-clicking a date will select that date and close the form.
| The calendar form may differ from the one shown above. For example, in certain cases it is only necessary to select a date so the time fields would not be available. |
You do not have to use the Calendar form. You can manually enter 6 digits (2 each for month, day and year, in the order defined in your Windows settings, (usually 'mmddyy') and the date separators (slashes) will be automatically added for you. When doing a lot of data entry, the 2 keystroke reduction per date can be a time saver.