Viewing and managing your trips
DriverSeat allows you to view your assigned trips, accept or reject your assigned trips and request available trips. You can view a trip’s route in the map feature.
Viewing assigned trips
The Assigned Trips page provides the following options for accessing your trip information.
-
By default, when you access the Assigned Trips page, the system shows your assigned trips.
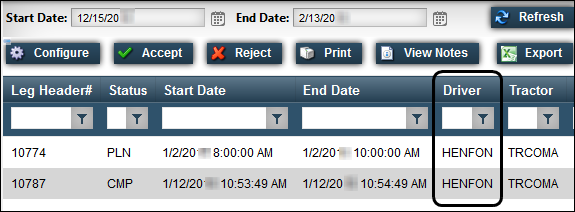
This illustration shows a list of trips assigned to one driver (ID HENFON).
-
When permissions allow, you can view other drivers' assigned trips. For example, a team leader who supervises other drivers can access his drivers' assigned trips to check their availability for trip assignments.
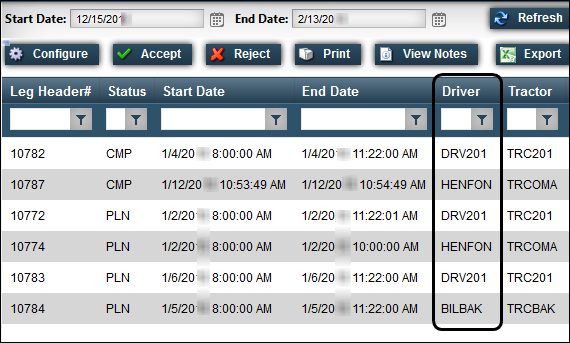
This illustration shows a list of trips assigned to multiple drivers whose IDs appear in the Driver column, including DRV201, HENFON and BILBAK.
Use this procedure to view any upcoming trips to which you are assigned.
-
Go to Menu > Driver > Trip Review > Assigned Trips.
The Assigned Trips page opens.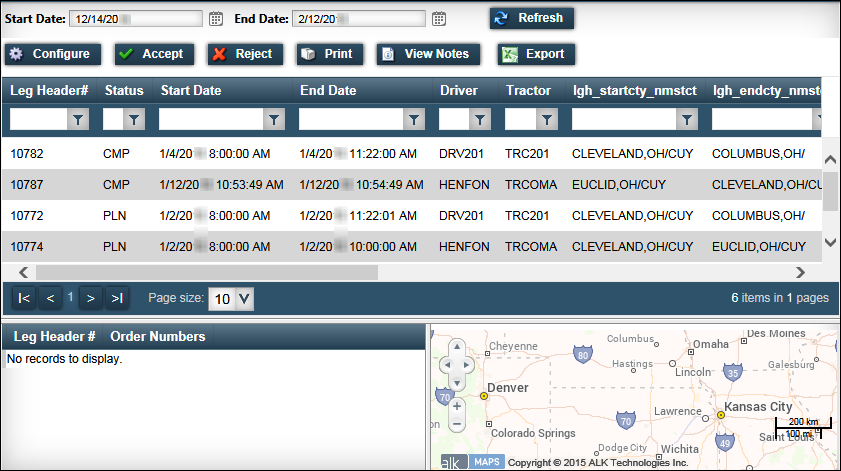
-
To see all assigned trips, use the paging bar.
-
If your login allows, change the data display on the grid.
-
If necessary, change the date range of the trips included in the list, and click Refresh.

Field Definition Start Date
Select a date that occurs before or on the trip’s start date.
By default, the system shows a date in this field that is 30 days prior to the current date.
The date references the date the trips were assigned a Start status. This status indicates that resources have been assigned and the trip is in progress.
End Date
Select a date that occurs on or after the trip’s end date.
By default, the system shows a date in this field that is 30 days after the current date.
The date references the date the trips were assigned a Completed status. This status indicates that the freight was delivered to the consignee.
-
Select one or several trips from the list to view trip details and trip routes on a map.
Use the shortcut keys, CTRL+ or SHIFT+ to select more than one trip.
-
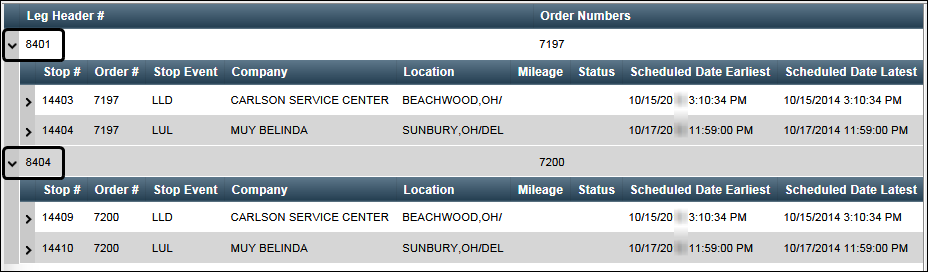
Trip details
The trip details appear in the detail pane.
Note: You can resize the detail pane by using your mouse to drag its borders.
-
Routes
The trip routes appear on the map.
The map feature shows locations of resources, stops, check calls and companies.
-
The color of the route changes with the number of trips you select.
-
The map icons identify the origin and destination cities.
 Origin City
 Destination City
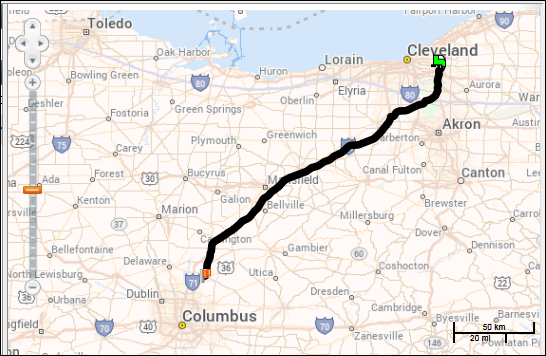
-
Note: You can resize a pane by using your mouse to drag its borders.
-
-
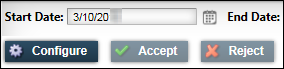
If your login allows, you can accept or reject an assignment.
Notes:
-
Rejecting a trip assignment does not remove a resource assignment from a trip. With the proper setup, the system forwards your response to your company dispatcher’s e-mail. The dispatcher can then make an assignment change, as needed.
-
The Accept and Reject buttons are disabled for trips with a status of Started or Completed.
-
-
Use the command buttons to print, view or export information on this page.

Your ability to use these options varies based on your user setup.
Field Definition Print
Click Print to print assigned trip information.
View Notes
Click View Notes to review notes recorded for the trip in TMWSuite Dispatch.
Export
Click Export, to download assigned trips to an Excel spreadsheet.
Accepting an assigned trip
-
Click the trip you want to accept in the grid.
-
Click Accept.
The Accept Load window opens.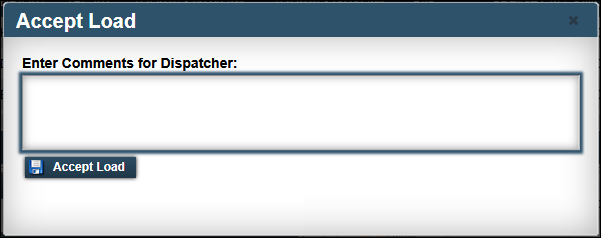
-
Enter a reason for accepting the load in the comments box.
-
Click Accept Load.
-
A message appears at the top of the page confirming that you accepted the load.

-
The system sends your comments to your company dispatcher’s e-mail.

-
Rejecting an assigned trip
-
Click the trip you want to reject in the grid.
-
Click Reject.
The Reject Load window opens.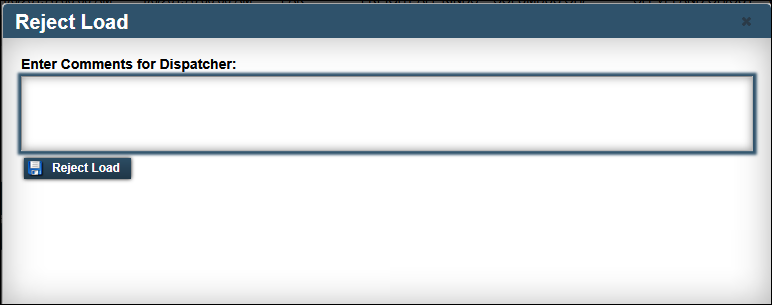
-
Enter a reason for rejecting the load in the comments box.
-
Click Reject Load.
-
A message appears at the top of the page confirming that you rejected the load.

-
The system sends the comments to your company dispatcher’s e-mail.

-
Viewing available trips
Use this procedure to look up trips that are available for assignment. You may want to speak to your dispatcher about possible assignment to a trip.
-
Go to Menu > Driver > Trip Review > Available Trips.
The Available Trips page opens. -
If necessary, change the date range of the trips included in the list.

Field Definition Start Date
Select a date that occurs before or on the trip’s start date.
By default, the system shows a date in this field that is 30 days prior to the current date.
End Date
Select a date that occurs on or after the trip’s end date.
By default, the system shows a date in this field that is 30 days after the current date.
-
Use the filters to look up trips within a specific geographical area.

Field Definition Location
In the text box, begin typing the city/state in the format City, ST.
As you type, items that match your text appear in a drop-down list.
Select the city/state from the list.
Radius
Select the number of miles around the search location
Type
When you specify a city name in the Location field, you can further restrict your trip list based on location type.
Options include:
-
Start
Search for trips where the city name is the origin location. -
End
Search for trips where the city name is the destination location. -
Both
Search for trips where the city name, is either the origin or destination location.
-
-
Click Refresh.
The results show in the Available Trips grid.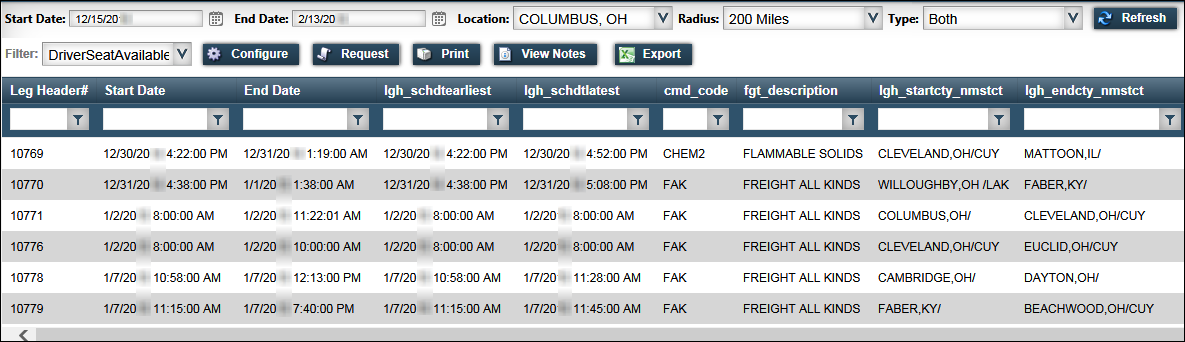
-
To see all assigned trips, use the paging bar.
-
If your login allows, change the data display on the grid.
-
Select one or several trips from the list to view trip details and trip routes on a map.
Use the shortcut keys, CTRL+ or SHIFT+ to select more than one trip.
-
Trip details
The trip details appear in the detail pane.
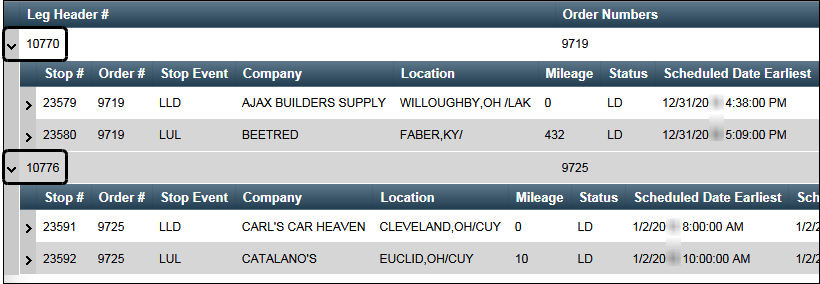
Note: You can resize the detail pane by using your mouse to drag its borders.
-
Routes
The trip routes appear on the map.
The map feature shows locations of resources, stops, check calls and companies.
-
The color of the route changes with the number of trips you select.
-
The map icons identify the origin and destination cities.
Origin City Destination City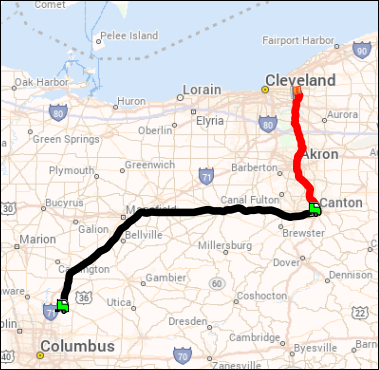
-
Note: You can resize the map pane by using your mouse to drag its borders.
-
-
If your login allows, you can Request a trip assignment.
You may want to speak to your dispatcher about a possible assignment to a trip.
-
Click the trip in the grid and click Request.
The Request Load window appears.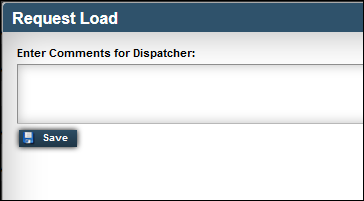
-
Enter your reason for requesting the load in the comments box.
-
Click Save.
The top of the page displays a confirmation that your trip request was successful.
-
-
Use the command buttons to print, view or export information on this page.
Your ability to use these options varies based on your user setup.
Field Definition Print
Click Print to print assigned trip information.
View Notes
Click View Notes to review notes recorded for the trip in TMWSuite Dispatch
Export
Click Export, to download assigned trips to an Excel spreadsheet.