Customizing pages
Many application pages are customizable. From these pages, you use the Customize Page pane to make changes to when and how page elements (controls) appear. You can customize particular pages for all roles or select roles.
Page customizations are not overridden by updates to the application.
You can customize if and how most page elements appear, including:
-
Sections and section titles
-
Fields and field labels
-
Whether sections or fields are required
-
The tab strip and tabs
-
Buttons and button labels
-
Text attributes, such as font, color, and format
-
Margins, borders, and padding around text
Accessing the Customize Page pane
If a page is customizable, you can access the Customize Page pane from your user menu. If the Customize option does not appear on your user menu for any page, your role may not be authorized to customize pages.
To open the Customizer pane, follow these steps.
-
Go to the page you want to customize.
-
Go to User menu > Customize.
The Customize Page pane opens.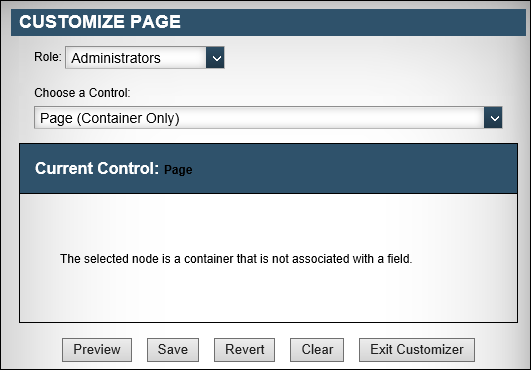
Note: If you want to customize a pop-up window, you must open the Customizer pane from the pop-up window’s parent page.
Once it has been opened, the Customize Page pane remains active until you click Exit Customizer.
You can change the panel’s transparency and collapse or expand the pane on any customizable page.
-
To expand or collapse the panel, click
 Expand/Collapse.
 -
To reduce the panel’s transparency, click
 Reduce Transparency.
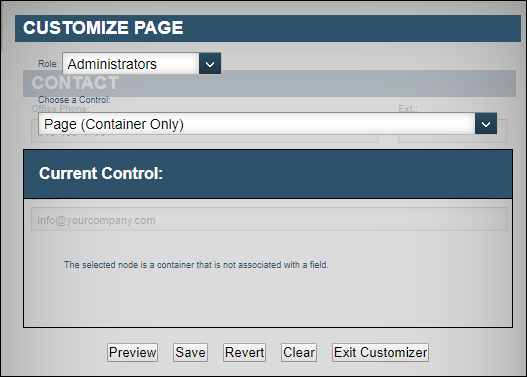
-
To reset the panel’s transparency, follow these steps.
-
Click
Reduce Transparency. -
Click
Expand/Collapse.
-
Overview of the Customize Page pane
The Customize Page pane provides access to all of the customizable elements, or controls, for a page. You open it from your user menu for any page that can be customized.
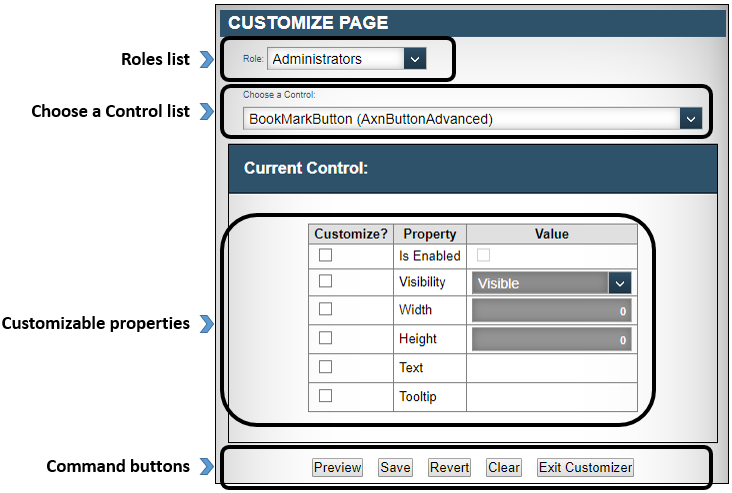
The Customizer pane contains four sections:
-
Roles list
You can customize a page for all roles or select roles.
-
Choose a Control list
A control is a page element. Each control has a list of customizable properties. Controls that previously have been customized appear in bold.
-
Customizable properties
Each control has a list of customizable properties. Customizable properties manage the appearance of controls, including:
-
If a control, such as a section or field, is visible or hidden
-
If a field is required or read-only
-
The appearance of text and how it is formatted
-
ToolTip text
-
-
Command buttons
The command buttons allow you to preview, discard, and clear changes as you customize the page without having to save changes.
-
Click Preview to view the customization to the page. Your changes are not saved.
-
Click Save to save and apply any customizations you have made.
-
Click Revert to undo all customizations you have made since the page was last saved.
-
Click Clear to clear any customizations you have made for the currently selected control.
-
Click Exit Customizer to end and exit the session. Any unsaved changes will be lost.
-
Preventing users from customizing pages
Users are able to access the Customize Page pane and customize pages by default. You can disable access to the Customize Page pane by user role.
To disable access to the Customize Page pane, follow these steps.
-
Go to Menu > Configuration > Settings Manager.
The Settings Manager page opens. -
Do one of the following:
-
If you want the setting change to apply to all roles, verify the Role field is set to [Global Settings].
-
If you want the setting change to apply to a specific role, select it in the Role field.
A message asks you to verify that you want to change the role. Click OK to continue.Note: If the setting has already been changed for at least one role, its text label is bold and italic.
-
-
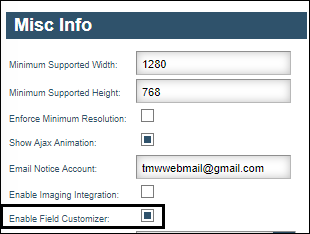
Click these tabs: General > Core > Misc Info.
-
In the Misc Info section, clear the Enable Field Customizer checkbox.
-
Click Save.
A message appears at the top of the page, stating your settings were saved successfully.
If you are making changes for a specific role and this is the first time the setting has been changed for any role, the text label style changes to bold and italic.
Understanding customizable controls
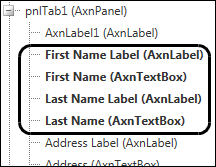
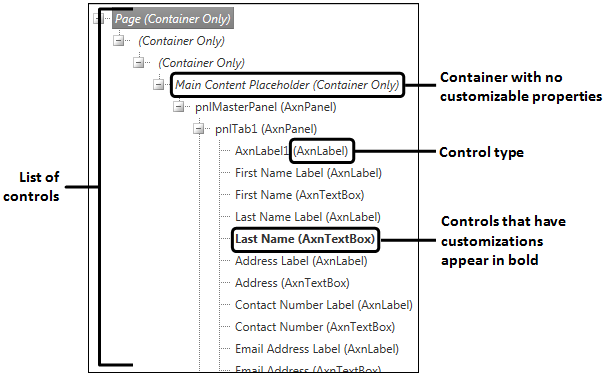
A control is a page element. The Customize Page pane provides a list of controls for each page.
-
Not all controls are customizable. Controls that are not customizable are shown in italics. They are designated as (Container Only). These controls are included in the list to reflect the organizational hierarchy of page elements.
-
Controls that previously have been customized appear in bold.
Select a control from the Choose a Control list to view its customizable properties.
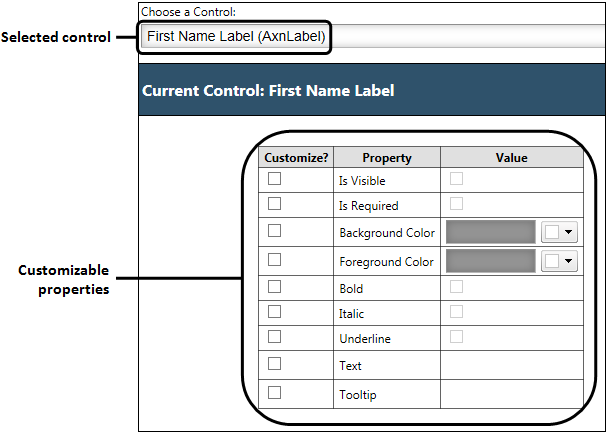
Customizable properties depend on the type of control. For example, all control types have options for making the control visible. Only the AxnTextBox control type has an option to be set as read-only.
To customize a control, follow these general steps.
-
Select a role for which the customizations should apply.
Note: Unsaved customizations are discarded if you change the role.
-
Select a control to customize.
-
Make customizations using the list of customizable properties.
Notes:
-
For any property, you must select the checkbox in the Customize column for the customization to be applied.
-
You can clear the checkbox in the Customize column to remove any customizations and restore the default configuration for a property.
-
You can preview customizations at any time. Changes are maintained until you click a command button, change the role, or log out.
Managing global Quick Links
Quick Links are shortcuts to frequently visited pages. Any user can add and remove Quick Links for their individual user accounts, but only administrators can create global Quick Links to provide quick access to select pages for all users.
Global Quick Links are added for all users and cannot be assigned only to particular roles or users. However, users will see global Quick Links only for pages to which they have access.
Users can remove global Quick Links. Because users also can add their own Quick Links, not all Quick Links for all users will be the same.
Adding global Quick Links
To add a global Quick Link, you first must add the link to your own Quick Links and then make it active as a global Quick Link for all users.
|
To add a global Quick Link, follow these steps.
-
Go to the page for which you want to add a global Quick Link.
-
Click the Quick Links star to add the page to your Quick Links.
The Quick Links star turns yellow to indicate it has been added to your list of links.
-
From your user menu, select Quick Links.
The Quick Links pop-up window opens.Note: The links that appear in this window can be a combination of active global Quick Links and any frequently visited links you have added for your own use.
-
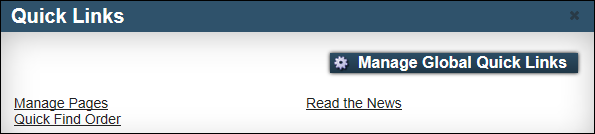
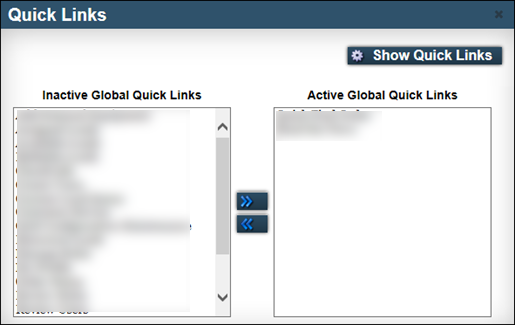
Click Manage Global Quick Links.
The Quick Links pop-up window changes to show the pages you have added as global Quick Links. One list shows active Quick Links. The other list shows inactive Quick Links.Note: As an administrator, clicking the star on a page to make it a Quick Link adds the page to the Inactive Global Quick Links list. You cannot remove page names from the Inactive Global Quick Links list.
-
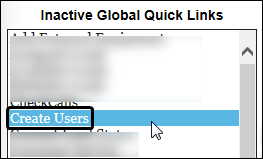
In the Inactive Global Quick Links list, select the page link you want to add as a global Quick Link.
-
Click the
 button.
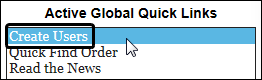
The page you selected now appears in the Active Global Quick Links list and will appear as a Quick Link for all users.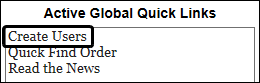
-
Click Show Quick Links to return to your Quick Links.
-
Close the Quick Links pop-up window.
Removing global Quick Links
To remove a global Quick Link, you must remove it from the list of active global Quick Links for all users. Removing a Quick Link from your own list of links will not remove it as a global Quick Link.
| Users can remove global Quick Links at any time. Because users also can add their own favorite pages as Quick Links, not all Quick Links for all users will be the same. |
To remove a global Quick Link, follow these steps.
-
From your user menu, select Quick Links.
The Quick Links pop-up window opens.Note: The links that appear in this window can be a combination of active global Quick Links and any frequently visited links you have added for your own use.

-
Click Manage Global Quick Links.
The Quick Links pop-up window changes to show what global Quick Links are active and inactive for all users.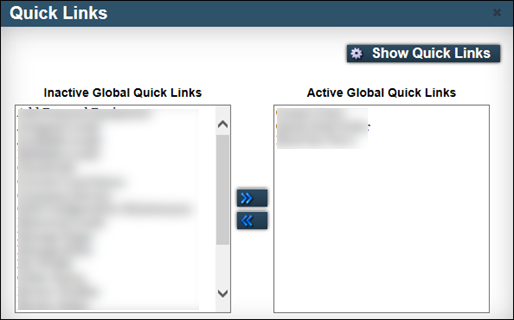
-
In the Active Global Quick Links list, select the page link you want to remove as a global Quick Link.
-
Click the
 button.
The page you selected now appears in the Inactive Global Quick Links list and no longer will appear in the list of global Quick Links for all users.Note: As an administrator, clicking the star on a page to make it a Quick Link adds the page to the Inactive Global Quick Links list. You cannot remove page names from the Inactive Global Quick Links list.
-
Click Show Quick Links to return to your Quick Links.
-
Close the Quick Links pop-up window.