Restricting total volumes based on the maximum trailer threshold
Sometimes users enter fuel orders that are not within the maximum trailer capacity. This causes planning issues or incorrect inventory. You can use the Restrict Total Volume feature to prevent users from making this mistake.
The feature is on by default and the restriction is set to 200 gallons.
Suppose that for an order:
-
The trailer volume threshold is 8800 gallons.
Note: This value is set on the store’s tank forecast profile. The feature uses this value to determine the maximum threshold’s starting value.
-
The Restrict Total Volume value is the 200 gallons.
-
The available order threshold is 8601 - 8800 gallons
If a user enters an order below the volume threshold, an error message is displayed. It states, "Volume must be greater than the minimum <Threshold Value>."
You manage this feature on the Fuel Order Entry sub tab. You can:
-
Specify the maximum trailer threshold
-
Disable or enable this feature
To access the tab:
-
Go to Menu > Configurations > Settings Manager.
The Settings Manager page opens. -
Do one of the following:
-
If you want the setting change to apply to all roles, verify the Role field is set to [Global Settings].
-
If you want the setting change to apply to a specific role, select it in the Role field.
A message asks you to verify that you want to change the role. Click OK.
Notes:
-
The default roles for fuel users are CustomerFuel and CustomerFuel Sub-User. Your company may have created other roles for fuel users.
-
If the setting has already been changed for at least one role, its text label is bold and italic.
-
-
-
Select the Modules tab.
-
In the Module Selection field, select Customer.
-
Click these tabs: Application Settings > Fuel Order Entry.
The Fuel Order Entry options are displayed.
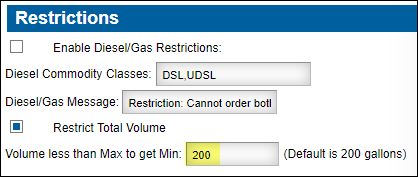
Changing the restricted volume
In the Restrictions section, make changes as needed to the Volume less than Max to get Min field.
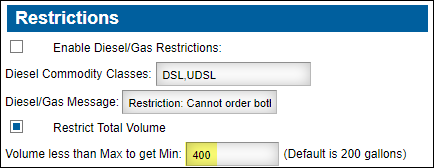
Click Save.
A confirmation message is displayed at the top of the page. It states, "Settings saved successfully."
If you do not want to save, click Revert. The application cancels any unsaved changes and reverts to the last saved settings.
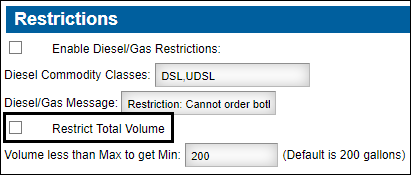
Disabling the restrict total volume feature
In the Restrictions section, clear the Restrict Total Volume check box.
Click Save.
A confirmation message is displayed at the top of the page. It states, "Settings saved successfully."
If you do not want to save, click Revert. The application cancels any unsaved changes and reverts to the last saved settings.