Activating the External Equipment pages
When the Enhanced Brokerage license is applied to your TMWSuite database, Trimble Web Products can include the External Equipment pages. These pages allow carriers to post their available equipment, so that you can more easily match it to available loads.
-
Carrier’s Add External Equipment page
This sample shows the page that the carrier uses to post available equipment.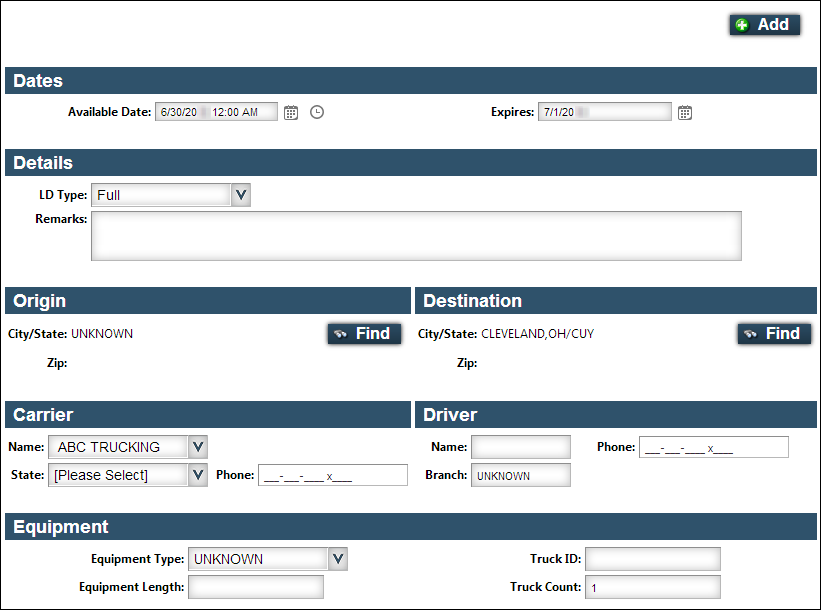
-
Carrier’s External Equipment List page
This sample shows the page the carrier can use to view, update, and expire posted equipment.
|

To activate the External Equipment pages for your carriers, follow these guidelines.
-
Verify that the Enhanced Brokerage license is applied to your TMWSuite database.
-
Login into any TMWSuite core application.
-
Select Help > About.
The first About window opens. -
Click the More button.
The second About window opens. It lists all the applications. -
Scroll through the list and verify that the Enhanced Brokerage Module option has a value of Y in its Option Value field.
-
Click OK twice to close both of the windows.
-
-
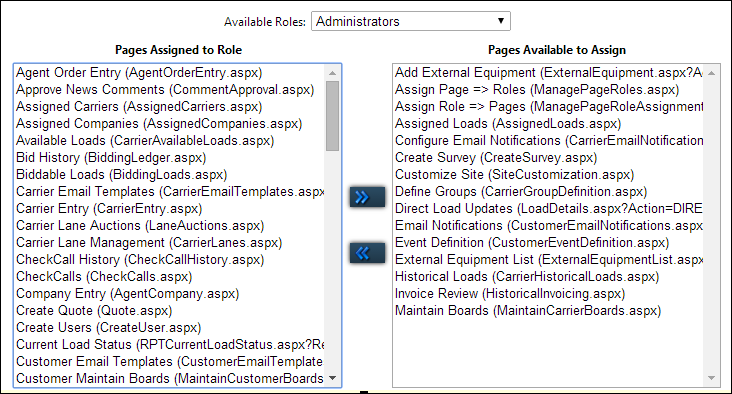
Assign the External Equipment pages to the appropriate carrier roles.
-
Add External Equipment (ExternalEquipment.aspx?Action=ADD)
-
External Equipment List (ExternalEquipmentList.aspx)
-
-
If you want, modify the fields on the External Equipment pages.
If all the required information was provided, a message is shown to the carrier stating the equipment was added successfully.

If the city/state information was incomplete, or if the city/state does not exist in your company’s database the way it was entered, a message is shown to the carrier identifying which part of the information was invalid:

Allowing carriers to specify the default age for equipment postings
By default, the maximum age (in hours) for External Equipment postings is determined by the [Dispatch]AgeInHoursDefault setting in your TTS50. If you want, you can set up the application to allow carriers to specify the age for equipment postings on the External Equipment List page. For more information, see Working with external equipment records.
To specify whether carriers can specify the posting age, follow these steps.
-
Go to Menu > Configuration > Settings Manager.
The Settings Manager page opens. -
Do one of the following:
-
If you want the setting change to apply to all roles, verify the Role field is set to [Global Settings].
-
If you want the setting change to apply to a specific role, select it in the Role field.
A message asks you to verify that you want to change the role. Click OK to continue.
If the setting has already been changed for at least one role, its text label is bold and italic.
-
-
On the Modules tab, in the Module Selection field, select Carrier.
-
Click these tabs: Application Settings > External Equipment.
-
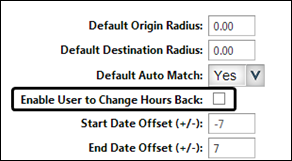
To allow carriers to specify the age for equipment postings, select the Enable User to Change Hours Back check box.
-
When the check box is selected, the Hours Old field displays the number of hours specified by the INI setting, but carriers can change the number when adding equipment in the page.

-
When the check box is cleared, the Hours Old field is read-only and displays the number of hours specified by the INI setting.

-
-
Click Save.
A message indicates that your changes were successfully saved.If you are making changes for a specific role and this is the first time the setting has been changed for any role, the text label style changes to bold and italic.
If you do not want to save, click Revert instead. The application cancels any unsaved changes and reverts to the last saved settings.