Controlling the behavior of the Tender Shipment page
Specifying how company information appears in lists
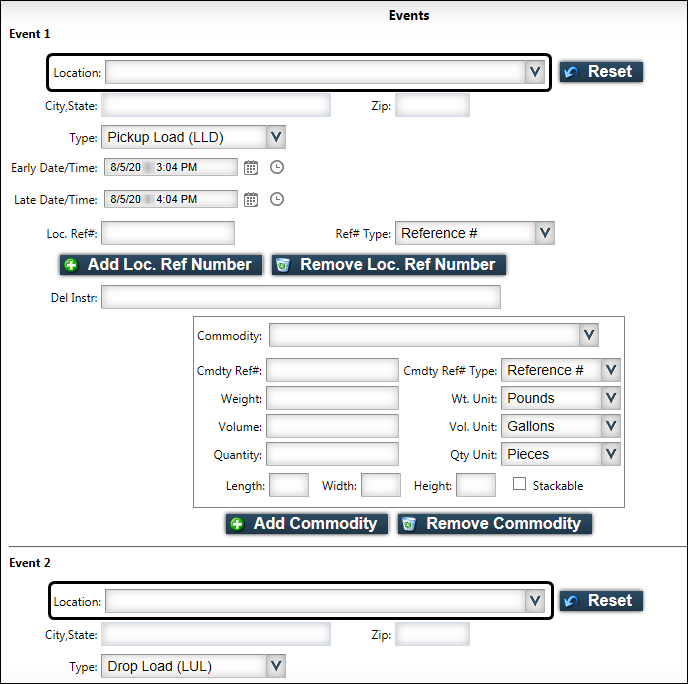
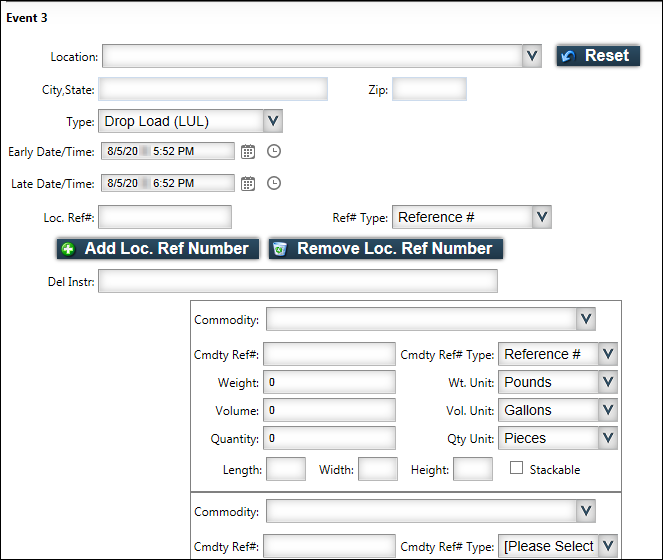
When users create orders on the Tender Shipment page, they specify where a stop takes place using the Location field in the Event sections of the page.

The field provides a drop-down list of all the active companies in your TMWSuite database flagged as shippers or consignees.
| The Location field’s drop-down list is also accessible when a user is viewing Tender Shipment information for active or historical loads. |
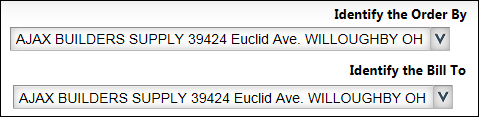
By default, the drop-down lists display the company’s name and address. If you want, you can change what company information appears.
To specify how company information appears in lists, follow these steps:
-
Go to Menu > Configuration > Settings Manager.
The Settings Manager page opens. -
Do one of the following:
-
If you want the setting change to apply to all roles, verify the Role field is set to [Global Settings].
-
If you want the setting change to apply to a specific role, select it in the Role field.
A message asks you to verify that you want to change the role. Click OK to continue.
-
-
On the Modules tab, in the Module Selection field, select Customer.
-
Click these tabs: Application Settings > Global.
-
In the What company information is displayed in fields and drop-down lists section, select the radio button for the option you want to use.
-
Company name and address

-
Company ID, name and address

-
Company name only

-
Company ID only

-
-
Click Save.
A message appears at the top of the page, stating your settings were saved successfully.If you do not want to save, click Revert instead. The application cancels any unsaved changes and reverts to the last saved settings.
Refreshing the user’s Associate Company List at login
An associate company is a company that has done business with a user’s profile company.
-
An associate company can be a Bill To, shipper, consignee, or Order By company on an order that involves a profile company.
-
As the Trimble Web Products administrator, you can designate additional companies as associates that have not done business with a user’s profile company.
When a user creates orders on the Tender Shipment page, company fields may be set up to list only the user’s associate companies.
When orders for a user’s Order By company are created in TMWSuite, the list of associate companies may expand from those identified when the user’s Trimble Web Products profile was created.
To keep the associate companies listed in those fields current, you may want Trimble Web Products to update the user’s associate companies list at each login.
To have the system update a user’s associate companies list, follow these steps:
-
Go to Menu > Configuration > Settings Manager.
The Settings Manager page opens. -
Do one of the following:
-
If you want the setting change to apply to all roles, verify the Role field is set to [Global Settings].
-
If you want the setting change to apply to a specific role, select it in the Role field.
A message asks you to verify that you want to change the role. Click OK to continue.Note: If the setting has already been changed for at least one role, its text label is bold and italic.
-
-
On the Modules tab, in the Module Selection field, select Customer.
-
Click these tabs: Application Settings > Shipment Tender > Misc.
-
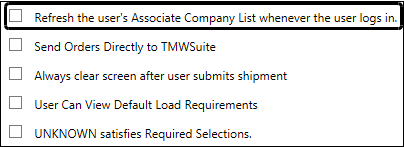
In the Miscellaneous section, select the Refresh the user’s Associate Company List whenever the user logs in check box.
-
Click Save.
A message appears at the top of the page, stating your settings were saved successfully.
If you are making changes for a specific role and this is the first time the setting has been changed for any role, the text label style changes to bold and italic.If you do not want to save, click Revert instead. The application cancels any unsaved changes and reverts to the last saved settings.
Having tendered shipments become Available orders as soon as they are submitted
By default, when a user submits a shipment, the application creates an order with the Tendered status. Before resources can be assigned to the order, its status must be updated to Available.
|
You can set up the application to assign the Available status to new orders automatically after a user tenders a shipment.
To have tendered shipments automatically assigned the Available status, follow these steps:
-
Go to Menu > Configuration > Settings Manager.
The Settings Manager page opens. -
Do one of the following:
-
If you want the setting change to apply to all roles, verify the Role field is set to [Global Settings].
-
If you want the setting change to apply to a specific role, select it in the Role field.
A message asks you to verify that you want to change the role. Click OK to continue.Note: If the setting has already been changed for at least one role, its text label is bold and italic.
-
-
On the Modules tab, in the Module Selection field, select Customer.
-
Click these tabs: Application Settings > Shipment Tender > Misc.
-
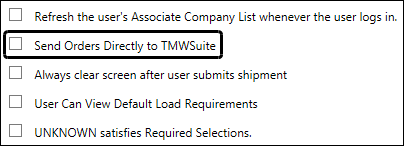
In the Miscellaneous section, select the Send Orders Directly to TMWSuite check box.
-
Click Save.
A message appears at the top of the page, stating your settings were saved successfully.
If you are making changes for a specific role and this is the first time the setting has been changed for any role, the text label style changes to bold and italic.If you do not want to save, click Revert instead. The application cancels any unsaved changes and reverts to the last saved settings.
Having the Tender Shipment fields clear automatically when a shipment is tendered
By default, when a user submits a tendered shipment, the fields on the Tender Shipment page continue to display the entries made for the last shipment. To start a new shipment, the user must click Clear for New Shipment.
You can have the Tender Shipment page clear automatically when a user clicks Tender this Shipment to submit the order.
To make the page clear automatically, follow these steps:
-
Go to Menu > Configuration > Settings Manager.
The Settings Manager page opens. -
Do one of the following:
-
If you want the setting change to apply to all roles, verify the Role field is set to [Global Settings].
-
If you want the setting change to apply to a specific role, select it in the Role field.
A message asks you to verify that you want to change the role. Click OK to continue.Note: If the setting has already been changed for at least one role, its text label is bold and italic.
-
-
On the Modules tab, in the Module Selection field, select Customer.
-
Click these tabs: Application Settings > Shipment Tender > Misc.
-
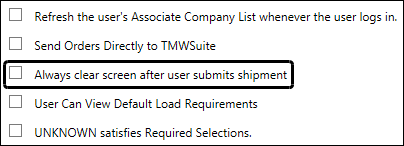
In the Miscellaneous section, select the Always clear screen after user submits shipment check box.
-
Click Save.
A message appears at the top of the page, stating your settings were saved successfully.
If you are making changes for a specific role and this is the first time the setting has been changed for any role, the text label style changes to bold and italic.If you do not want to save, click Revert instead. The application cancels any unsaved changes and reverts to the last saved settings.
Hiding Event Numbers on the Tender Shipment page
By default, the Tender Shipment page shows event numbers in the Events section.

If you want, you can hide the event numbers.
To hide event numbers, complete the following steps:
-
Go to Menu > Configuration > Settings Manager.
The Settings Manager page opens. -
Do one of the following:
-
If you want the setting change to apply to all roles, verify the Role field is set to [Global Settings].
-
If you want the setting change to apply to a specific role, select it in the Role field.
A message asks you to verify that you want to change the role. Click OK to continue.Note: If the setting has already been changed for at least one role, its text label is bold and italic.
-
-
On the Modules tab, in the Module Selection field, select Customer.
-
Click these tabs: Application Settings > Shipment Tender > Misc.
-
In the Miscellaneous section, select the Hide Event Numbers check box.
-
Click Save.
A message appears at the top of the page, stating your settings were saved successfully.
If you are making changes for a specific role and this is the first time the setting has been changed for any role, the text label style changes to bold and italic.If you do not want to save, click Revert instead. The application cancels any unsaved changes and reverts to the last saved settings.
Having commodities copied from one event to the next
By default, when a user selects a commodity for the pickup on the Tender Shipment page, the commodity must be selected again for the drop.
You can have the commodity recorded for the pickup automatically copied to the drop.
The application has some exceptions to cascading commodities.
-
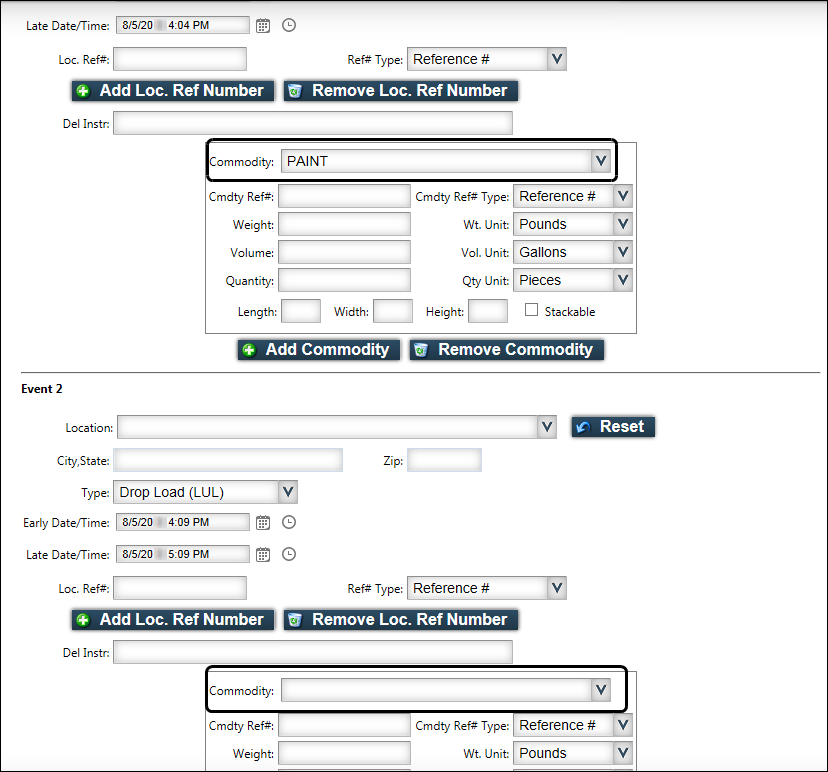
If a user enters more than one commodity for the pickup, the second commodity is not automatically shown for the delivery. The user must click Add Commodity for the second commodity to be copied to the delivery.
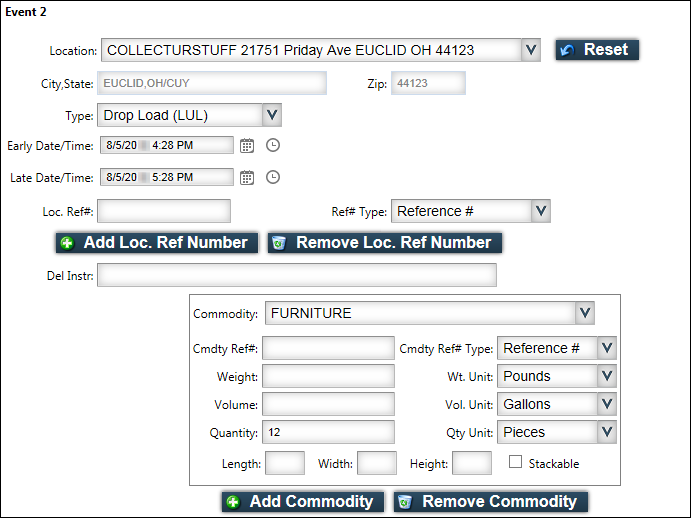
The pickup has two commodities listed.

The delivery shows only the first commodity.
The user must click Add Commodity to cascade the second commodity to the delivery.

-
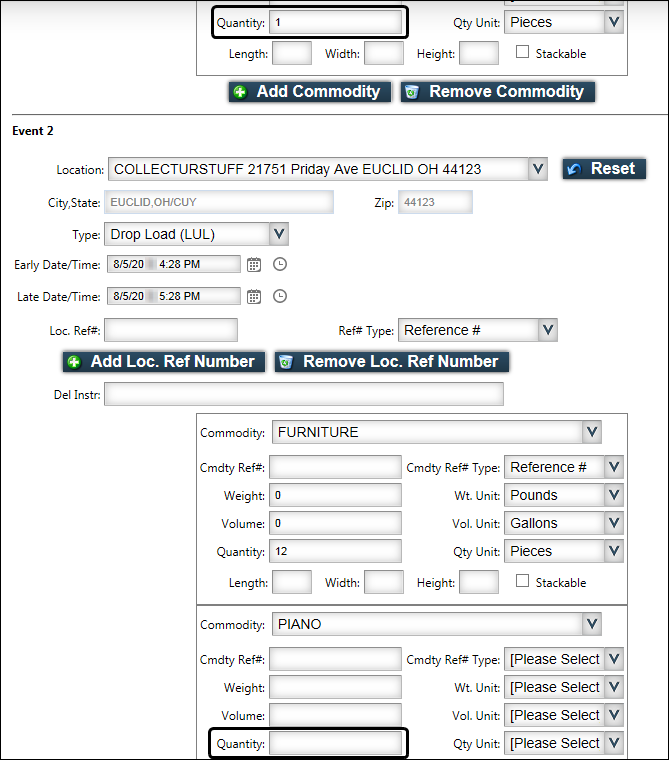
The quantities recorded for the second commodity on the pickup are not copied to the delivery.
-
If multiple commodities recorded on the pickup are to be dropped at different stop locations, the user must manually select the commodity for the additional deliveries. Commodities only cascade from Event 1 to Event 2.
Note: If Event 3 is created before adding commodities, the commodity will cascade, but you will still need to enter the commodity’s details.
To cascade, or copy, commodities to the next event, follow these steps:
-
Go to Menu > Configuration > Settings Manager.
The Settings Manager page opens. -
Do one of the following:
-
If you want the setting change to apply to all roles, verify the Role field is set to [Global Settings].
-
If you want the setting change to apply to a specific role, select it in the Role field.
A message asks you to verify that you want to change the role. Click OK to continue.Note: If the setting has already been changed for at least one role, its text label is bold and italic.
-
-
On the Modules tab, in the Module Selection field, select Customer.
-
Click these tabs: Application Settings > Shipment Tender > Controls - 2.
-
In the Commodity Options section, select the Cascade Commodities check box.

-
Click Save.
A message appears at the top of the page, stating your settings were saved successfully.
If you are making changes for a specific role and this is the first time the setting has been changed for any role, the text label style changes to bold and italic.If you do not want to save, click Revert instead. The application cancels any unsaved changes and reverts to the last saved settings.