Allowing SQL reports to be shared through a URL
The system allows you to share executed SQL reports with users who do not have access to Trimble Web Products. You do this by providing a hyperlink to the report’s URL. To enable sharing of SQL reports with anyone who is not a Trimble Web Products user, you must create a role and user account that will be used to identify outside users.
Users accessing SQL reports from outside Trimble Web Products need only the URL to access a report. When you create a user account to be used only to view reports, a user of this account will:
-
Not be required to log in with a username and password
The system will be able to authenticate the user using the shared URL. -
Not be able to access any other functions in Trimble Web Products
The user account will be able to access only the report specified in the URL and log out of the system. -
Share this account with all outside users
The system automatically associates a user viewing a report through a URL with the account created only to view reports. The system will automatically authenticate any outside user with whom you share any SQL report through a URL.
| All of the settings described in these procedures apply to all shared SQL reports. You cannot have different settings for different reports. |
The recommended process for setting up your system to share SQL reports is as follows:
Creating a user account for viewing shared SQL reports
A user account is used, behind the scenes, by anyone with whom you share a SQL report through a URL.
You must:
-
Create the user account.
-
Assign the role created only to view shared SQL reports to the user account. You should have already created this role.
-
Log into the account for the first time.
The first time an account in Trimble Web Products is used, a registration page opens for the user to agree to the terms of use, change the password, and enter security questions. This page also opens if your company changes the terms and conditions, requiring users to read and accept them again. Since you do not want the first viewer of a shared report to go through this process, you should do so before sharing a report through a URL.
To create a user account to be used only to view shared SQL reports, follow these steps.
-
Log into Trimble Web Products with the new username and password.
The User Registration page opens. -
Click the checkbox next to "I accept the terms and conditions of use" and click Submit.

-
If you are required to change the password, complete the password fields and record the new password. You will need it when configuring system settings to share reports.
Note: Trimble Web Products may be set up to require a change of password at initial login. Required fields appear in red and are followed by an asterisk.
-
Click Submit.
-
Log out of Trimble Web Products.
-
To configure system settings to share reports, log into Trimble Web Products as an administrator.
Configuring system settings to share SQL reports
To share a SQL report through a URL, you must configure system settings to enable report sharing. You also must enter the username and password of the account created only to view shared SQL reports.
To configure system settings to share SQL reports, follow these steps.
-
Go to Menu > Configuration > Settings Manager.
The Settings Manager page opens. -
Verify [Global Settings] is the value in the Role field.
You must be in Global Settings mode to edit the setting. -
Click these tabs: General > Core > Misc Info.
-
In the Misc Info 3 section, specify the settings to enable shared reporting.
Field Definition Shared Reporting User Name
The user name of the account created to view shared SQL reports
Shared Reporting Password
The password for the account created to view shared SQL reports
Shared Reporting Allow Report Viewer Use
Select this checkbox to make reports viewable when shared through a URL
Days Before Shared Reports Expire
The number of days a report will remain available for viewing
Note: The default value for this field sets the shared SQL report availability to 30 days.
-
Click Save.
A message appears at the top of the page, stating your settings were saved successfully.
Sharing report definitions with other Trimble Web applications
If you have access to more than one Trimble Web application, you can use these procedures to share any SQL report definitions you have set up within one application (source) by exporting them to an XML file and then importing them to another application (destination).
Deleting an existing SQL report
Use this procedure to delete a SQL report from the list of available reports.
| If the report is added to a menu, you must remove it from the menu first, then delete it. |
-
Go to Menu > Reporting > SQL Reports > Manage Reports.
The Manage Reports page opens.
-
From the Report Name field, select the report to delete.
The report settings appear.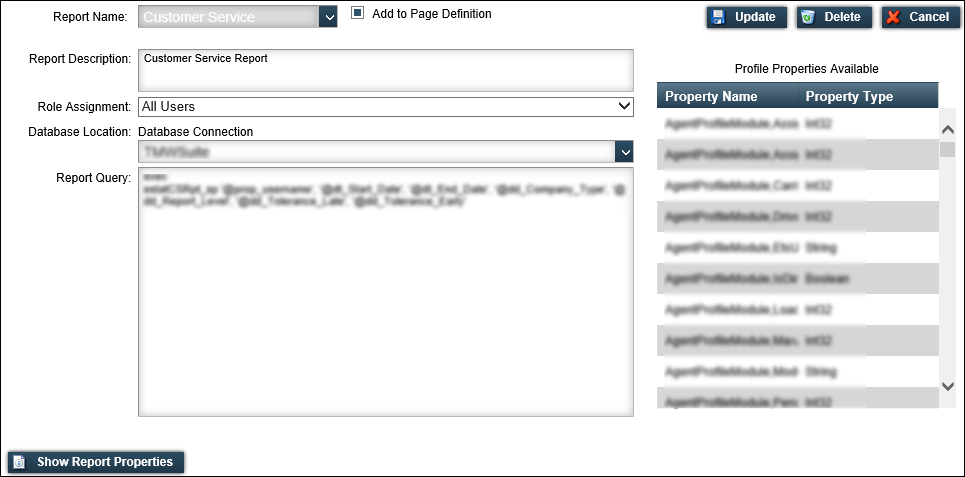
-
Click Delete.
A confirmation window opens that states, "Are you sure you want to delete this report?" -
Click OK to confirm you want to delete the report.
The System Message pop-up window opens stating the report was removed successfully. -
Click Close.
The report is removed from the list of available reports.