Navigating the website
Becoming familiar with the layout of the application is a first step in quickly accessing its many features. Though the hosting company may have customized the site by changing the color scheme or menu names, the basic navigation remains the same.
| The hosting company may have renamed or moved some menus and items. Be aware that the online help topics provide instructions using the default menu names and locations. |
Page layout
Pages are designed so that menus and functionality areas appear the same way throughout the application. While some elements are not part of every page, the basic layout of the page is consistent.
This design standard makes it easier for you to find what you need, no matter where you are on the website.
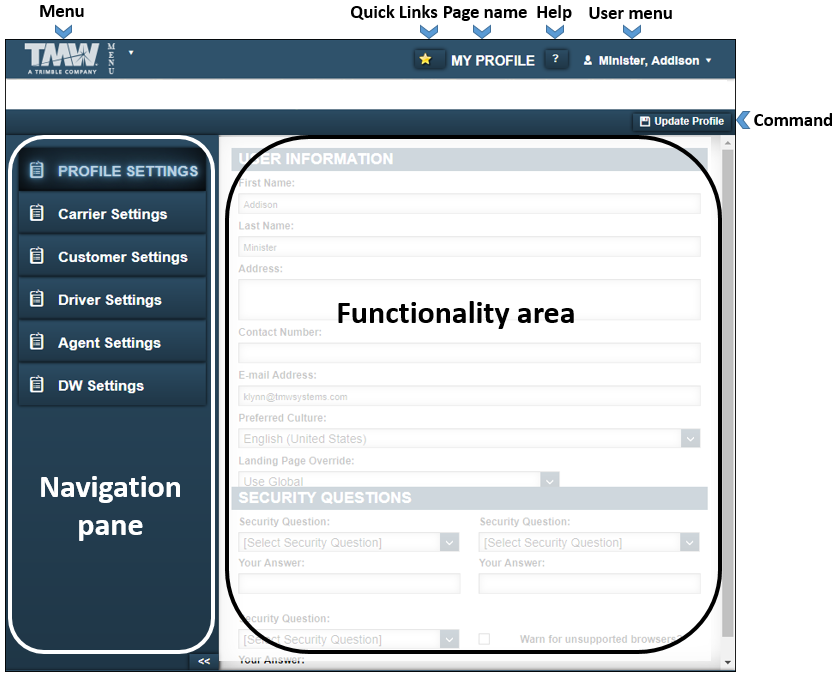
Menu
The main menu appears in the upper left of each page.
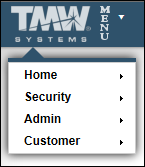
It consists of the core menus that are the starting point for accessing most of the website’s features. The availability of features from this menu depends on how the hosting company has chosen to customize the menu and your user access to different applications.
This menu is referred to as Menu throughout the help system.
Quick Links star
You can use the Quick Links star to add any page you currently are viewing to your Quick Links. If the star is yellow, it is already one of your Quick Links.
![]()
Page name
The page name informs you of your location on the website. Page names are used throughout the help system to help you verify that you are in the correct place.
![]()
Help
First available in Trimble Web Products V2017.2.1
To access information on using Trimble Web Products, click the Help icon. The online help includes how-to and reference information. It also includes videos designed to assist you with using the application.
![]()
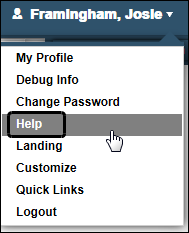
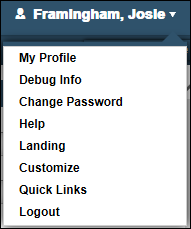
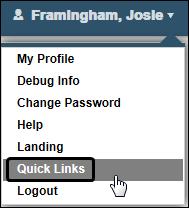
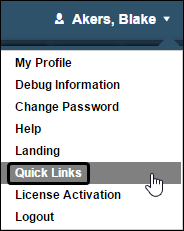
User menu
Your user menu provides access to items related to your particular user account. From your user account, you can:
-
Access your My Profile page
-
Change your password
-
Access the online help system
-
Go to your Landing page
-
View your list of Quick Links
-
Logout
Navigation pane
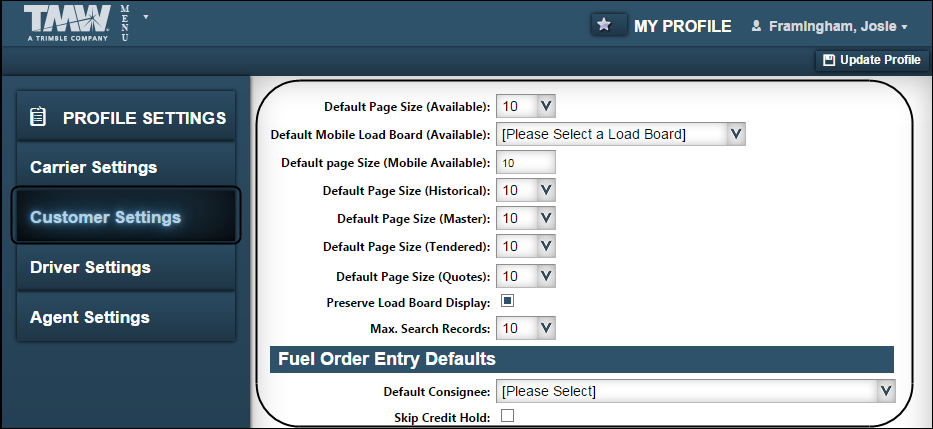
The Navigation pane lists what tabs, if any, are available for the page you are viewing.
This illustration is an example of a page that shows multiple tabs in the Navigation pane. Click a tab to make its contents available in the functionality area of the page.
The Customer Settings tab is active in the illustration below.
To create more room for the functionality area of a page, you can collapse the navigation pane using the ![]() button at the bottom of the pane.
button at the bottom of the pane.
Landing page
The landing page is the page you see immediately after logging into the application. To access your landing page from other pages, select Landing from your user menu.
The appearance of your landing page is based on how the hosting company has set up the website and your user access to different applications. Your system administrator may have selected a particular application page, such as the View Available Loads page, as your landing page. You can change your landing page in your user profile.
Three of the most commonly used landing pages are:
-
Customer Landing
-
Carrier Landing
-
Driver Landing
Customer Landing page
The Customer Landing page provides a current view of customer activity.
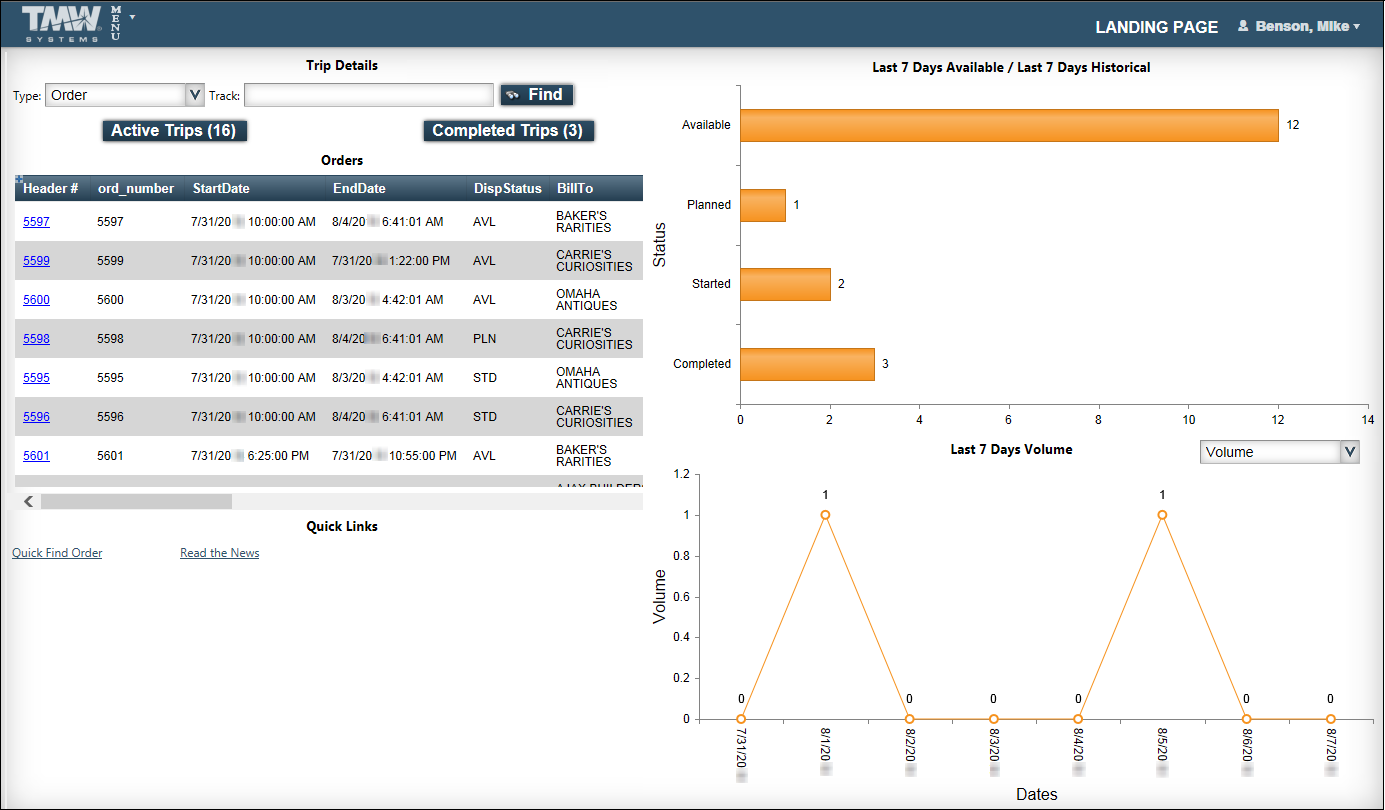
The page includes these main sections:
-
Trip Details
The upper left corner of the page provides search and quick reference capabilities. Use either Order or Reference numbers to search for orders that do not appear on the landing page. You can also quickly view a list of Active orders (which are in Available, Planned, Dispatched, or Started statuses) by clicking the Active Trips button. To view a list of Completed orders, click the Completed Trips button.
-
Orders
The Orders section is located on the left side of the page. It contains a list of the ten most recently active orders. Clicking an order’s hyperlink takes you to the Landing Shipment page, which displays details for that order.
-
Quick Links
The page’s lower left displays your Quick Links. Any pages except customer reports can be added to Quick Links.
-
Historical data (Last 7 days)
The right side of the page displays activity completed during the last seven days, including:
-
Last 7 Days Available / Last 7 Days Historical
Number of trips in Available, Planned, Started, and Completed statuses.
-
Last 7 Days Volume
Number of trips completed in the last seven days.
-
Last 7 Days Revenue
View revenue gained over the previous seven days by selecting Revenue from the dropdown list.
-
Carrier Landing page
The Carrier Landing page provides a useful snapshot of the carrier’s recent activity.
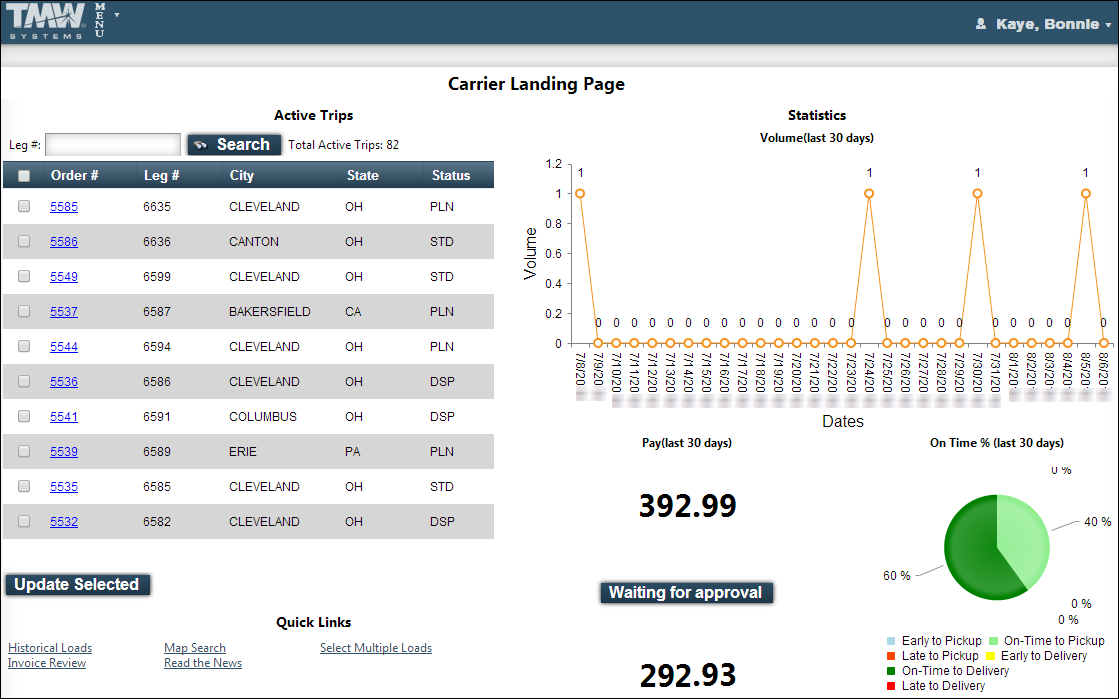
The page includes these main sections:
-
Active Trips
The left side of the page lists your ten most recent trips with a status of Planned, Dispatched, or Started. The Search feature lets you search for active trips not displayed on the landing page.
-
Quick Links
The page’s lower left displays your Quick Links.
-
Statistics
The right side of the page provides information about your activity during the last 30 days, including:
-
Volume
Number of trips completed in the last 30 days
-
Pay
The number above the Waiting for approval button shows your approved pay. The bottom number shows pay waiting for approval. Clicking the Waiting for approval button displays the Pay Audit page, which provides pay details for your last ten trips.
-
On Time %
Your on-time percentage for all trips completed in the last 30 days.
-
Driver Landing page
The Driver Landing page provides quick access to a driver’s recent activity.
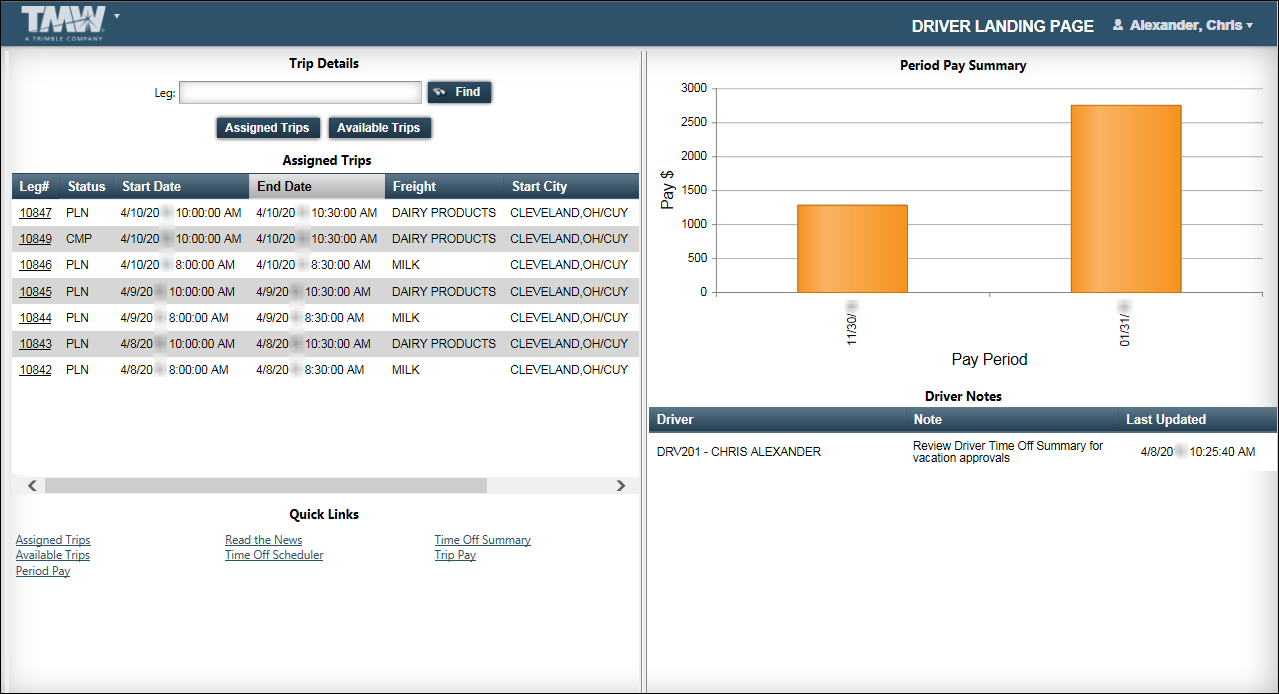
The page includes these main sections:
-
Assigned Trips
The left side of the page lists your ten most recently assigned trips with a status of Planned, Dispatched, Started or Completed. To search for trips that do not appear on the landing page, use any of the following options:
-
Enter a leg number and click Find to view a specific trip.
-
Click Assigned Trips to view all of your assigned trips.
-
Click Available Trips to view all trips with a status of Available.
-
-
Quick Links
The page’s lower left displays your Quick Links.
-
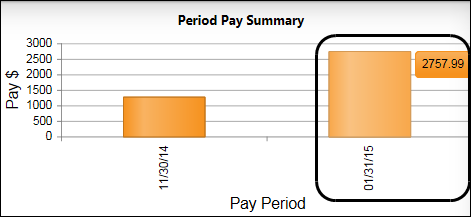
Period Pay Summary
The graph displays your finalized pay within a specific pay period. Hovering over a bar displays the total amount of pay recorded for that pay period.
-
Driver Notes
Displays notes recorded in your driver profile.
Quick Links
Quick Links are shortcuts to website pages. Clicking the Quick Links star at the top of any page will add that page to your Quick Links.
If the Quick Links star on a page is yellow, that page already has been added to your Quick Links. Click the yellow star to remove the page from your list.
View your Quick Links by selecting Quick Links from your user menu.
The Quick Links pop-up window opens.
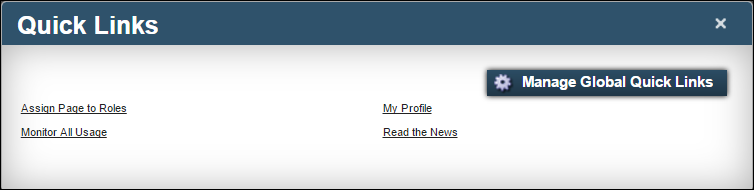
Use this window to:
-
Click on a link to go to that page.
-
Click Manage Global Quick Links to add a page to your Quick Links.
| Page names that appear as Quick Links may have been added as global Quick Links by the hosting company. If you want to remove a global Quick Link, follow the link to that page and then click the yellow Quick Links star. |