Viewing SQL reports with Report Viewer
Report Viewer allows you to access any SQL reports that have been set up for you to view. Some SQL reports automatically display data, while others may allow you to input selection criteria that will filter the data for the report.
To view a SQL report using Report Viewer, follow these steps.
-
Go to Menu > Reporting > SQL Reports > Report Viewer.
The Report Viewer page opens.
-
From the Report Name list, select the report you want to run.
-
Click Start Report.
-
If restriction fields appear, make selections or entries to limit the report output.
-
Select the restrictions.
Note: Any of the following methods for applying restrictions may have been added by the report designer.
-
Required fields
Field names shown in red and preceded with an asterisk are required fields.

-
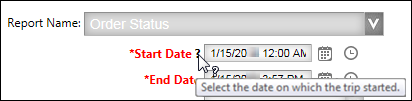
Help text for fields
Some field names are followed by a question mark. Move the pointer over the question mark to see the help text.
-
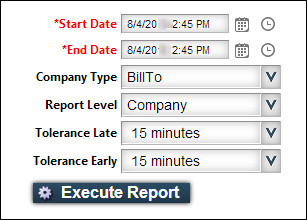
Default entries
The report may have been designed to show a default selection for a field. You can accept or change these default selections as appropriate.
-
Date selection
The report may have been designed to restrict results according to minimum and maximum dates. These restrictions prevent you from retrieving data that is too old or retrieving a massive amount of data.
This example shows the report’s restrictions in date fields, with the Start Date and End Date required.
-
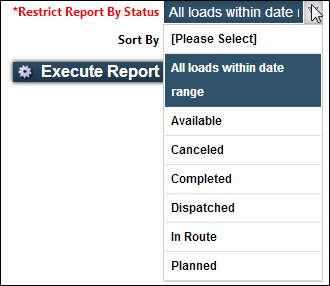
Drop-down list selection
This example shows available report restrictions in a dropdown list, from which you can select one.
-
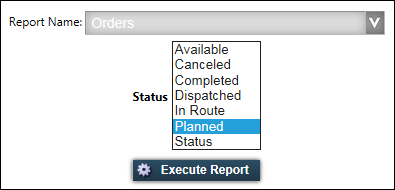
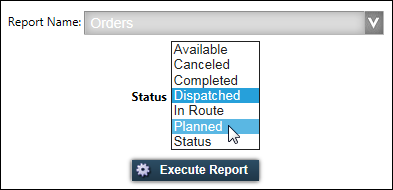
List box selection
This example shows available report restrictions in a list box. You may be able to select multiple options by holding down the CTRL or SHIFT key while selecting each option.
-
Text box selection
This example shows a report restriction being entered in a text box.
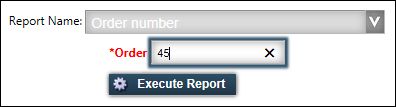
The report may have been designed to retrieve matches that start with, end with, and contain a text box entry. If not, you can use the wildcard % to retrieve matches in the field that start with, end with, and contain your entry.
-
-
Click Execute Report.
-
-
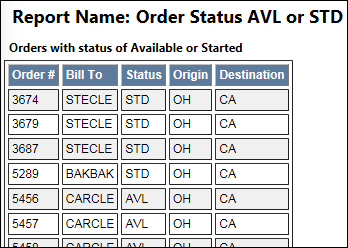
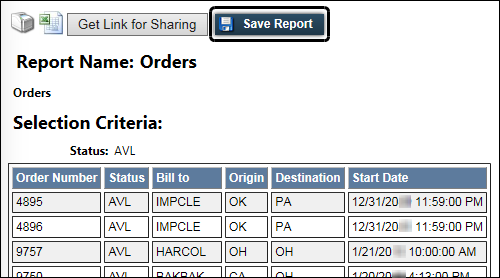
View the report.
This sample report had no selection criteria.
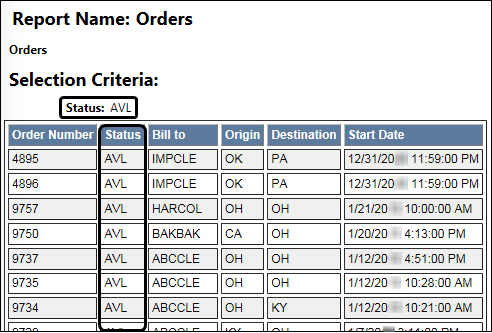
This sample report shows that the origin was selected as a filter for the data.
Revising SQL report selection criteria
When a SQL report includes selection criteria, follow these steps to view the same report with different restrictions.
-
While viewing the report on the Report Viewer page, click Adjust Criteria.
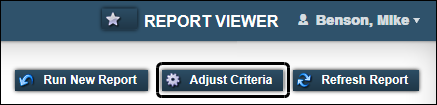
Note: If the Adjust Criteria button is not available, the report was designed not to allow users to change selection criteria.
-
Enter or select new selection criteria.
-
Click Execute Report.
The report is generated according to the new selection criteria.
Printing a SQL report
To print a SQL report, follow these steps.
-
While viewing the report on the Report Viewer page, click
 View Print Friendly Version.
The report opens in a new browser window. -
Print as you usually do from your browser.
-
Close the browser window displaying the print-friendly version.
Refreshing SQL report data
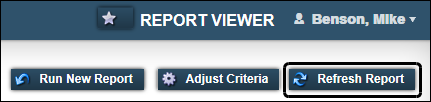
When the SQL report you are viewing contains time-sensitive data, you may want to update it. To display the most current data for a report you are viewing on the Report Viewer page, click Refresh Report.
Running a new SQL report from Report Viewer
If you are viewing a SQL report, you can select to view a different report.
To view a different report, follow these steps.
-
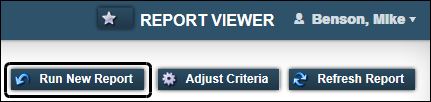
While viewing a report on the Report Viewer page, click Run New Report.
-
Select the new report from the Report Name list.
Exporting a SQL report to a CSV file
You can export SQL report data to a spreadsheet.
To export a SQL report to a CSV file, follow these steps.
-
While viewing the report on the Report Viewer page, click
 Export as CSV File.
 -
Save the file by following the browser prompts.
Sharing a SQL report through a URL
Use this procedure to share a SQL report by copying and sharing a hyperlink to the report’s URL.
| An administrator must already have set up the system to allow SQL reports to be shared. For more information, see Allowing SQL reports to be shared through a URL. |
-
Go to Menu > Reporting > SQL Reports > Report Viewer.
The Report Viewer page opens. -
From the Report Name list, select the report to share.
-
Click Start Report.
-
Identify any required variables.
-
Click Execute Report.
The selected report opens. -
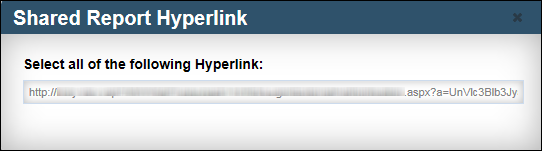
Click Get Link for Sharing.
The Shared Report Hyperlink pop-up window opens with a hyperlink to a URL for this version of the report.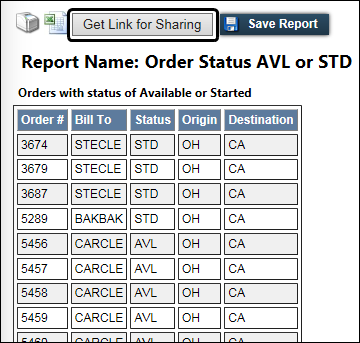
-
Select and copy the complete hyperlink.
-
Do one of the following:
-
Paste the link into the body of an e-mail message to users with whom you want to share the report, then send the message.
-
Copy the hyperlink to another location where it can be accessed by users with whom you want to share the report, such as your company’s home page.
-
Using favorite SQL reports
You can save multiple versions of the same SQL report, each with a different set of reporting criteria. This option allows you to run a SQL report with specific criteria without having to recreate the report each time you want to view it. After you create a favorite SQL report, you can manage and view it from the Report Viewer page.
Creating a favorite SQL report
To save a SQL report as a favorite, follow these steps.
-
After you run a report, click Save Report on the Report Viewer page.
-
In the Favorite Name field, enter a name for the report.
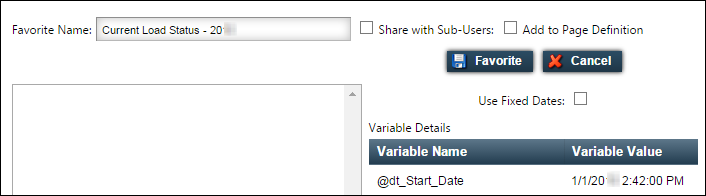
If you will be saving different versions of the same report, indicate it in the name. For example, Orders - Available and Orders - Completed.
-
To add the report to your sub users' list of favorite reports, select the Share with Sub-Users check box.
-
To make the report available to be added as a menu option, select Add to Page Definition.
Note: Only users assigned to a role with the authority to add pages to the application can create new menu options.
-
If appropriate, select a date range option:
Note: If the report includes user-defined variables, the Variable Details section displays the criteria that you selected for the report. If the report includes date variables, the Use Fixed Dates check box appears.
-
To use only the dates that appear in the Variable Details section as the report’s start and end dates, select the Use Fixed Dates check box.
-
To update the date fields to reflect the current month each time you run the report, do not select the Use Fixed Dates check box. For example, if you initially selected 2/1/nn and 2/28/nn as the report’s start and end dates, those dates would change each month to reflect the current date. For example, if you run the report on March 3, 20nn, the report start and end dates are automatically updated to 3/1/nn and 3/31/nn.
-
-
Click Favorite.
A message appears to confirm the report was successfully saved as a favorite.
Managing your favorite SQL reports
To manage and run your favorite SQL reports, follow these steps.
-
Go to Menu > Reporting > SQL Reports > Report Viewer.
-
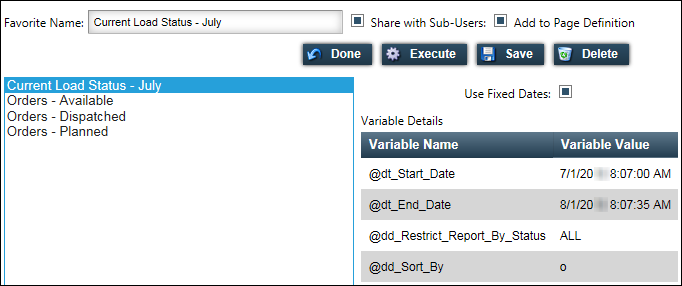
On the Report Viewer page, click Manage Favorites.

-
To view the variable details for a report, click the report in the list.
Note: If you change the Share with Sub-Users, Add to Page Definition, or Use Fixed Dates selection, you must click Save to save these changes before you can run the report again. If you do want to save any changes, return the fields to their original state before you click Save.
-
To run the report, click Execute.
-
To return to your favorites list and run another favorite report, click New Favorite Report.
-
To close your favorites list and return to the Report Viewer, click Done.
Deleting a favorite SQL report
To delete a favorite SQL report from the Report Viewer page, follow these steps.
-
Go to Menu > Reporting > SQL Reports > Report Viewer.
-
In the Report Viewer page, click Manage Favorites.
-
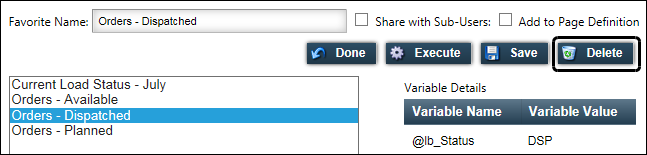
In the favorites list, click on the report you want to delete.
-
Click Delete.
-
In the confirmation message, click OK.