Customizing detail tabs
Some windows in TMW Operations provide detail tabs that are used to group and display related information. If you want, you can change the look of these tabs.
Shown below is the default layout for the details tabs on the Order Maintenance window.
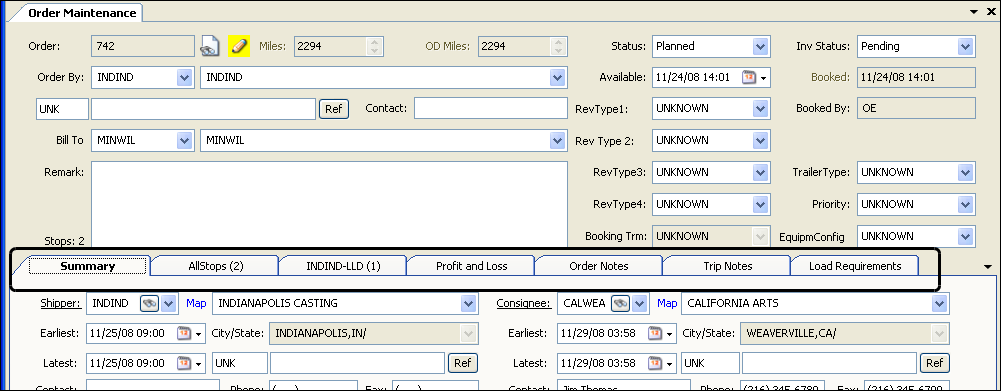
Use the following procedures to add new tabs, move tabs, set a default tab, and hide tabs.
Adding a tab
On some windows, such as Order Maintenance, you can create a sub tab of your own. This allows you to provide users with data entry fields or read-only fields that are important to the way your company does business.
| You cannot add detail tabs to the Scroll windows. |
-
In the detail tab area of the window, toggle into QuickDesigner.
-
Right-click on one of the existing tabs.
A shortcut menu is shown.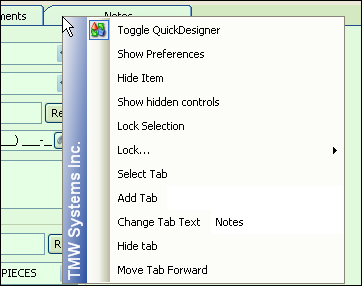
-
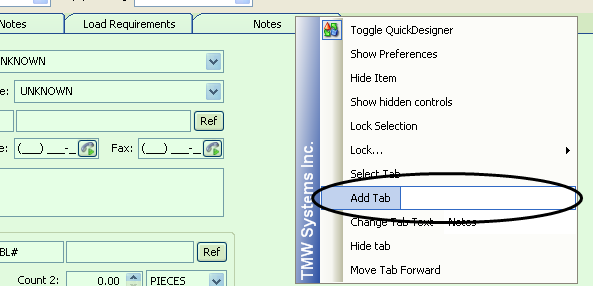
Select Add New Tab.
-
In the text area next to the menu option, enter the name of the new tab.
-
Press ENTER.
The new tab is added.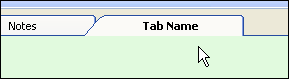
-
Continue to add new items to the tab.
-
Toggle out of QuickDesigner.
Changing the name on the tab
Use this procedure to change the text that displays on the tab.
-
In the detail tab area of the window, toggle into QuickDesigner.
-
Right-click on the tab to change.
A shortcut menu is shown.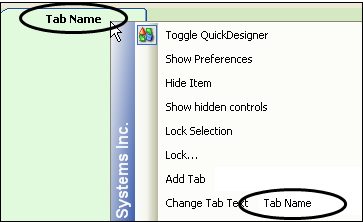
-
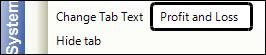
Select Change Tab Text.
The current tab name is selected.
-
Enter the new name of the tab.
-
Press ENTER.
-
Toggle out of QuickDesigner.
Removing tabs
Use this procedure to remove a tab that you added. This is a permanent action.
-
Right-click on the tab to remove.
A shortcut menu is shown.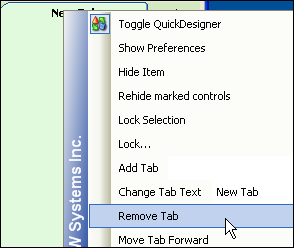
-
Select Remove Tab.
-
Toggle out of QuickDesigner.
Repositioning tabs
Use this procedure to shuffle the placement of tabs.
-
Right-click on the tab to move.
A shortcut menu is shown.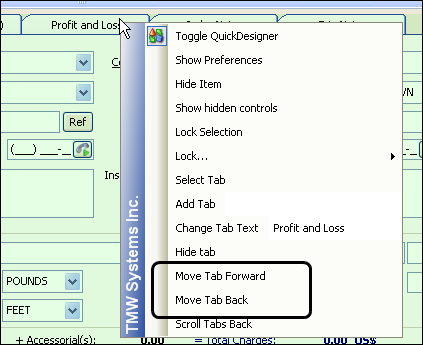
-
Select Move Tab Forward or Move Tab Back as appropriate.
-
Repeat steps 2 and 3 until the selected tab is in the position of choice.
-
If all the tabs are not displayed, and you need to continue to move the selected tab, from the shortcut menu, select Scroll Tabs Back or Scroll Tabs Forward to display more tabs, and then move the tab.
-
Toggle out of QuickDesigner mode to view the change you made.
Hiding tabs
Many windows have tabs that are part of the factory default layout. You cannot delete these tabs, but you can hide them from view. Use this procedure to hide tabs for a customized layout.
-
If you want to add this feature to an already-saved layout, load it.
-
If you want, while working in QuickDesigner, to view controls or tabs that were already hidden in the selected layout, from the right-click menu, select Show hidden controls.
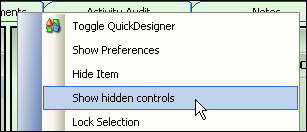
The menu option changes to Rehide marked controls.
-
Right-click on the tab you want to hide from view.
A shortcut menu is shown. -
Verify you are hiding the correct tab by checking the tab name displayed on the shortcut menu.
-
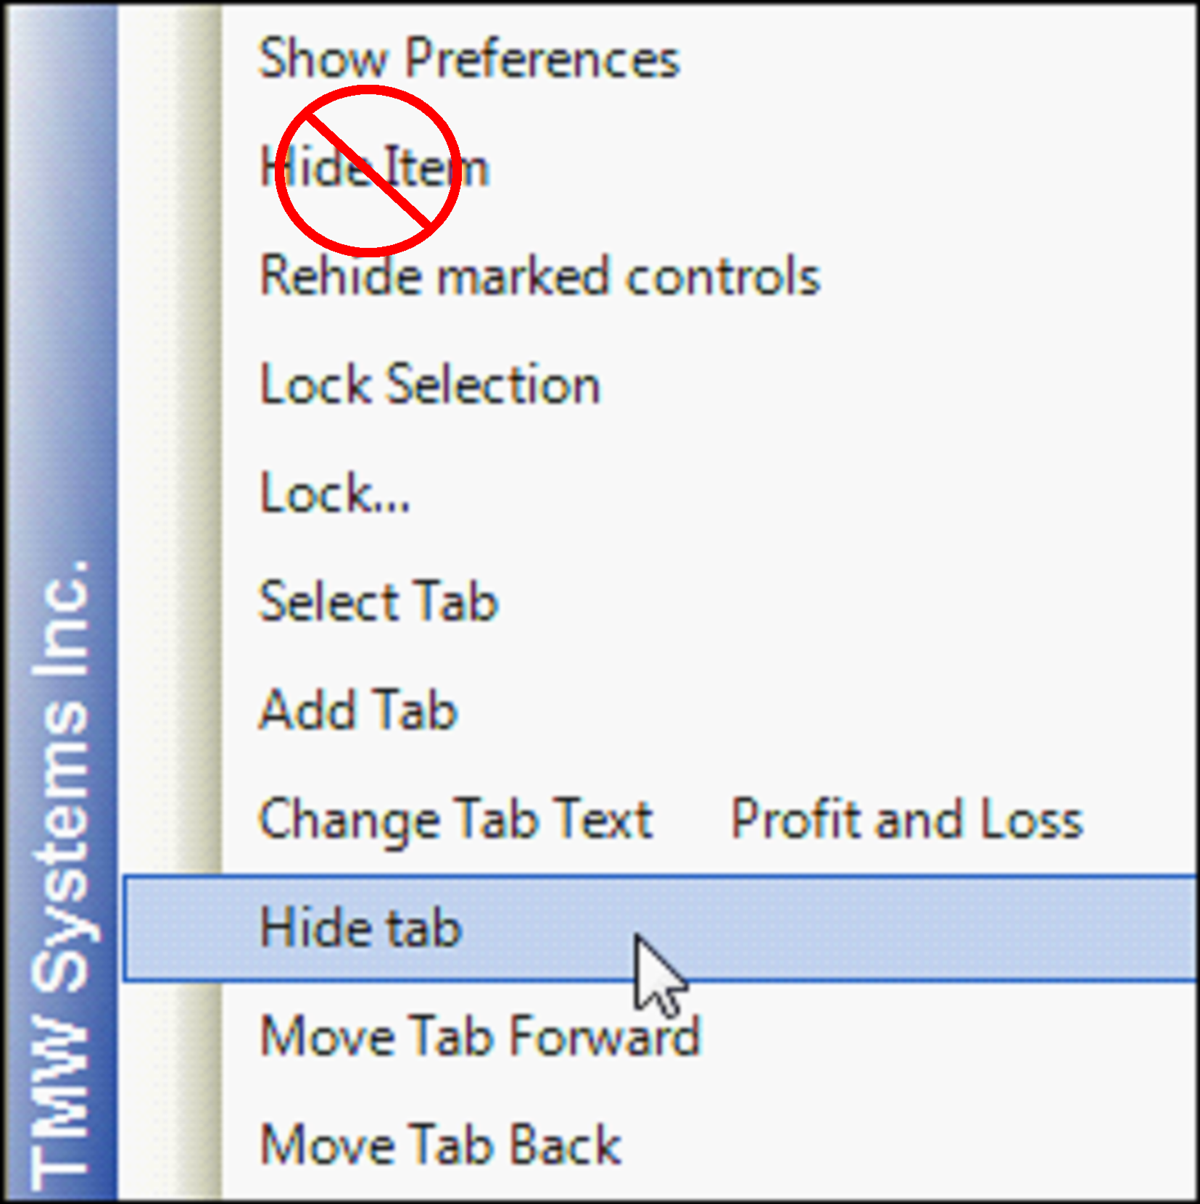
Select Hide Tab.
Warning: Do not select Hide Item, as this will hide the entire tab control object, which includes all tabs.
-
If you want, reposition the remaining tabs.
-
Select the tab you want to display on top.
-
Toggle out of QuickDesigner.
-
Right-click again to verify Toggle Include Form Layout is checked.
If not, select it.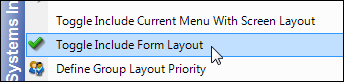
Redisplaying hidden tabs
If you have hidden tabs that are part of the factory layout, use this procedure to make them visible again.
-
Right-click on one of the existing tabs.
A shortcut menu is shown. -
If you do not see the tab, from the right-click menu, select Show hidden controls.
The hidden tab comes to view. -
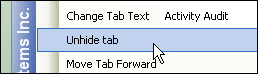
Right-click on the tab to unhide, and select Unhide tab.
-
Toggle out of QuickDesigner.