Associating icons with custom commands
When creating a custom command, you have the option of associating a custom icon to display with that command. You can also control whether the command displays with both the text and an icon, only with the text (e.g., you want to add the custom command and only want the text to appear in the menu), or only with the icon (e.g., you want to add the command to a toolbar and only want the icon to appear). This gives you greater control and flexibility with the way you edit your menus and toolbars.
Assigning an icon before you save a custom command
When you create a custom command, the system assigns ![]() a default icon. To switch to a different icon, follow these steps:
a default icon. To switch to a different icon, follow these steps:
-
Open the Custom Menus window.
Note: Refer to your system administrator if you are unable to locate the menu option.
-
In the Existing custom commands list, select the custom command for which an icon is needed.

-
In the Information tab, click on the image that says "double-click to add image."
The Edit Image window opens.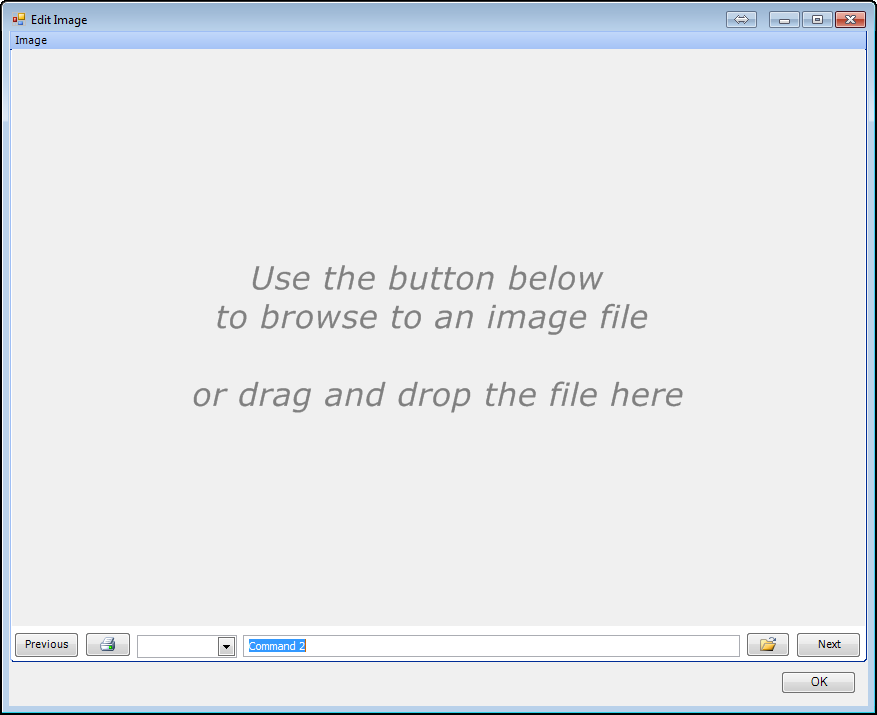
-
To locate your image, do one of the following:
-
Click
 Browse to locate and select the icon.
 -
Drag the image file from Windows Explorer and drop it in the Edit Image window.
-
-
Verify that the image is correct and click OK.
The icon displays in the Information tab in the box that previously said "double-click to add image."
-
Determine whether you want the command to display with only text, only the icon, or both.
-
If you want the command to display with only text, select the Hide Icon checkbox.
-
If you want the command to display with only the icon, such as in a toolbar, select the Hide Text checkbox.
Note: Keep in mind that, even if you do not designate a custom icon, the custom command will still display with the
 default icon, unless you select the Hide Icon checkbox.
 -
Changing an icon for a saved custom command
If you have created and saved a custom command, but have not applied it to a menu or toolbar, you can change the icon in the Custom Menus window. To switch to a different icon after you have saved a command, follow these steps:
-
Open the Custom Menus window.
Note: Refer to your system administrator if you are unable to locate the menu option.
-
In the Existing custom commands list, select the custom command for which a different icon is needed.

-
In the Information tab, click on the icon that is currently assigned to the command.
The Edit Image window opens. -
To locate and select your new icon, do one of the following:
-
Click
Browse to locate and select the icon. -
Drag the image file from Windows Explorer and drop it in the Edit Image window.
-
-
Verify that the image is correct and click OK.
The new icon displays in the Information tab. -
Click
 Save.
Save.
The Changes Saved message window opens.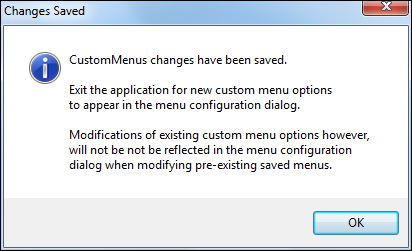
-
Click OK and close the Custom Menus window.
-
Exit TMW Operations.
-
Sign back in to TMW Operations.
Your change will now be applied.
Changing the icon or text settings of a custom command in a saved layout
If you have saved a form layout with certain custom menu commands and want to change the text or the icon for a custom command in that specific form layout, you will not be able to make that change through the Custom Menu Entries window. Follow this procedure to change the icon or menu text of a menu command in a form layout:
-
Right-click on the toolbar, and click Customize.
The Customize dialog box opens. -
To edit the text, follow the instructions for editing menu text or editing toolbar text.
-
To edit the icon, follow the instructions for editing an icon with the image editor.
-
Save the layout to keep the changes.
-
On the Customize window, click Close.