Creating driver profiles
To create a Driver Profile:
-
Go to Tools > Profiles > Driver Profile.
The Driver Profile window opens. The Information tab is displayed by default.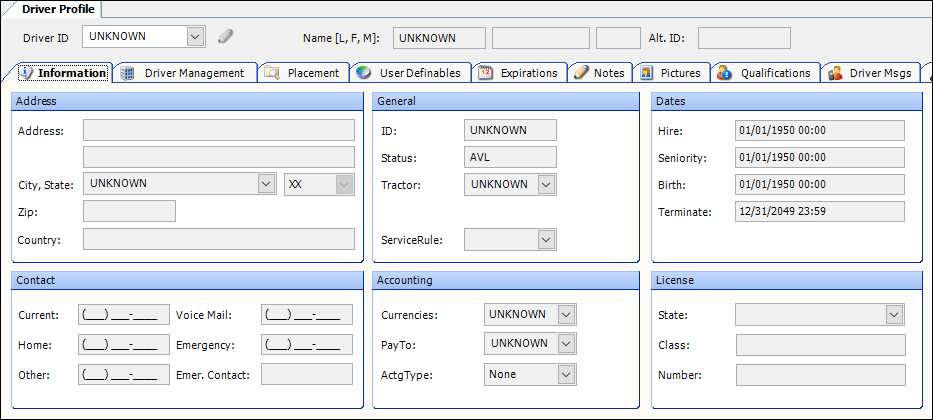
-
Click
 New.
New. -
Make entries on the Information tab as needed.
For details on individual fields, see Information tab.
-
When you are finished, click
 Save.
Save.
The system saves the driver profile.
Adding the E-mail field
By default, the E-mail field does not display on the Driver Profile window. You need to use the QuickDesigner feature to add this field.
|
To add this field:
-
In TMW Operations, go to Tools > Profiles > Driver Profile.
The Driver Profile window opens. The Information tab is displayed by default. -
Right-click in the body of the Driver Profile window.
A shortcut menu is shown.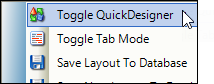
-
Click Toggle QuickDesigner.
-
Position your cursor over the Contact section.
When active, this section highlights green.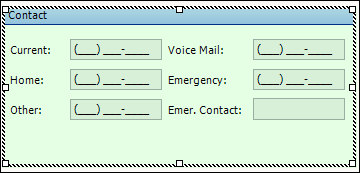
-
Right-click and select Add New Item.
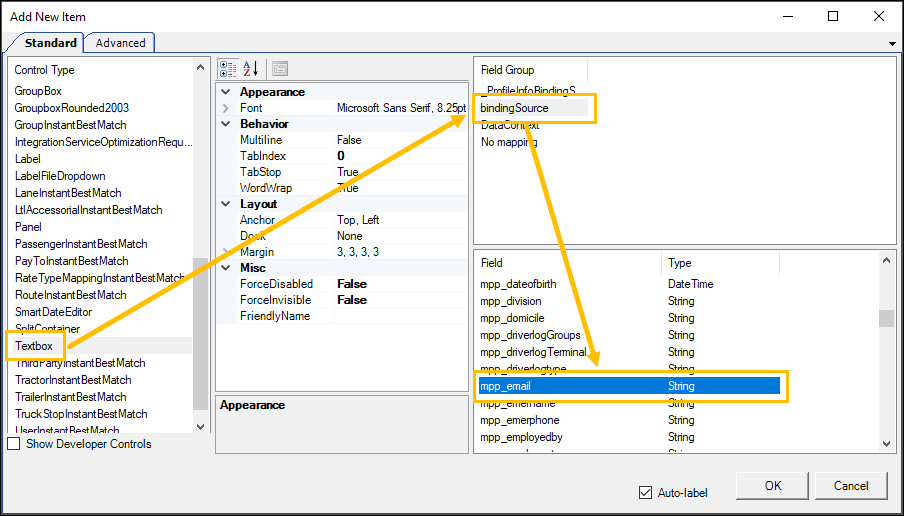
The Add New Item window opens. -
Make these selections:
-
Control Type: Textbox
-
Field Group: bindingSource
-
Field: mpp_email
-
-
Click OK.
-
Position the label and field as needed.
-
Rename the label.
-
Right-click on the label.
-
Select Show Preferences.
The Field Preferences window opens. -
In the Text row, change the value to E-mail.
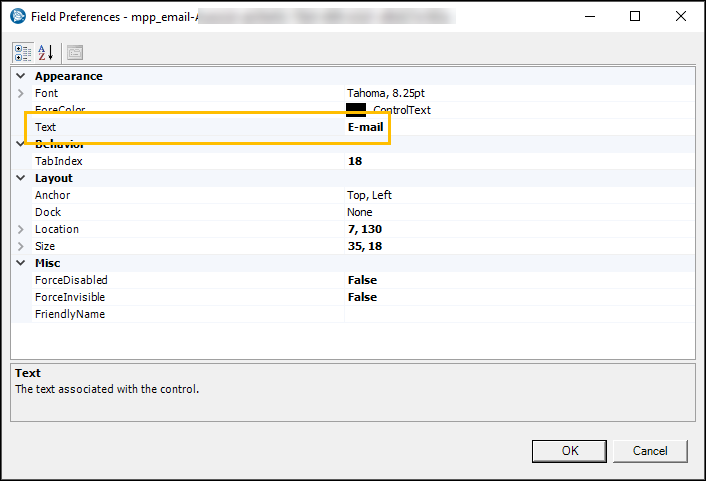
-
Click OK.
-
-
Right-click in the body of the Driver Profile window and select Toggle QuickDesigner.
-
Save your layout.