Canceling an order in versions prior to 2020.1
You may need to cancel an order that was created in error, or that was placed by a customer who later decides that the trip should not be made. You can cancel an order that is Available, Planned, or Started with the option of billing the customer for the canceled order.
In TMW Operations, you can cancel an order using these methods:
-
In Order Maintenance, using the Cancel Order window
-
In the Planning Worksheet and Trip Folder, using the Cancel Trip/Order window
When you cancel an order, the system logs the following data on the Activity Audit table if this feature has been enabled. See the FingerPrintAudit key in the General Info Table for details. The Activity Audit tab can be accessed in Order Maintenance and the Trip Folder.
In Order Maintenance:

In the Trip Folder:

This tab displays:
-
The activity (cancellation) applied to the order
-
The date and time of the activity
-
The user who requested the activity
-
The order, move, and trip segment numbers
-
The reason and remark notes concerning the activity, if available
|
Canceling an order in the Order Maintenance Cancel Order window
Perform these steps to cancel an order using the Cancel Order window.
-
In Order Maintenance, open the order you want to cancel.
Note: If you know the move number, select Move in the Order field and enter the move number instead. -
Go to File > Cancel Order.
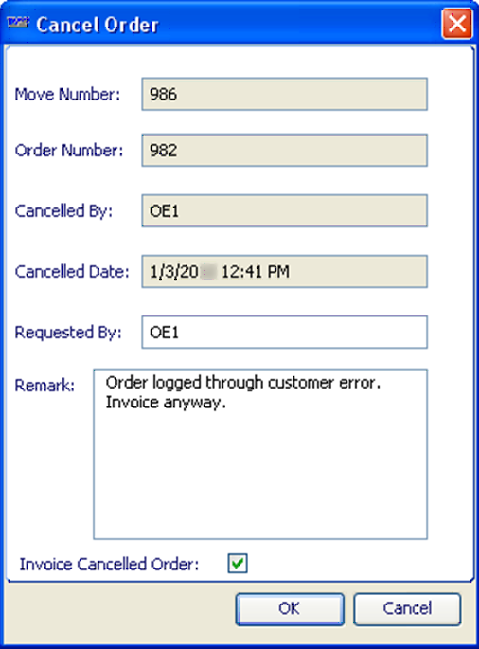
The Cancel Order window opens.Note: When you first open the Cancel Order windows, required fields show the
 Required Entry indicator. The indicator flashes to get your attention. Once you make these entries, the indicators are removed. The OK button is enabled after you make the required entries.
 -
Complete the Requested By and Remarks fields.
-
If you want to bill for the canceled order, select the Invoice Cancelled Order checkbox.
-
Click OK.
The Cancel? confirmation message opens.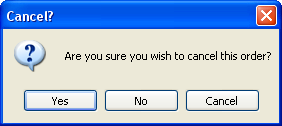
-
Click Yes.
The Cancel Order message closes. The order status is Cancelled.Notes:
-
If you decide not to cancel the order after all, click Cancel in the Cancel Order message.
-
If you decide not to cancel the order after the confirmation message opens, click No or Cancel.
-
Canceling an order in the Planning Worksheet or Trip Folder
In the Planning Worksheet and the Trip Folder, you can cancel one order at a time using the Cancel Trip/Order window. You access the window from the Edit menu.
![]() See it in action: Canceling an order in the Planning Worksheet
See it in action: Canceling an order in the Planning Worksheet
![]() See it in action: Canceling an order in the Trip Folder
See it in action: Canceling an order in the Trip Folder
-
Do one of the following:
-
In the Planning Worksheet, set restrictions as needed, and retrieve orders. In the Available Trips grid, select the order you want to cancel.
-
In the Trip Folder, open the order you want to cancel.
-
-
Select Edit > Cancel Trip.
The Cancel Trip/Order window opens.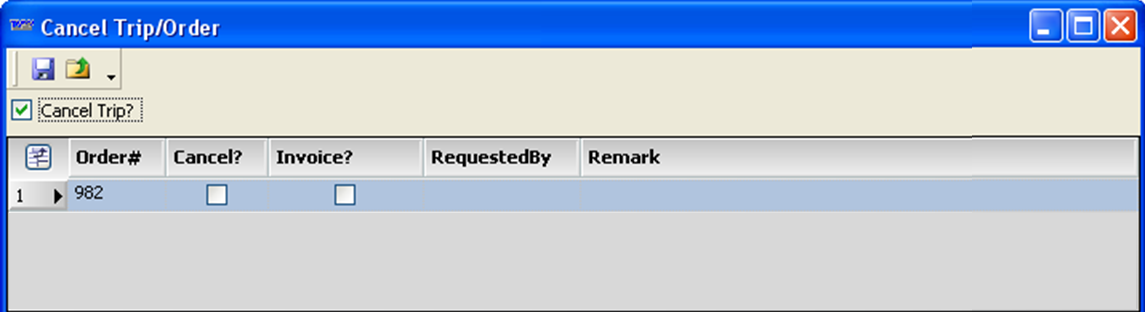
-
Select the Cancel? checkbox.
-
If you want to bill for the canceled order, select the Invoice? checkbox.
-
In the RequestedBy field, enter the name or ID of the person requesting the cancellation.
-
In the Remark field, enter the reason for the cancellation.
-
Click
 Save.
Save.
The Cancel Order window closes. The order status is Cancelled.Notes:
-
To stop the cancellation, click
 Close.
 -
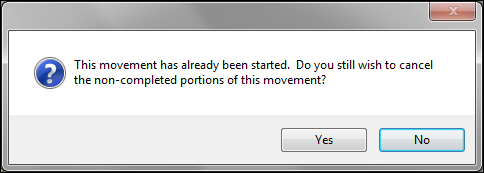
If you try to cancel a started trip, a message appears. It states, "This movement has already been started. Do you still wish to cancel the non-completed portions of this movement?"
-
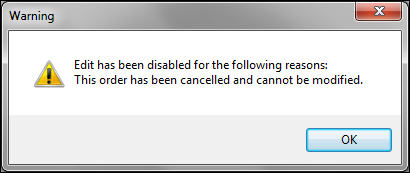
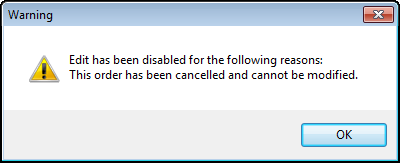
When you cancel an order in the Trip Folder, a warning message states, "Edit has been disabled for the following reasons: This order has been cancelled and cannot be modified." Click OK to close the message.
-
Canceling or postponing an order that started with a pickup
There may be times when an order has started, but you need to back it out from its Started status. To cancel such an order or return it to an Available status, follow these steps:
-
Open the trip in the Trip Folder, or select it in the Planning Worksheet.
-
Select Edit > Cancel Trip.
The Cancel Trip/Order window opens. -
Do one of the following.
Cancel the order
-
Select the checkboxes in the Cancel Trip? and Cancel? fields.
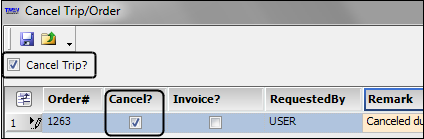
-
Click
 Save.
Save.
A confirmation message appears stating, "This movement has already been started. Do you still wish to cancel the non-completed portions of this movement?" -
Click Yes.
A warning message appears. It states, "Edit has been disabled for the following reasons: This order has been cancelled and cannot be modified." -
Click OK.
The system:
-
Clears all resources from the trip
-
Sets the order status to Cancelled
-
Canceling a started order that began with a non-billable stop
Sometimes a driver may deadhead to a pickup location and find that he is not able to pick up the shipment. Since the trip cannot be completed, you would need to:
-
Cancel the Started trip
-
Retain the empty move portion of the trip for historical records.
To cancel a started trip that began with a non-billable stop, follow these steps:
-
Open the trip you want to cancel in the Trip Folder, or select it in the Planning Worksheet.
-
Go to Edit > Cancel Trip.
The Cancel Trip/Order window opens.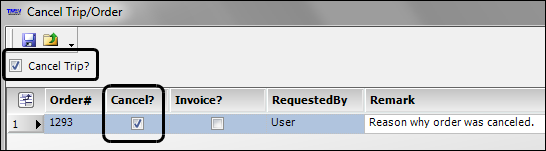
-
The grid at the top of the window lists each order on the trip in its own row. Make the following entries:
Cancel?
Select this checkbox.
Invoice?
Select this checkbox to bill for the order.
RequestedBy
Use this free-form text field to enter the name or ID of the person requesting the cancellation.
Remark
Use this free-form text field to enter information about the cancellation.
-
Click
Save.The system displays a confirmation message. It states, "This movement has already been started. Do you still wish to cancel the non-completed portions of this movement?"
-
Click Yes.
The system assigns:
-
The empty move to the original movement and trip segment
This movement has a Started status, and all assigned resources remain on the movement.
Note: By default, the empty move ends at the location of the next billable stop that follows the actualized stop. However, you can use the
[.NetOperations]CancelTripNewEmptyStopLocationsetting in your TTS50 to specify which location is used to end the empty move. -
The remaining stops on the order to a new movement and trip segment
This new movement has a status of Canceled, and all resource assignments are cleared.
Note: Although the remaining stops are put on a new move and leg number, the order number remains the same.
The New Move message appears, stating "Move: xxx contains completed stops for canceled order xxx." It provides the move number used to record the completed stops for the order you canceled.
If you want, you can set up the system to suppress these messages. To do so, enter
Nas the String1 field value for theShowOrderCancellationDialogGeneral Info Table setting. -
-
If needed, click OK to close the New Move message.
A warning message appears. It states, "Edit has been disabled for the following reasons: This order has been canceled and cannot be modified. -
Click OK to close the message.
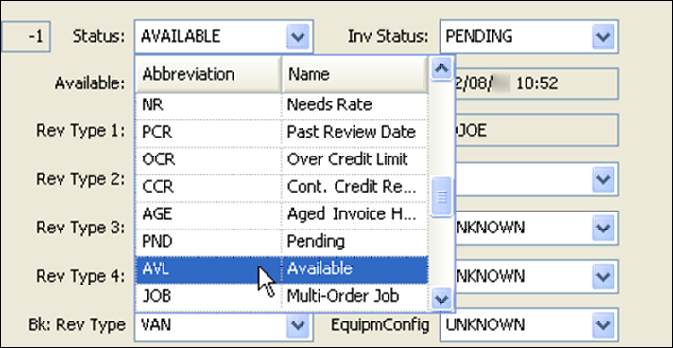
Changing the status of a canceled order
Use this procedure to change the status of a canceled order. Typically, you would change a Canceled status to Available. You can, however, also change a Canceled status to Canceled Billable, and vice-versa.
| When you cancel a planned order, the assigned resources are removed. You cannot reset a canceled order’s status to Planned. |
In Order Maintenance
-
In Order Maintenance, look up the canceled order.
-
In the Status field, select AVL-Available from the drop-down list.
-
Click
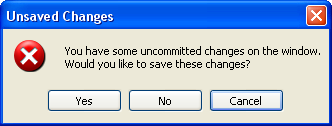
Save.Note: If you try to open a different order or close Order Maintenance without saving the change, the Unsaved Changes message appears. It states, "You have some uncommitted changes on the window. Would you like to save these changes?"
-
Click the appropriate button.