Customizing the look and behavior of Order Maintenance
Order Maintenance is designed for creating orders. An order is a record of the pickups and deliveries a customer wants a driver to make at particular locations on specific dates and times.
You can customize the look and behavior of Order Maintenance in these ways.
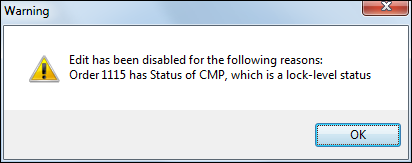
Restricting edits to orders in Order Maintenance based on order status
By default, Order Maintenance users can view and edit orders with any dispatch status. However, based on your business environment, you may want these users to edit only orders with certain dispatch statuses. To do this, use the OrderStatusEditLocks settings in your TTS50.
|
There are two INI settings with the same name.
You must make entries for both settings to restrict access in each application. For example, if you have
|
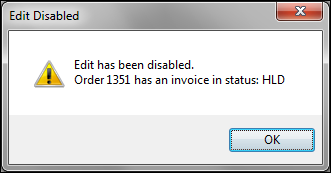
Allowing edits to invoiced orders in Order Maintenance
By default, Order Maintenance users cannot edit an order after it has been invoiced. However, there may be times when you need to edit an order after an invoice has been created. Use the [Order]InvoiceStatusEditLocks setting in your TTS50 to override the default functionality and allow edits in Order Maintenance to orders after they have been invoiced.
|
There are two INI settings with the same name.
You must make entries for both settings to restrict access in each application. For example, if you have
|
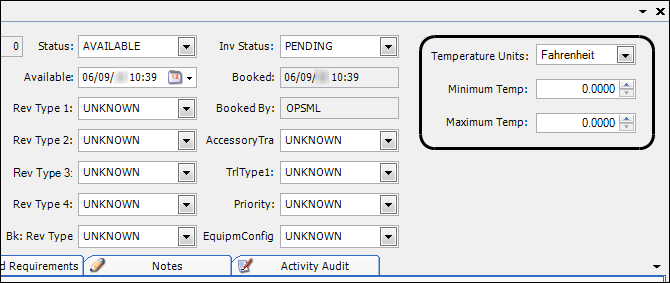
Adding temperature fields to Order Maintenance
By default, the Order Maintenance header does not contain fields for adding minimum and maximum temperatures for a commodity. If it is important for dispatchers to know commodity temperature information, you can add these fields to the Order Maintenance header:
-
Temperature unit (Fahrenheit or Celsius)
-
Minimum temperature (The field can accept positive or negative numbers.)
-
Maximum temperature (The field can accept positive or negative numbers.)
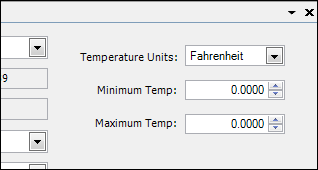
This illustration shows a suggested location and label text for the added temperature fields on Order Maintenance.
Use this procedure to add temperature fields to the Order Maintenance header.
-
Open Order Maintenance.
-
If you want to add these fields to a saved layout, load the layout.
-
Toggle in to QuickDesigner mode.
-
Right-click again on the header portion of Order Maintenance, and select Add New Item.
-
For each field indicated in this table, make these selections:
Field type Control Type Field Group Field Temperature unit
Note: Select the Show Developer Controls checkbox.
TemperatureUnitDropdown
BindingSource
TemperatureUnit
Minimum temperature
DoubleTextBox
double:-9.4
MinTemperature
Maximum temperate
DoubleTextBox
double:-9.4
Binding Source
-
Select the Auto-label checkbox.
-
Click OK.
The field is added.
-
-
If you want, move, resize, or change the label’s text of the fields.
-
Assign the layout to users or groups of users.