Setting up carrier lanes
When assigning a carrier to an order, you want to find one with a preference for covering that lane. Using the Carrier Lane Profile window, you define your lanes and assign your preferred carriers to them.

Creating lanes
To set up a new lane, follow these steps.
-
Go to Tools > Tools Maintenance > Lane Maintenance.
The Lane Profile window opens.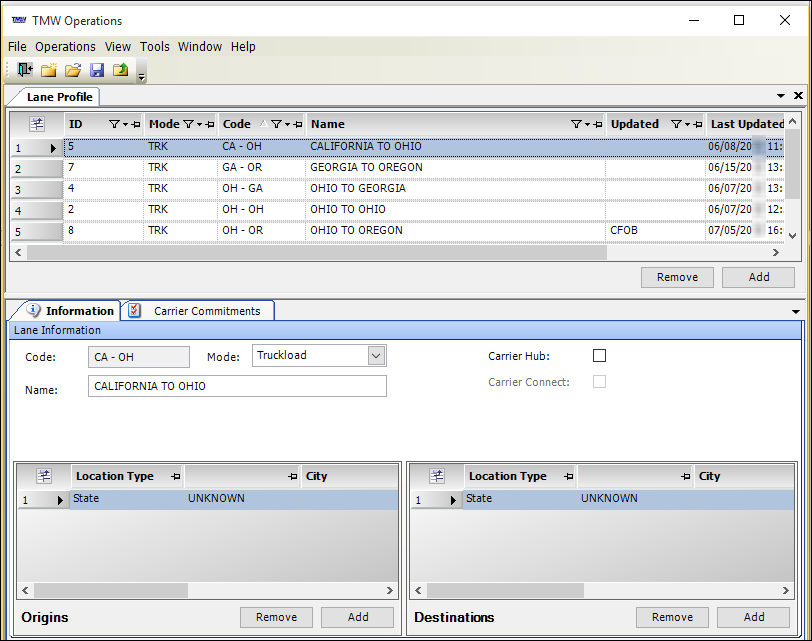
-
To create a lane, click New.
-
On the Information tab, make entries in the following fields:
Required field: *
Field Description Code *
Enter a unique identification code for the lane. The maximum length is 15 alphanumeric characters.
Name *
Enter a brief description of the lane (for example, the lane’s origin, and destination). The maximum length is 50 alphanumeric characters.
Mode
Select a freight shipment mode for the type of load hauled in the lane.
Your company defines options for this field using the LTLRatingMode label. For information on how to define labels, see Adding a new user-defined label option.
Origins/Destinations
You must make entries in each section to define the lane.
-
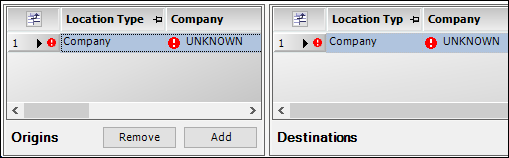
To add an origin or destination, click Add in the section.
-
To remove an origin or destination, click Remove in the section.
Note: To define the lane as precisely as possible, you can make multiple entries in the Origin and Destination sections.
Location Type *
Select the location category for the lane’s origin/destination. The system uses Company as the default value for this field.
When you create lanes, the origin and destination can be based on any of these options:
-
Company
-
City
-
Zip
-
County
-
STATE
-
Country
Note: You can use a different Type for the origin and destination.
Value *
Enter the specific code for the selected location type. The options include:
-
Company
The company’s unique ID, as recorded in the company’s profile -
City
The city/state combination, as defined in the city table in System Administration -
State
The state or province, as recorded in the State label in System Administration -
Zip Part
The Zip Code or postal code -
County
The county recorded for the city/state in the city table -
Country
The options are Canada, Mexico, and USA.
-
-
Click Save.
-
Repeat the process for each lane you want to create.
Assigning carriers to lanes
When you have your lanes set up, you can assign your preferred carriers to them.
-
Go to Tools > Tools Maintenance > Lane Maintenance.
The Lane Profile window opens. -
Locate and select the lane in the grid at the top of the window.
The lane details appear on the Information tab at the bottom of the window -
Click Add to assign a carrier to the lane.
-
Make entries in the following fields to assign carriers to lanes.
Required field: *
Field Definition Carrier *
Enter the carrier ID.
Effective
Enter the date when the carrier will begin servicing the lane.
Expires
Enter the date when the carrier will no longer serve the lane
Service Rating
Select the carrier’s service rating for the lane.
Depending on your company setup, this column may not display in your grid by default. To add the column see Displaying and hiding columns with Field Chooser.
Your company defines options for this field using the CarrierServiceRating label. For information on how to define labels, see Adding a new user-defined label option.
Notes:
-
The Service Rating field in the Carrier Commitments tab provides the carrier’s rating for a specific lane.
-
The Carrier Service Rating field in the Additional Info tab in the carrier’s profile displays the carrier’s overall rating.
-
-
After you add one or more carriers, click Save.
-
Repeat Steps 2 - 6 for each lane for which you want assign carriers.
Modifying carrier lane assignments
To make changes to a carrier assignment, follow these steps.
-
In the grid at the top of the window, select the lane that you want to modify.
-
Select the Carrier Commitments tab.
-
Modify field entries as needed.
Note: For information about each field, see the Carrier Commitments field descriptions.
-
Click Save.
Removing carrier lane assignments
If a carrier no longer services a lane, or was assigned to a lane in error, it can be removed from a lane.
-
In the grid at the top of the window, select the lane that you want to modify.
-
In the Carrier Commitments tab, select the carrier row that you want to remove.
-
Click Remove.
-
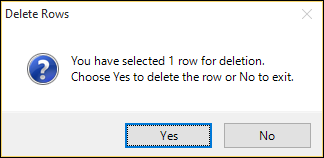
The Delete Rows message appears. It identifies the number of rows you have selected and states, "Choose Yes to delete the row or No to exit." Click Yes to verify that you want to remove the carrier from the lane.