Changing a data grid layout
In TMW Operations there are two types of grids:
Data entry grids
On some data entry windows, users make entries in fields that are arranged in columns. Each line of data in the grid represents a detail that belongs to the record the user is viewing or updating.
For example, the All Stops tab on the Order Maintenance window consists of a grid that is used to record stop details.

Record retrieval grids
Other grids are used only for record retrieval. You cannot use them to enter data.
For example, the Scroll Orders window consists of a grid that lists orders.

By default, all users have access to all columns in all grids. Grid-level security allows you to limit the columns a user or user group can view and/or update. For either grid type, you can hide columns. For data entry grids, you can make columns read-only.
Column security is saved within grid layouts, which are assigned to users or user groups. When users log on, they will have access only to the columns you have selected for them.
Adding and hiding columns
If you are a system administrator, you can permanently add or hide a data grid column from users or user groups. You must do the following:
|
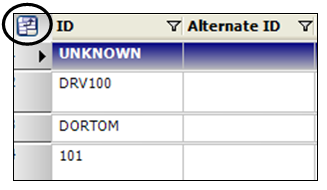
To display or hide columns, you must have access to the Field Chooser, located in the upper-left corner of the data grid.
|
Adding or hiding a column using the Field Chooser
Use this procedure to choose which fields display as columns in the grid and which are hidden.
-
Click the
 Field Chooser icon.
The Field Chooser window is shown.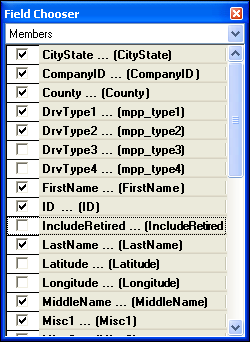
Note: All available fields are listed in alphabetical order with the default column name, followed by the database field name.
-
If the grid contains nested data rows, do one of the following.
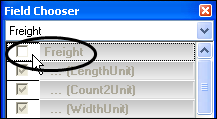
The available fields are listed as members of a group of fields.

Example of nested data rows.

Field Chooser groups represented in the grid.
-
To limit the list of fields, select the group from the drop-down member list.
-
To hide the entire nested row, clear the checkbox next to its name.
-
-
Do one of the following:
-
Click-and-drag method
-
To display the field, click and drag a field from the Field Chooser window:
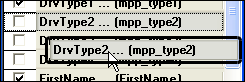
to a location in the grid:
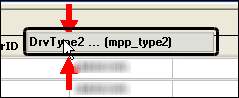
The red arrows indicate where the column will be located.
-
To hide a field, click and drag the column heading from the grid to anywhere outside the grid.
-
-
checkbox method
-
Select the checkboxes next to the fields to display as columns in the grid.
-
Clear the checkboxes next to the fields to hide from display.
-
-
-
When finished, close the Field Chooser window.
Hiding a column using Column Security
To hide a column by assigning it a security level of No Access, follow these steps:
-
In a data grid, right-click on a column name.
A shortcut menu displays.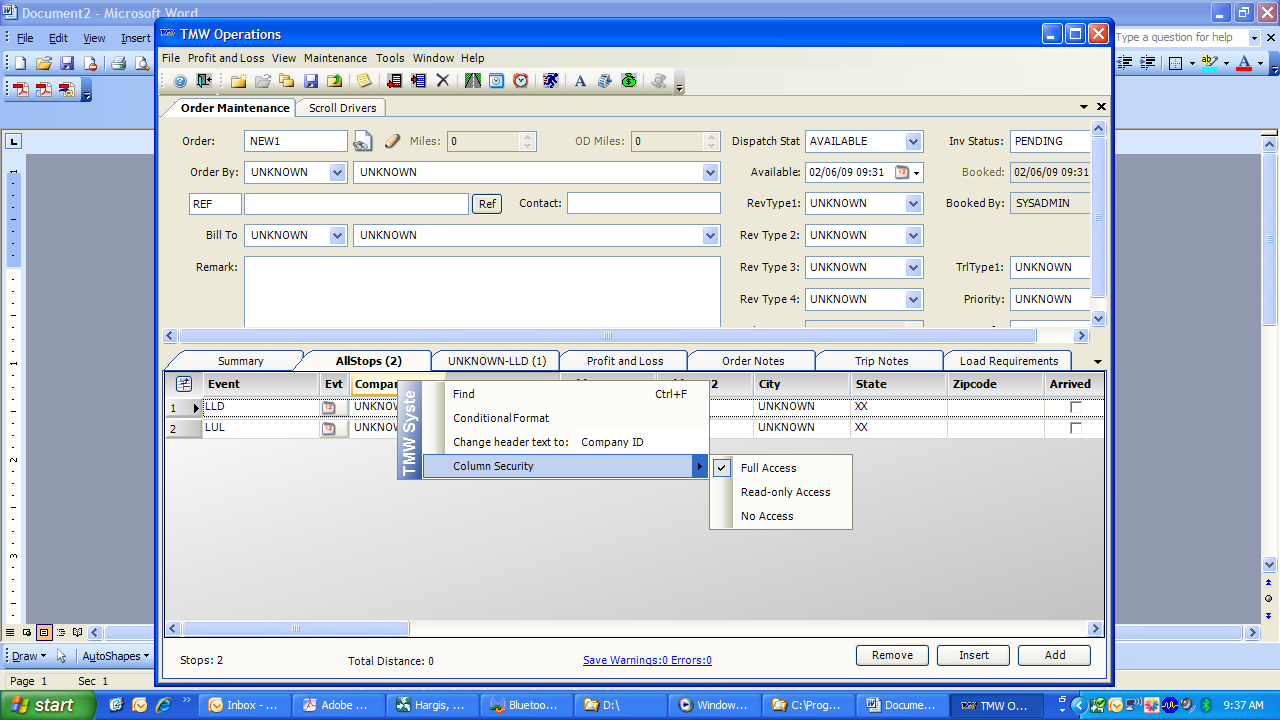
-
Select Column Security.
-
Select the checkbox to the left of the No Access sub option.
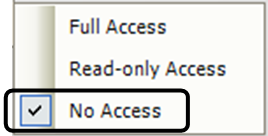
The column is removed from the data grid.
-
Assign the layout to the appropriate user(s) or user group(s).
Re-displaying a hidden column
Use this procedure to re-activate a previously hidden column in a data entry or a data retrieval grid.
-
Click the
Field Chooser icon.
The Field Chooser window is shown, with all available fields listed in alphabetical order.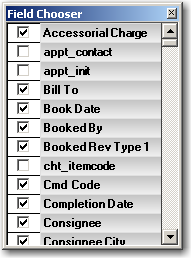
-
Do one of the following:
-
Click-and-drag method
-
To display the field, click and drag a field from the Field Chooser window as shown here:
to a location in the grid:
The red arrows indicate where the column will be located.
-
Close the Field Chooser window.
-
-
checkbox method
-
Select the checkboxes next to the fields to display as columns in the grid.
-
Close the Field Chooser window.
-
-
-
If you want to enable the user or user group to enter data, do the following:
Note: If the column is part of a data entry grid, the system automatically sets the column to read-only status.
-
Right-click on the column heading.
A shortcut menu displays. -
Select Column Security.
-
Select the checkbox to the left of the Full Access sub option.
-
-
Assign the layout to the appropriate user(s) or user group(s).
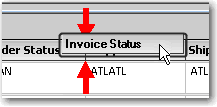
Changing column header text
Your company has its own language. You might use certain terms to identify information stored in the database.
Use this procedure to change column header text (also referred to as a label). This action changes the column header text for only the current data grid.
-
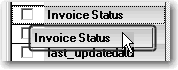
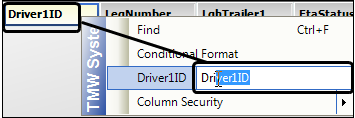
Right-click the column heading.
-
In the shortcut menu, see the current column’s label.
-
In the text box, change the label.
This example shows Driver1ID.
-
Click in a different location on the window.
The menu disappears and the label is changed. -
After making all the changes, save the new grid layout and assign it to users or user groups.
Assigning read-only status to a column in a data entry grid
On a data entry grid, there may be times when users need to see a column, but you do not want them to enter or change information in that column.
Assigning read-only status to a column
Use this procedure to assign a read-only status to a column permanently.
-
In the data grid, right-click on the column name.
A shortcut menu is shown.
-
Select Column Security.
-
Select the checkbox to the left of the Read-only Access sub option.
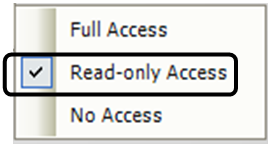
The column now has a grayed out appearance and you will not be able to enter data in it.
-
Save the grid layout.
-
Assign the layout to the appropriate user(s) or user group(s).
Changing the column’s status to full access
At some point you may need to change the column’s status to full access so that users or user groups can enter data in it. Use this procedure to do so.
-
Right-click on the column heading.
A shortcut menu is shown.
-
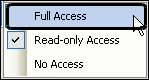
Select Column Security.
-
Select the checkbox to the left of the Full Access sub option.
-
Save the grid layout.
-
Assign the layout to the appropriate user(s) or user group(s).
Saving, loading, resetting, and deleting a grid layout
Changes made to a grid are temporary. Once you close the window and reopen it, the grid will be back in its original layout. You can create a new layout or redesign an existing layout. However, if you want to retain your changes, you must save the layout.
The procedures for saving a new layout and for saving an existing user-defined layout are the same for all users. See:
If necessary, you can prevent users from accessing these features.
Resetting a grid layout to the factory default
Use this procedure to quickly return from your current layout to the factory [Default] layout.
-
Right-click anywhere in the body of the window or grid.
A shortcut menu is shown. -
Select Reset Layout or press ALT+F2.

-
At the prompt, click Yes.
Note: If you decide not to reset the layout after all, click No instead.
The data grid layout then returns to the factory default layout.
Deleting a grid layout
Use this procedure to delete a layout that you no longer want. You can delete grid layouts that you created and saved for your own use. If you need to delete grid layouts that other users saved for their own use, see Deleting a window or grid layout.
-
Right-click in the grid and select Load Layout.
Available data grid layouts will be listed.
-
Select the name of the layout to delete.
The menu expands to show additional options.
-
Select Delete Layout.
A confirmation message is shown.
-
To delete the layout, click OK.
If you decide not to delete the layout after all, click Cancel instead.
Loading a saved grid layout from a file
Use this procedure if you want to load a grid layout that you or someone else saved as a file for your use.
-
Right-click in the grid and select Load Grid Layout from File.
The Import Layout window opens. -
Go to the file location.
-
Select the .SDL file.
-
Click Open.
The imported grid layout is applied.
Preventing users from modifying data grids
Several settings exist that allow you to prevent users from making changes to data grids.
Preventing users from adding or removing data grid columns
By default, all users have access to the Field Chooser. It lets them add or remove columns so the grid shows what is most useful to them.
Your company may prefer to control which columns users see by making Field Chooser unavailable in data grids. Field Chooser is hidden when you have [FuelDispatch]DoColumnChooserDisableIfNotAdmin=Y in your TTS50. This prevents users from adding or removing columns.
By default, all users have access to the Reset Layout menu option. This allows them to reset the grid layout to the factory default.
However, default grids do not have any security applied to them. Consequently, users who reset to this layout can make entries in fields that your company wants to keep hidden or read-only.
To disable the Reset Layout menu option, set [Misc]ShowResetLayoutForNonSA=N in your TTS50.
Preventing users from saving or loading data grid layouts
By default, all users have the ability to:
If you have specially designed layouts that you do not want changed or replaced, you can disable the user’s ability to save or load layouts. To do so, you must have [Misc]ShowGridLayoutOptionsForNonSA=N in your TTS50.
The [Misc]ShowResetLayoutForNonSA setting value overrides this setting for the Reset Layout menu option. However, to avoid potential performance issues, Trimble recommends that you set both settings to Y or N.
|